
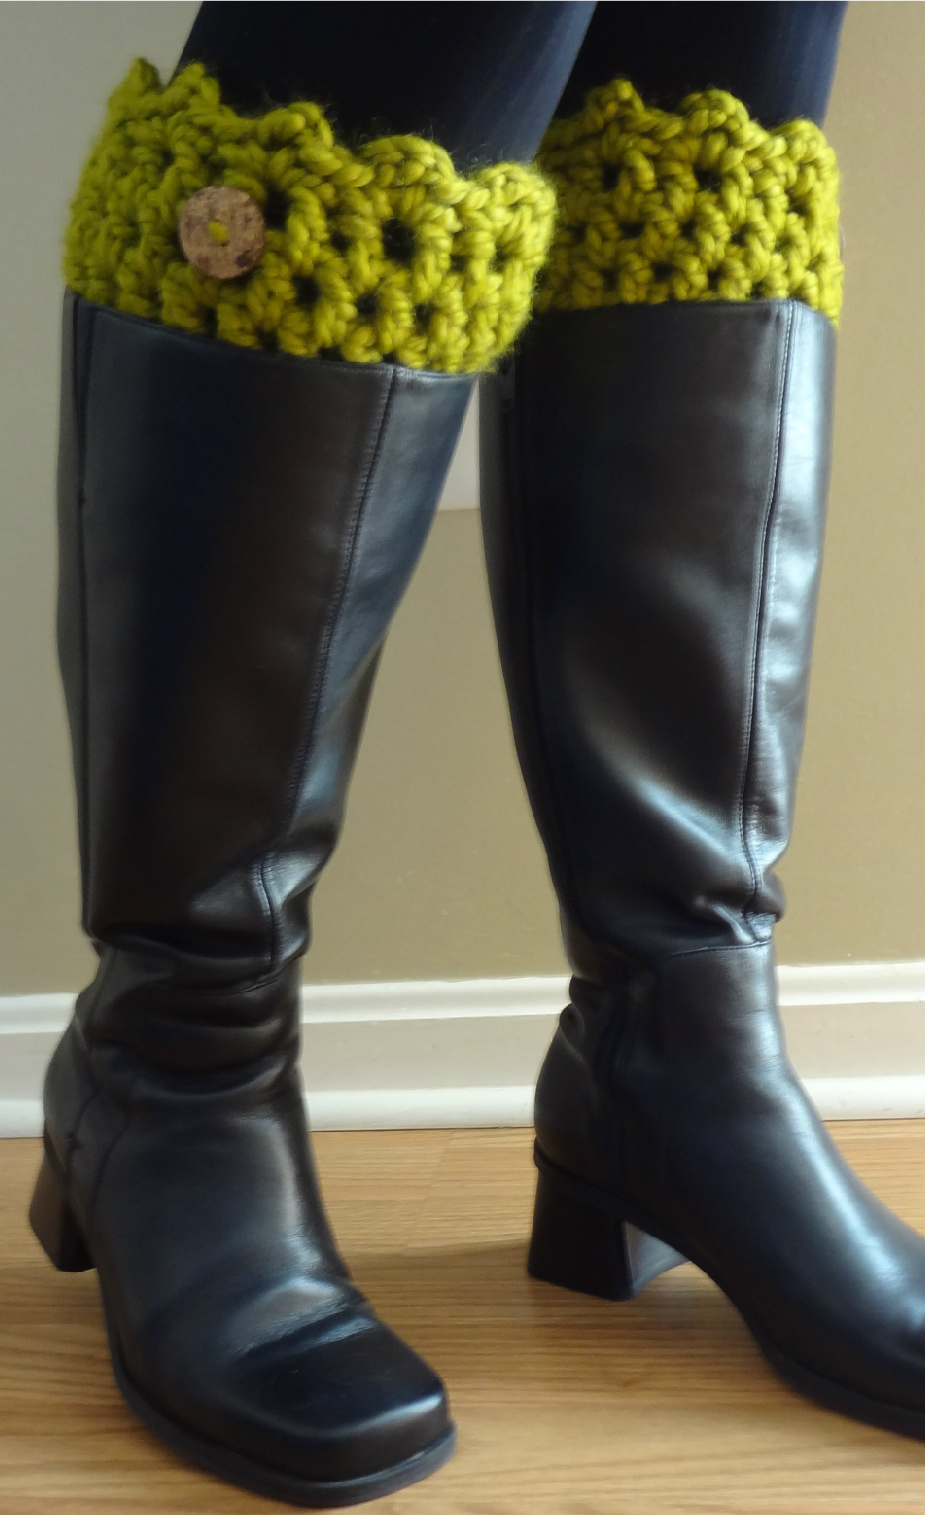
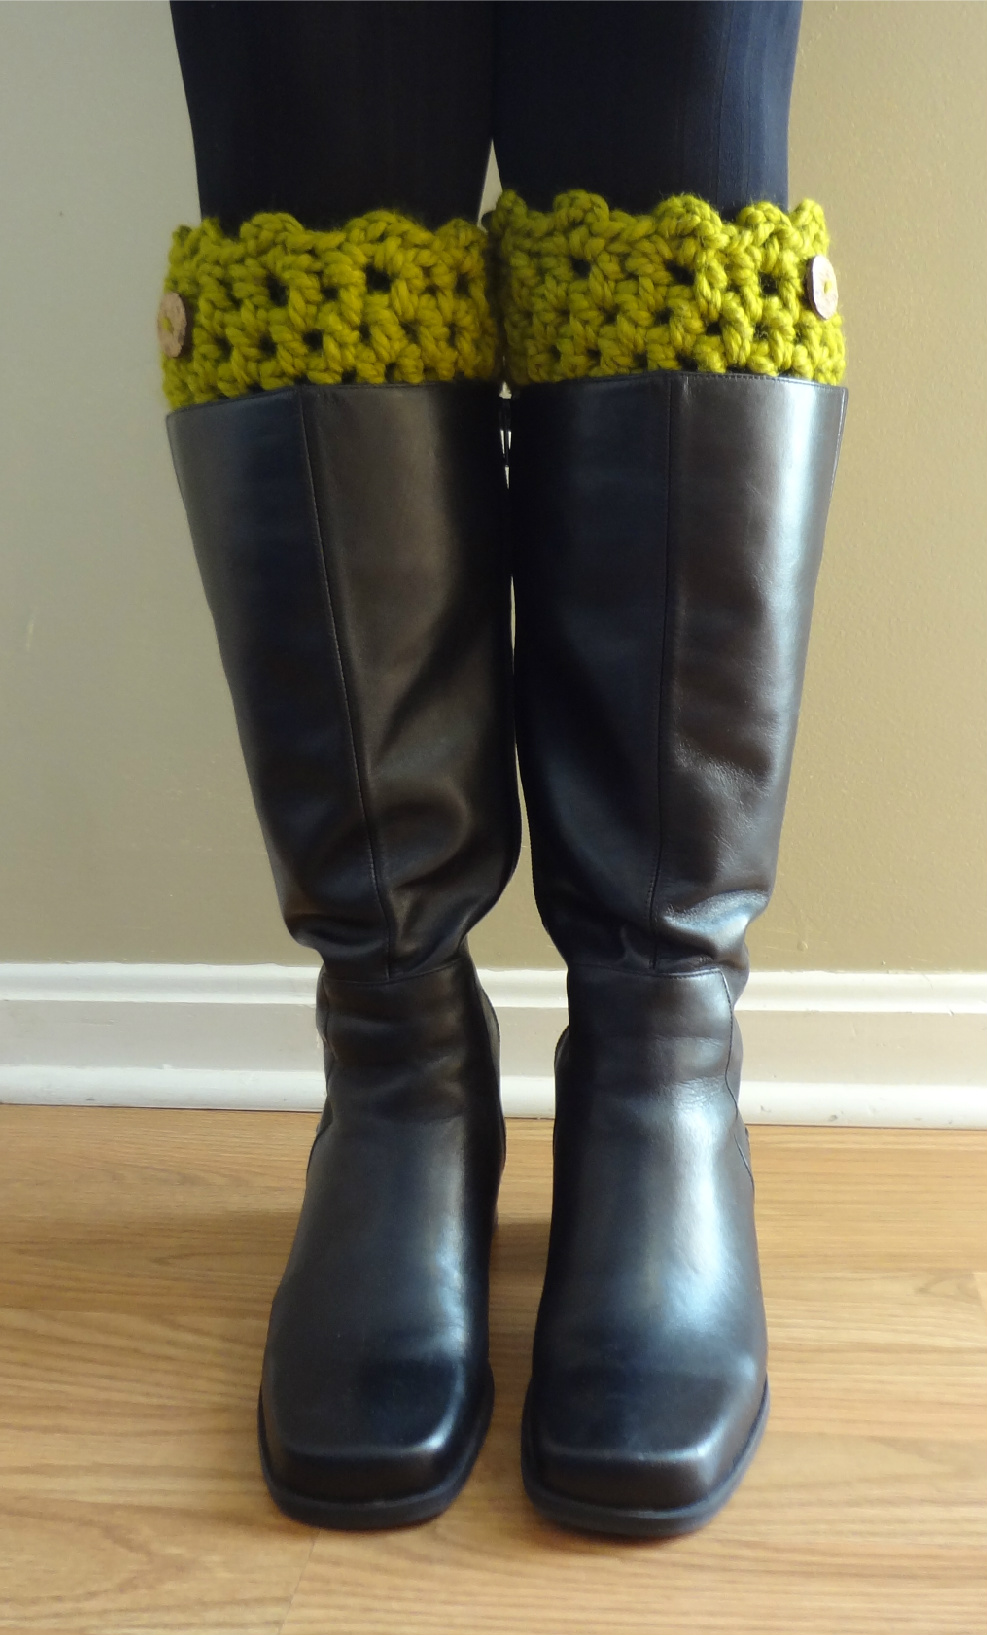
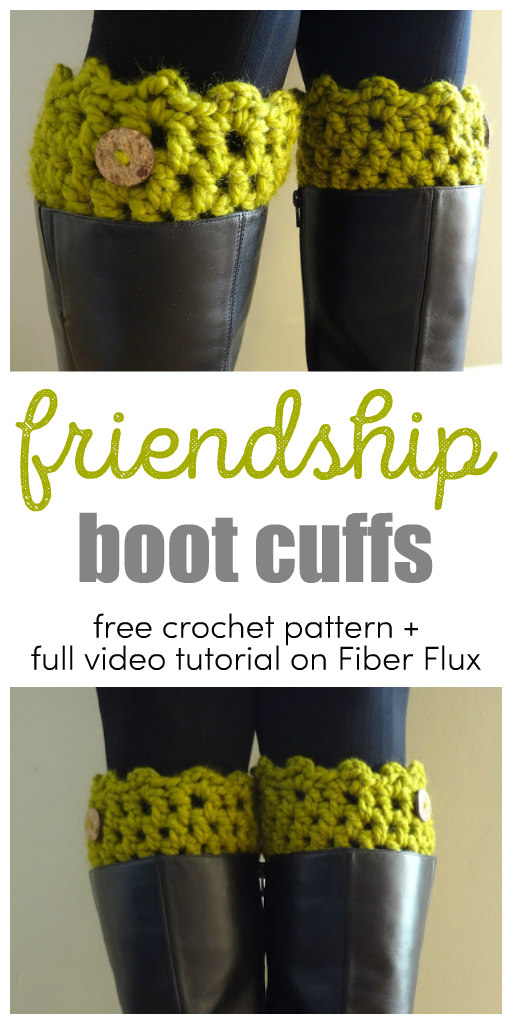
These boot cuffs will keep you feeling nice and cozy and keep the drafts out of your boots, while looking super cute. This idea was shared with me by a special friend, and from it came the Friendship Boot Cuffs!
The cuffs have an optional decorative edge on top and can be accented with a special button. They work up extremely quickly in the round for looking fabulous while out and about.
Friendship Boot Cuffs
By Jennifer Dickerson
Materials:
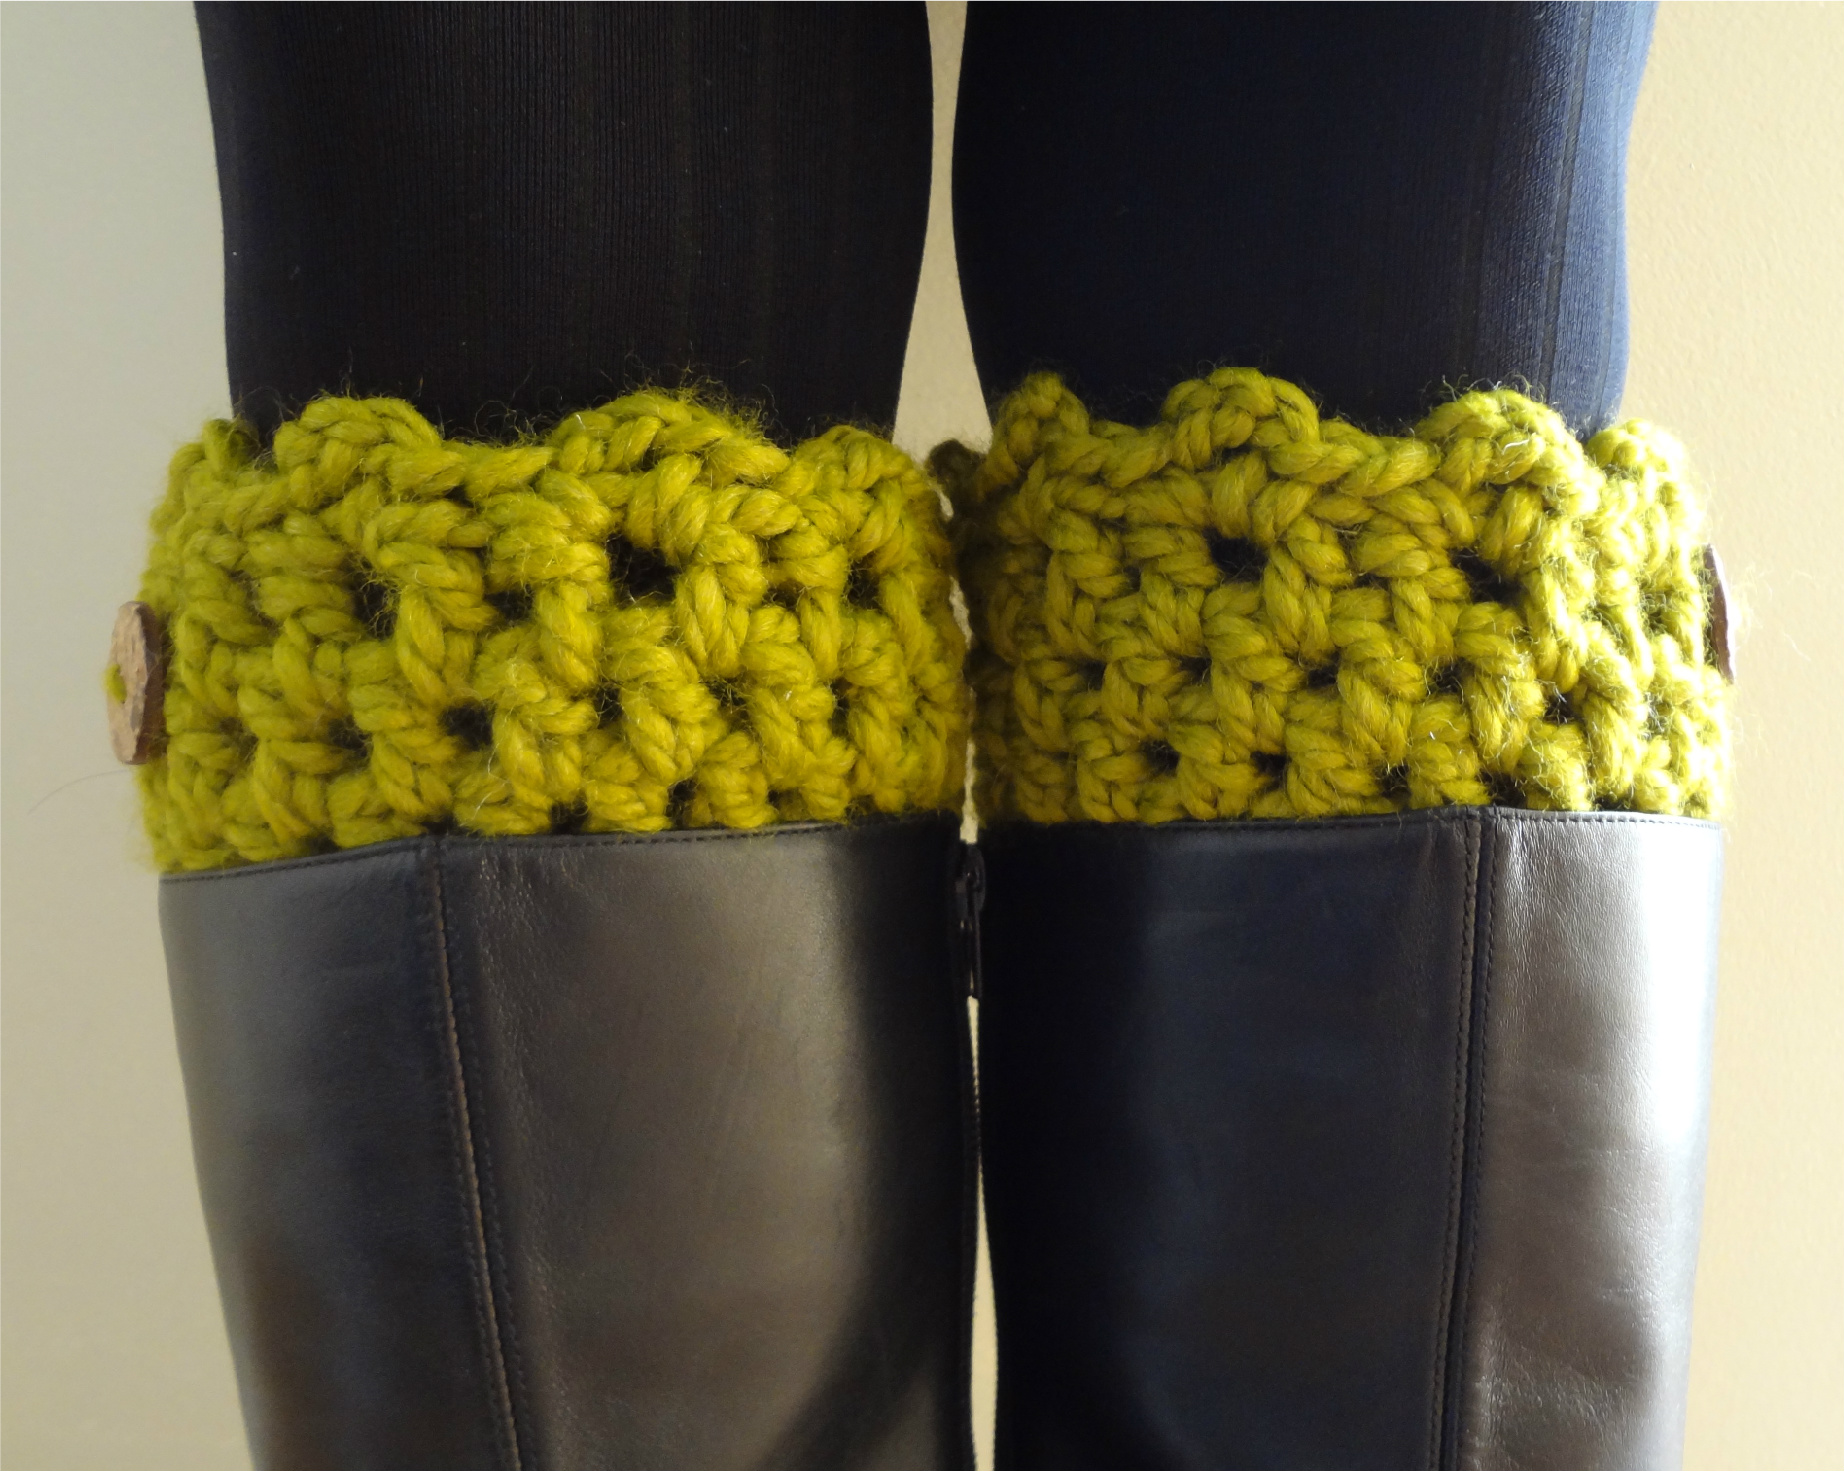
- 1 Skein Wool Ease Thick & Quick (Color shown is “Lemongrass”)
- N (9.0 mm) Crochet Hook
- Tapestry Needle for weaving in ends and seaming
- 2 Buttons (Optional)
Sizing:
- 5 inches tall
- 15 inch circumference
Instructions for basic boot cuff:
Ch 24, join in the round with a sl st.
Round 1: Ch 2 (counts as first dc, so skip that first chain) then dc in each chain all the way around, join with a sl st to complete round.
Round 2: Ch 2 (counts as first dc, so skip that first space), then work a dc in each space all the way around.
Click here to learn about working into the chain space versus working into the stitch.
Repeat round two 4 more times for a total of 6 rounds.
If you’d like a simpler straight-edge top, fasten off and weave in any ends…if you’d like to add a decorative edge, continue below:

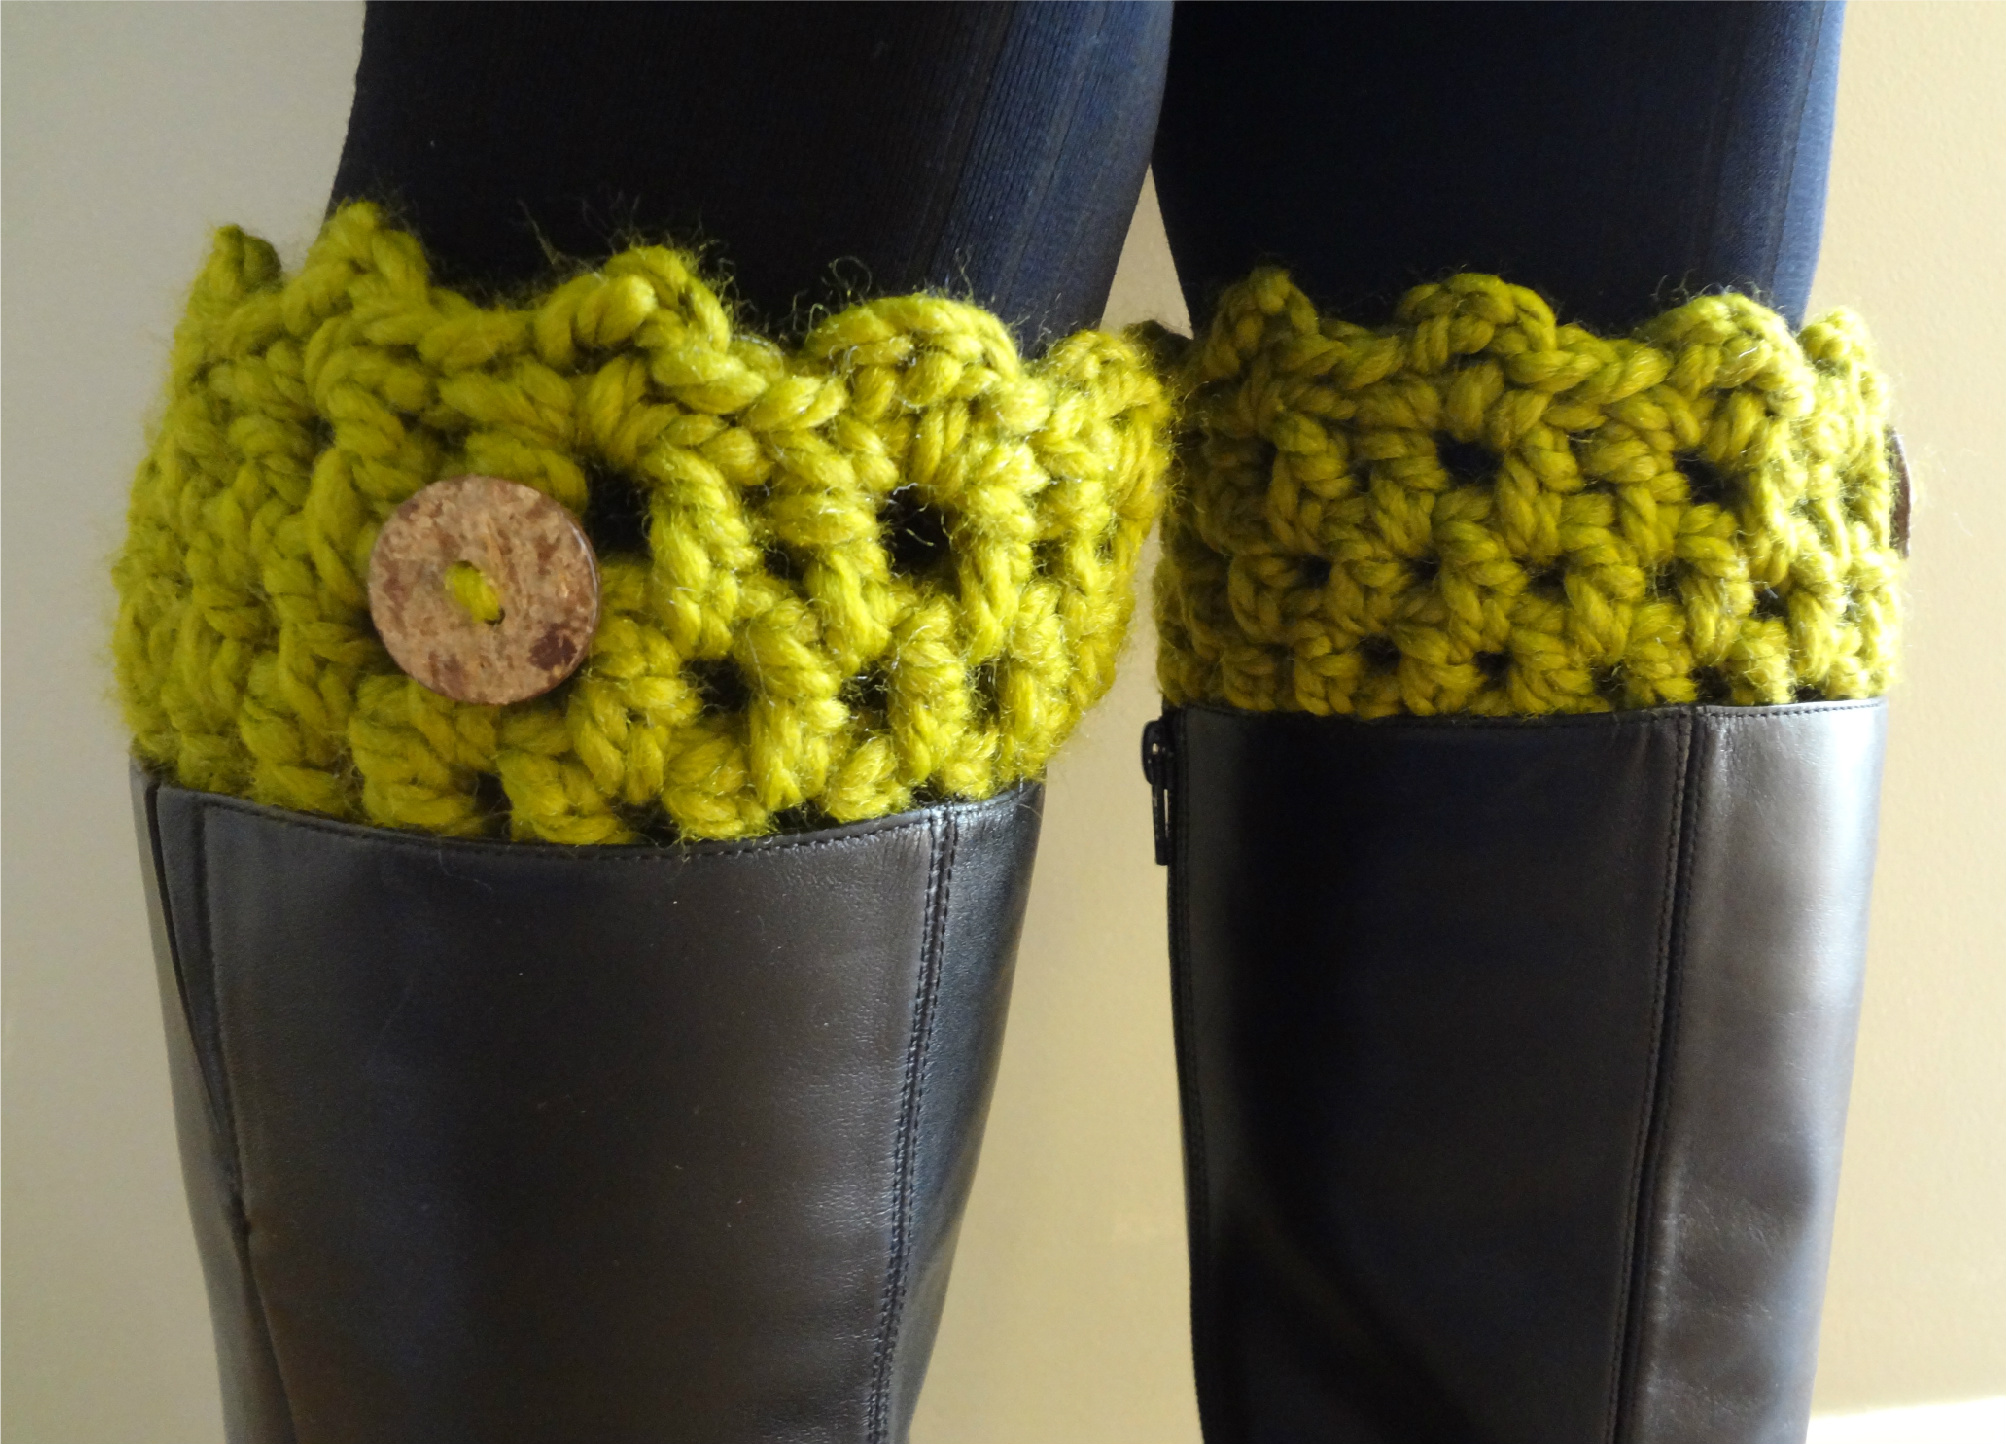
Optional Edge:
In the first space, *(sc, ch 2, sc) all in the same space, then skip the next space and repeat this sequence to end of round. Join with a slip stitch and fasten off. Weave in ends.
 Finishing:
Weave in any ends and stitch on buttons as shown in the picture. I used matching yarn to attach them. Cute as can be!
Click below to watch a video on how to crochet the Friendship Boot Cuffs stitch by stitch:
© Jennifer Dickerson 2020


Super fabulous!! I love the special edging; what a great touch! 😀
Thank you so much! You are fabulous too!
Lovely!!Thanks for sharing
Another pretty pattern! Hope you won't mind me linking this one up tomorrow at Tangled Happy. Happy new year!
Thank you, I am so flattered, Happy New Year to you too!
So fast and quick!! Loved it! Thanks for sharing 🙂
You are so welcome! What color did you use for yours?
I'm a little confused :(..after chaining 24 and joining where would the chain space be? Forgive me I'm fairly new to this and most other patterns I've done call for a few rows before the chain space so I could always see it..now I don't! Please help I really love these and an very determined to make them! Thank u
Sure! In your question do you mean working into the chain space versus working into the loops?
If so…when you crochet into a stitch you insert your hook into the loops of the stitch (front and back unless instructed otherwise). But when a pattern specifies to crochet into a chain space, all you will do in this case is insert your hook into the space (or hole) under the chain to make your stitch.
I pasted my Granny Square tutorial link below, check that out, it will give some nice visuals of crocheting into the spaces.
http://fiberflux.blogspot.com/2012/03/how-to-make-granny-square.html
Hope that helps, let me know if you have additional questions. 🙂
How fun! These would make just THE BEST present to give to special trendy friends! Save some $$$ instead of buying them at Urban Outfitters, right?
Absolutely agree! A handmade garment is SO much more special too!
hey can you get a pattern for boot cuffs that you can knit
Not yet, but that is certainly a fabulous idea!
Question…..where are the ch spaces your telling me to crochet in to? I don't see where you've told me to chain anything aside from the beginning foundation chain.
Hi Sue! I've updated the pattern today to make the pattern a little less vague…hope that helps!
I'm with Sue on that one. Your explanation earlier didn't make sense to me as how can you DC into ch spaces when all you have to work with, according to the pattern, is a starting foundation chain of 24? Are you saying DC into every loop of said chain (which I doubt) or, have you accidentally skipped a row in your pattern write up? Eagerly awaiting your response as I'm super keen to make this pattern! Thanks, Sara
Hi Sara! Just added more information to make the pattern a lot clearer…thanks!
Hello. I Love all your patterns. But I was wondering what you would use with this one in particular. Thanks.
Sydni
Hi Sydni! These boot cuffs are used to slip on and tuck into your boots to stay extra warm…I love mine!
pattern doesn't make sense. Howcome it's becoming wider and wider with each row? Am I doing something wrong?
Hi there! The chain 2 at the beginning of each round counts as a dc, so be sure to skip that first space, and it should be nice and straight. Hope that helps!
i love these!! they are sooo fabulous!!! but a quick question when i started (after the irst join) the hole or opening didnt look very big is that normal??
Hi Kristen! Not sure why is looks smaller, but the ch 2 at the beginning of each rounds counts as a dc, so you would skip that first space…is that what you mean? 🙂
These look amazing it will match my cowl i just made. But i'm also confused just like the Anonymus & Sue in March 22 comment. I don't understand where my "chain space" would be on the foundation chains. I did it in the "hole" you specified under the chain, but that's just that… a chain. And it looks off (DCs look too close together). Wish i could post a picture of what its looking like. It does NOT look like yours. What im thinkign of doing (if you don't respond soon) is skipping a chain. Hope it looks good. Thank you!
Hi, sorry for any confusion, I just updated the pattern with lots more info to make it more clear, I think it was rather vague before, and I hope this will help!
Hi Jennifer! I featured these on Moogly today – love them! Thanks for sharing the pattern! http://www.mooglyblog.com/free-crochet-boot-cuff-patterns/
Yippee! Thanks so much! 🙂
Many THANKS for sharing this pattern….. I was really happy with the finished look n was super easy to do!
So glad you liked it!
I'm sorry, I feel dumb, but I too am confused by the chain space. I understand, as in your tutorial, the concept of crocheting into a chain space. But if I dc in each chain for the first row, where is the chain space in the second row? Am I supposed to chain between each dc on round 1? but then I probably ought to skip a chain each time, too, or it would be double number of stitches by the end of round two. Or ,… what am I missing. I've re-read it several times, out loud even and I'm still foggy on that.
Oh my goodness, don't feel dumb! Yes, in the the second round you work in between the double crochet posts, that forms the hole or space. I will be making a video on this soon, I will let you know as soon as it is up, I was thinking it would be more helpful to show you and others that way.
There is so much advertising on the left side I can't get all the instructions printed. It leaves words half off.
Click on the green "print friendly" button at the bottom if the post. That way you can print only what you need!
How about adding a chain beginning on one side and making it long enuff to attach to the other side going under the foot to help hold them from coming out of the boot. kind of like a stirrup
Great idea, thanks for sharing!
Would this pattern fit someone with 13' calves?
Can some one help me find ideas that I am a beginner
hello, i bought crocket hook N-9.00 mm but it seems too big. is this the right size for this pattern?
Hello. I'm new to the whole idea of selling my products but wanted to verify what your disclaimer was saying. With credit to you for the pattern can I sell the items I make or not? Looking for new things to make and wanted to double check before I did something wrong. I've made several for myself and get asked for them all the time. One lady even wanted to buy what I was wearing 🙂 the patterns are beautiful
Hi hun I was looking for a way to widen the circumference I need 16.5. Is there a magic increase number for me that keep the pattern intact?
Since you double crochet in every chain just add to your starting chain to get the size you need.
The largest hook I have is a J 6mm. So I had to add 12 chains to get the 15 circumference.
Great tutorial. Each step so easy to follow. Thank you.
I loved this tutorial! I've used it a few times, but this last time was different because I made boot cuffs for my 5 year old granddaughter. It was so easy to adjust the pattern. I simple measured her calve and ended up with a starting chain of 33. She loves showing them off with her new boots – my little fashionista! You can see pictures of them at https://faithtrustandbreastcancer.blogspot.com/2017/01/philippians-27-part-2-baby-bs-boot-cuff.html. Naturally I linked right back to this page! Thank you for sharing this wonderful pattern!
This comment has been removed by a blog administrator.