
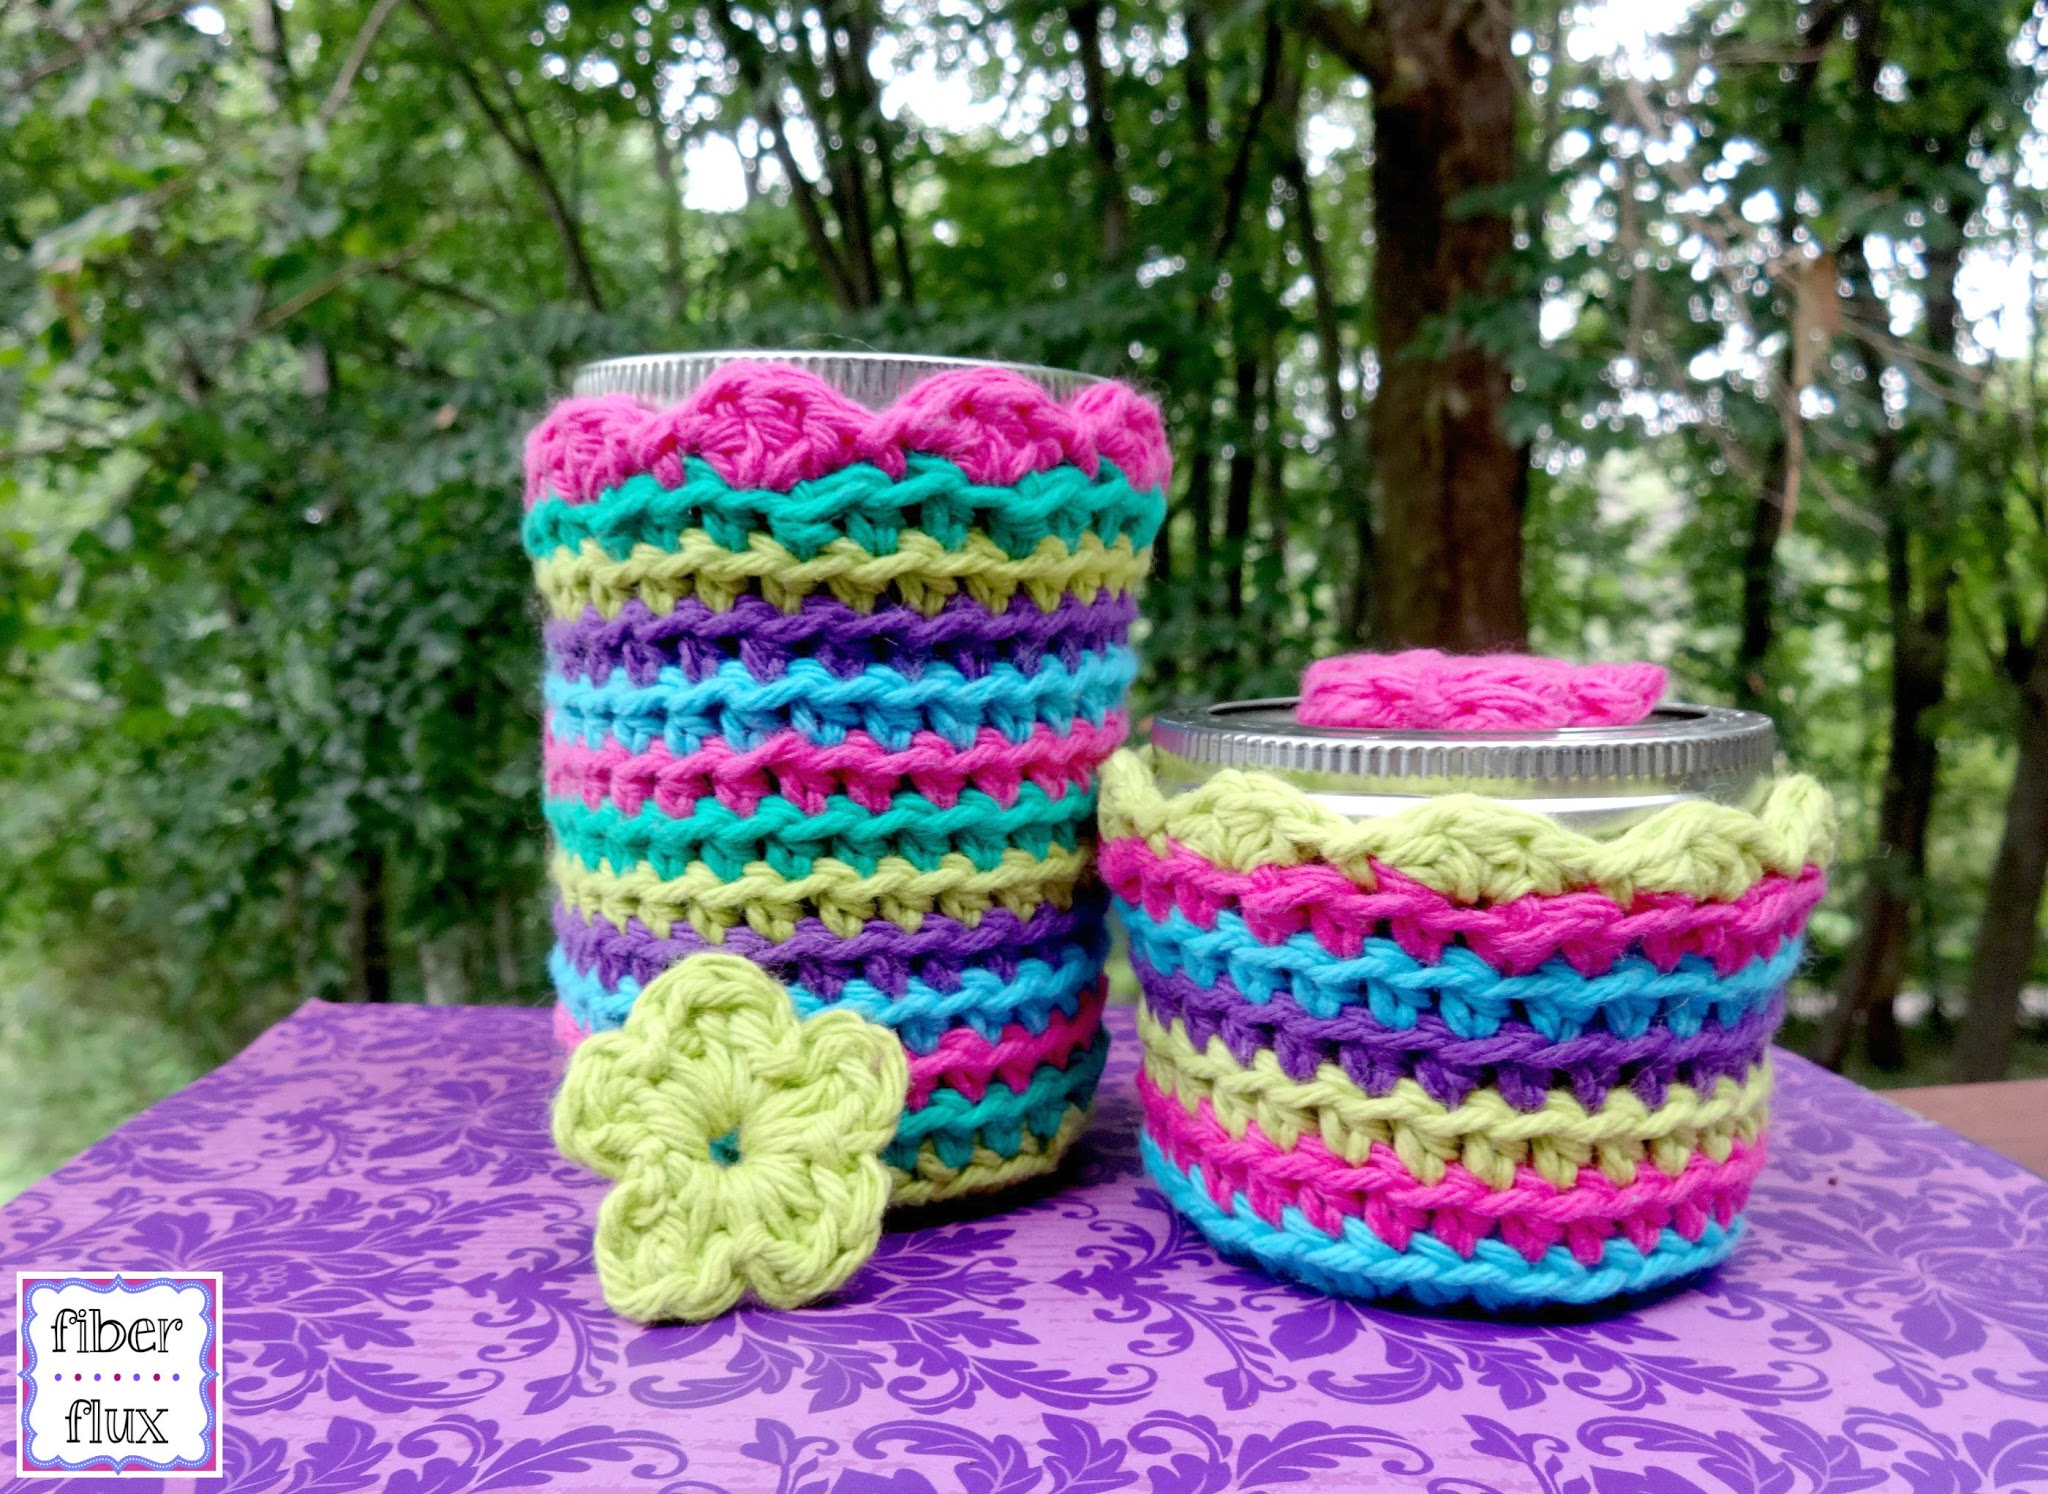
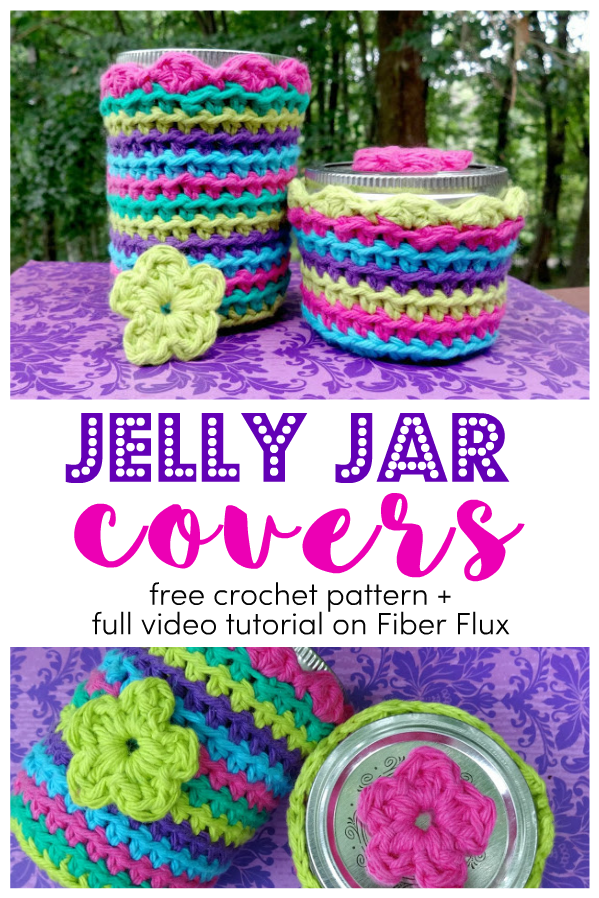
I made these fun jelly jar covers to liven up some plain old jars I had. While these are great for gifting your handmade jellies and jams, they also make gorgeous storage jars for little things like buttons, beads, and lots more!
Jelly Jar Covers
By Jennifer Dickerson
Click the button below to add this project to your Ravelry Queue:

Click below to watch the full video tutorial for this project:
Materials Needed:
- Cotton dishcloth yarn, any colors you like or have on hand
- H (5.0 mm) crochet hook
- Scissors
- Tapestry needle
- Jelly jars (jars shown are Ball brand glass quilted jelly jars)
Get yarn for this project here:

(affiliate link)
Tutorial Links:
- Chain (ch)
- Slip Stitch (sl st)
- Half Double Crochet (hdc)
- Double Crochet (dc)
- Crocheting in the Back Loops Only (blo)
- Magic Ring/Magic Circle
- One Round Flower
Instructions:
Note: I worked one round of each color, feel free to experiment with any stripe combinations you like!
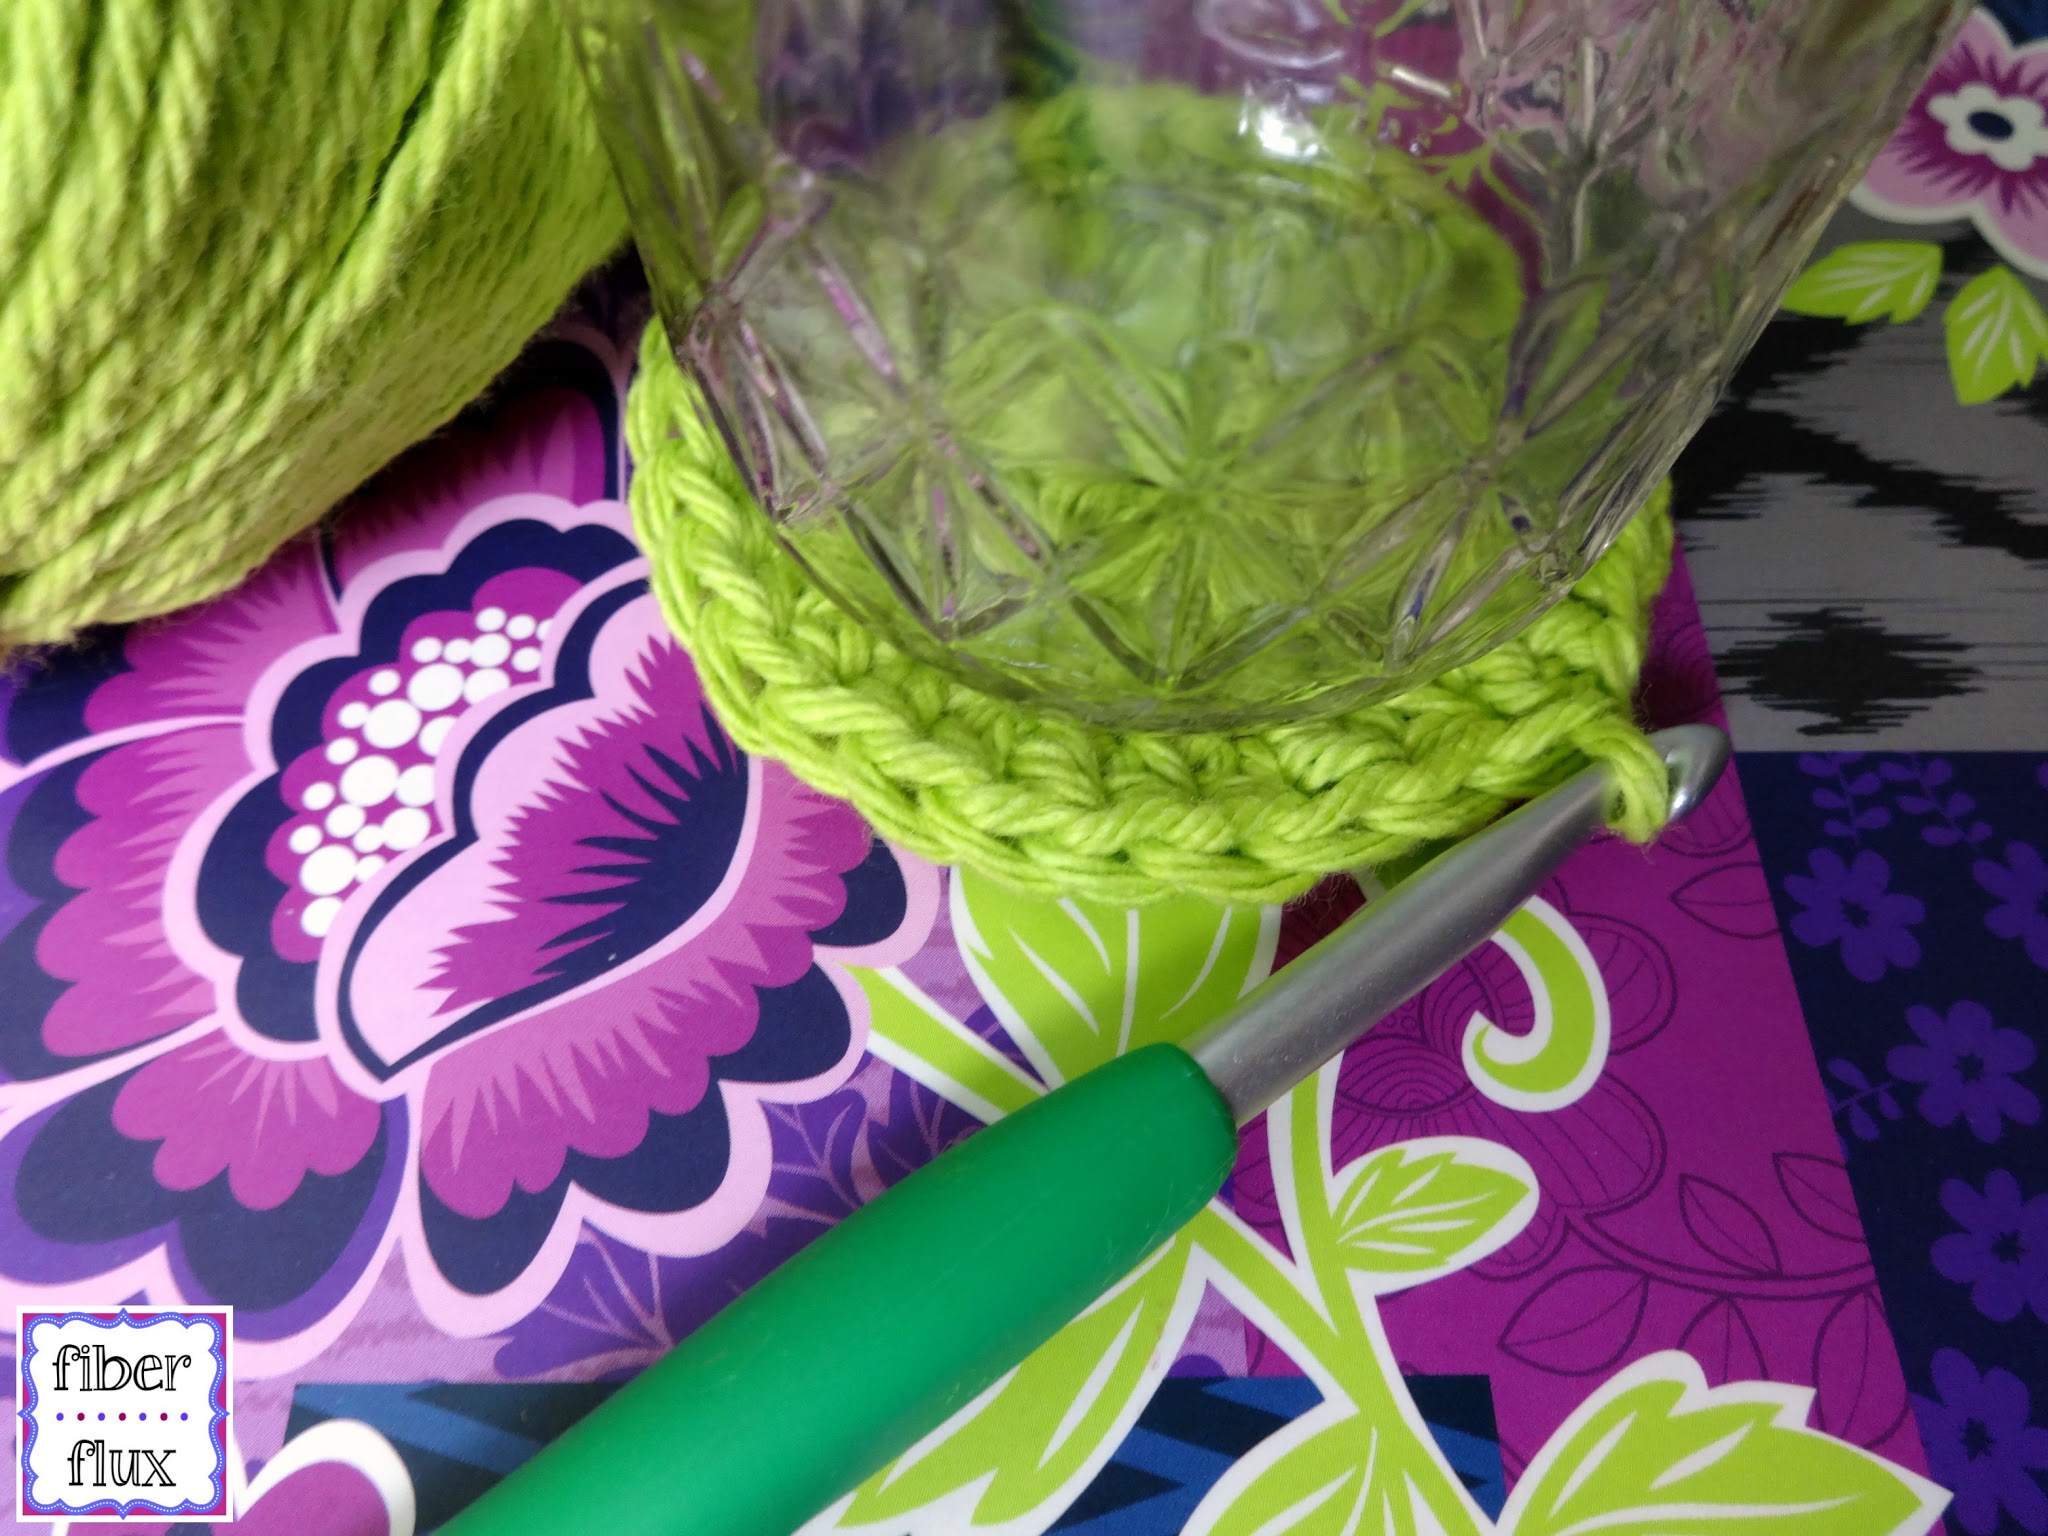
Ch 4 and join with a sl st to form a ring. (note: if you prefer the magic ring, feel free to use this method instead, see tutorial links above too)
Round 1: Ch 2, then work 11 hdc into the center of the ring. Join with a sl st to close round.
Round 2: Ch 2, work 1 hdc in the first st then 2 hdc in each stitch around. Join with a sl st to close round.
Round 3: Ch 2, work 1 hdc in the first st then *2 hdc in the next st, then 1 hdc in the next st. Rpt from * around. Join with a sl st to close round.
Round 4: Ch 2, then work a hdc in each st in the back loops only (blo). Join with a sl st to close round.
Repeat round 4 until cover is as tall as your jar. I worked all the way up to the point where the base and the lid met.
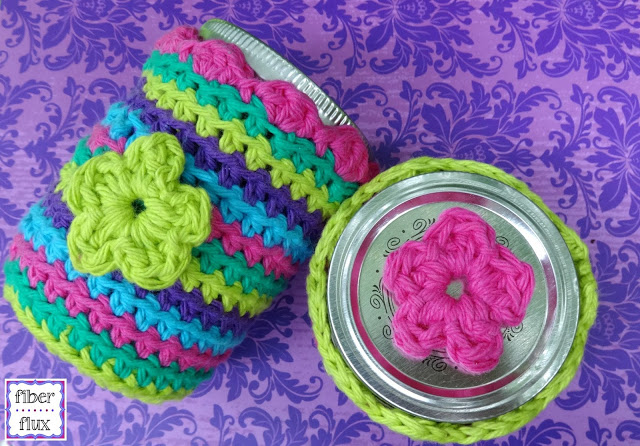
Scallop edging:
For the taller scallop shown in pink:
Ch 3 and work 2 dc in the first st. *Sl st in the next st, skip the next st, then work 3 dc in the next st. Rpt from * to end of round, join to close with a sl st then fasten off.
For the shorter scallop shown in green:
Ch 3 and work 2 hdc in the first st. *Sl st in the next st, skip the next st, then work 3 hdc in the next st. Rpt from * to end of round, join to close with a sl st then fasten off.
Finishing & Assembly:
Weave in all ends and you’re finished! To add the flower (pattern link below), you can sew it onto the cozy or glue it to the lid if using for storage (if you want to reuse the jars for food preservation, don’t glue anything to the jar or lid)
Click here for one round flower pattern (pattern + video)
Happy crocheting lovelies!
For more fun projects and pretty patterns, be sure to follow Fiber Flux on Google+, Facebook, Twitter, and Pinterest for the latest updates!


This comment has been removed by a blog administrator.