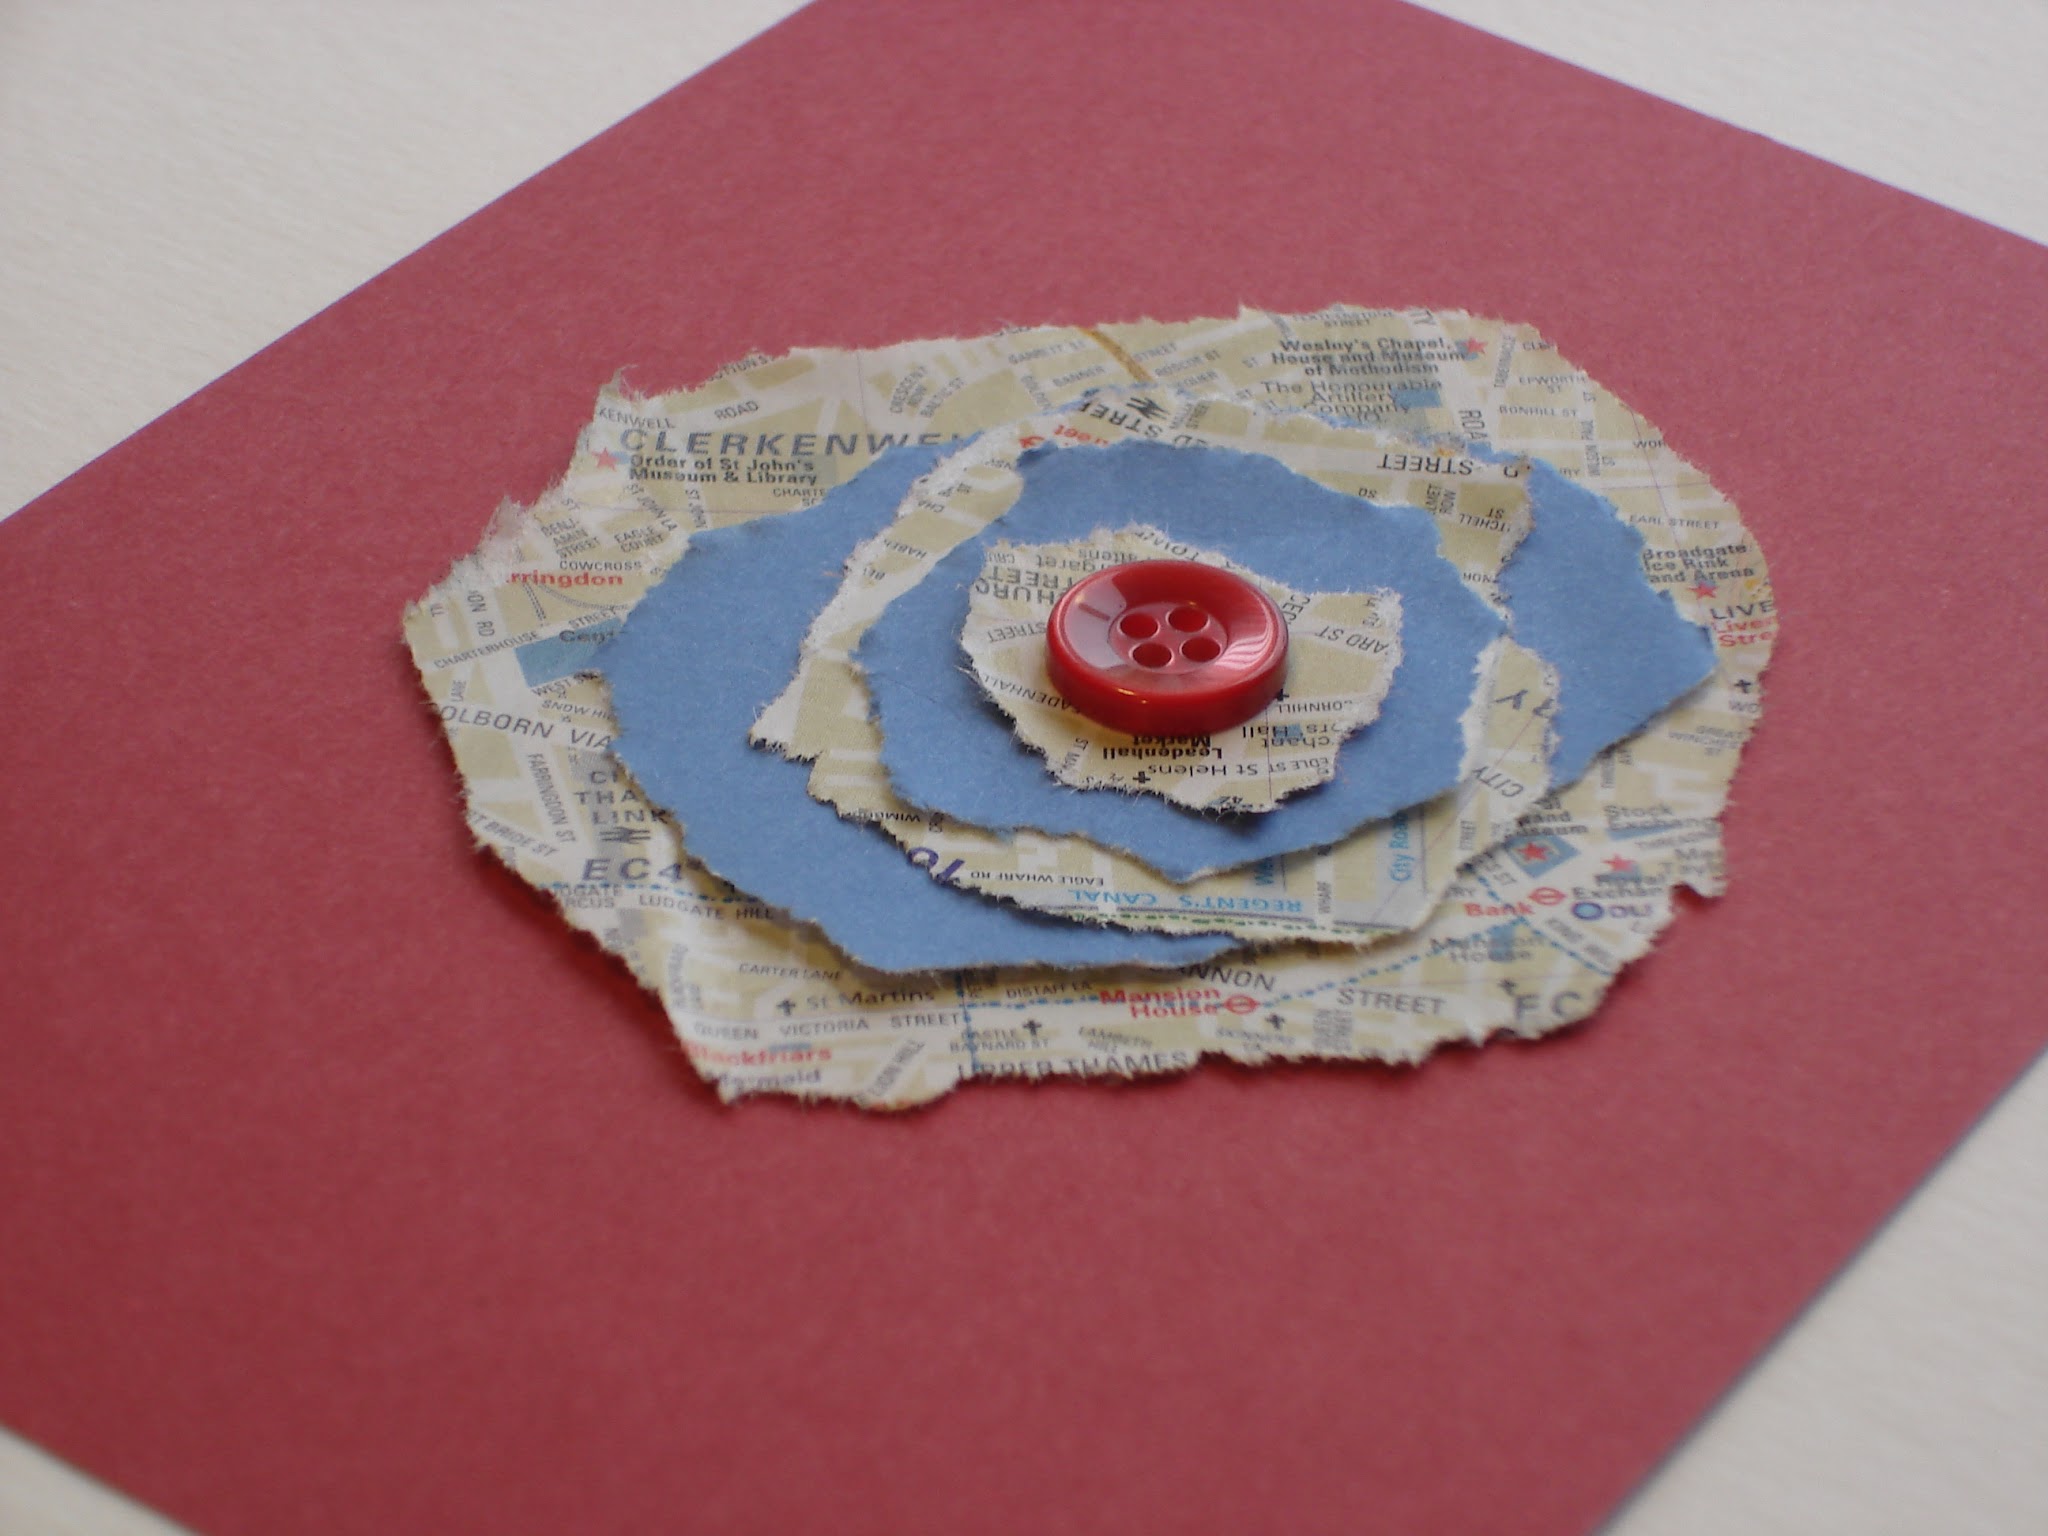
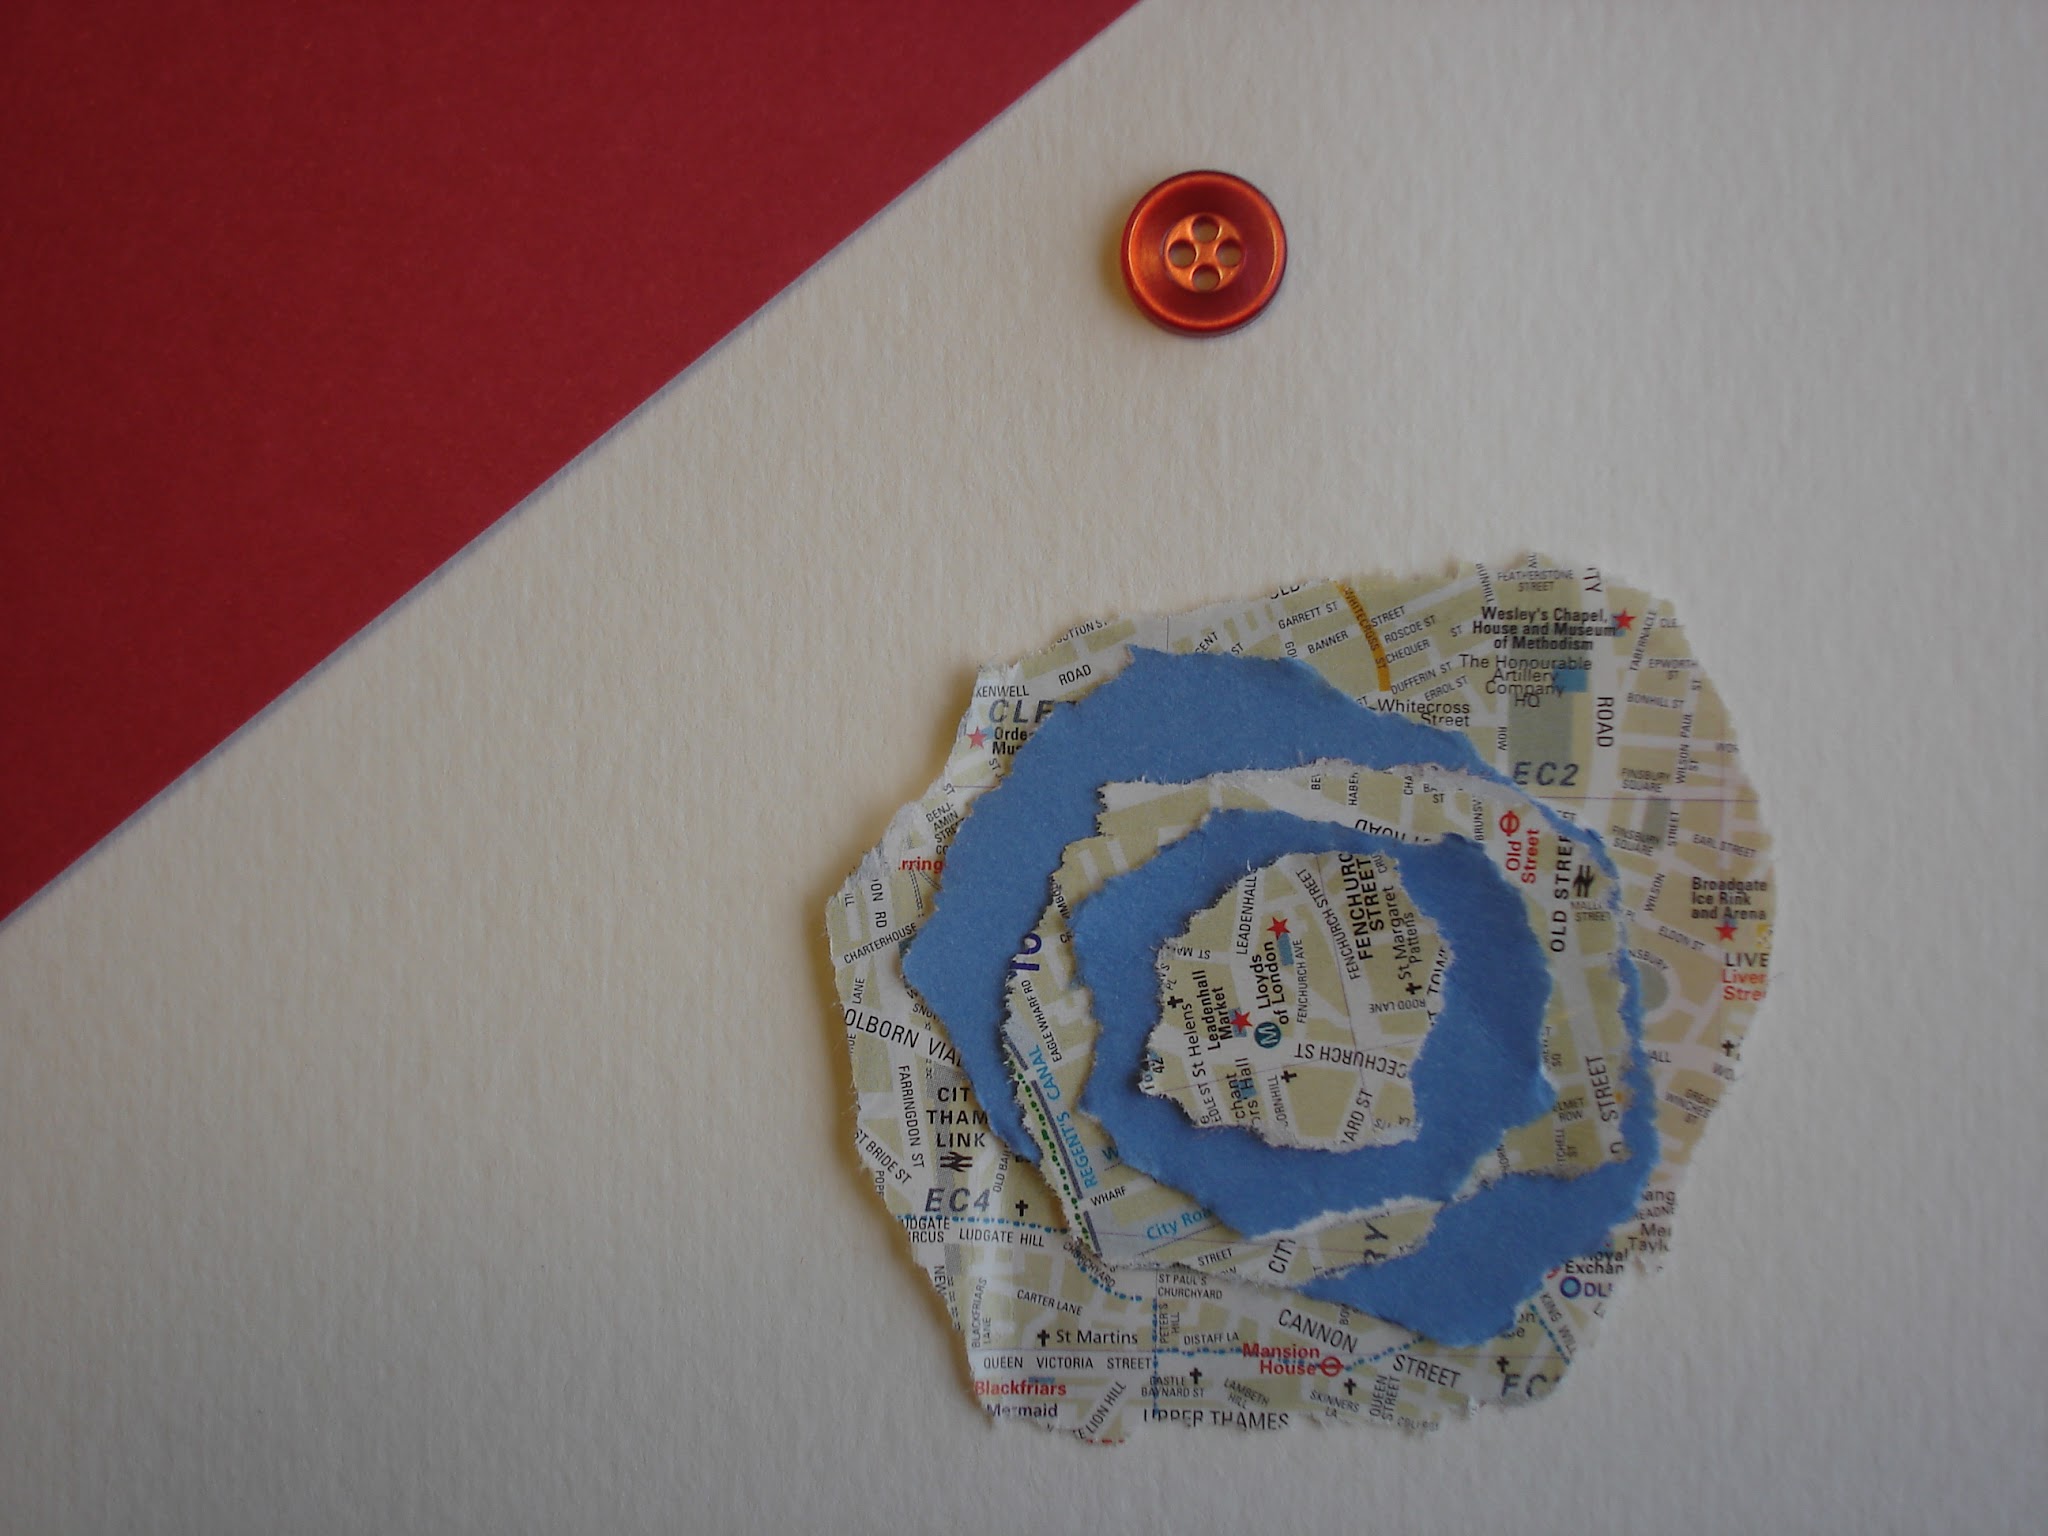
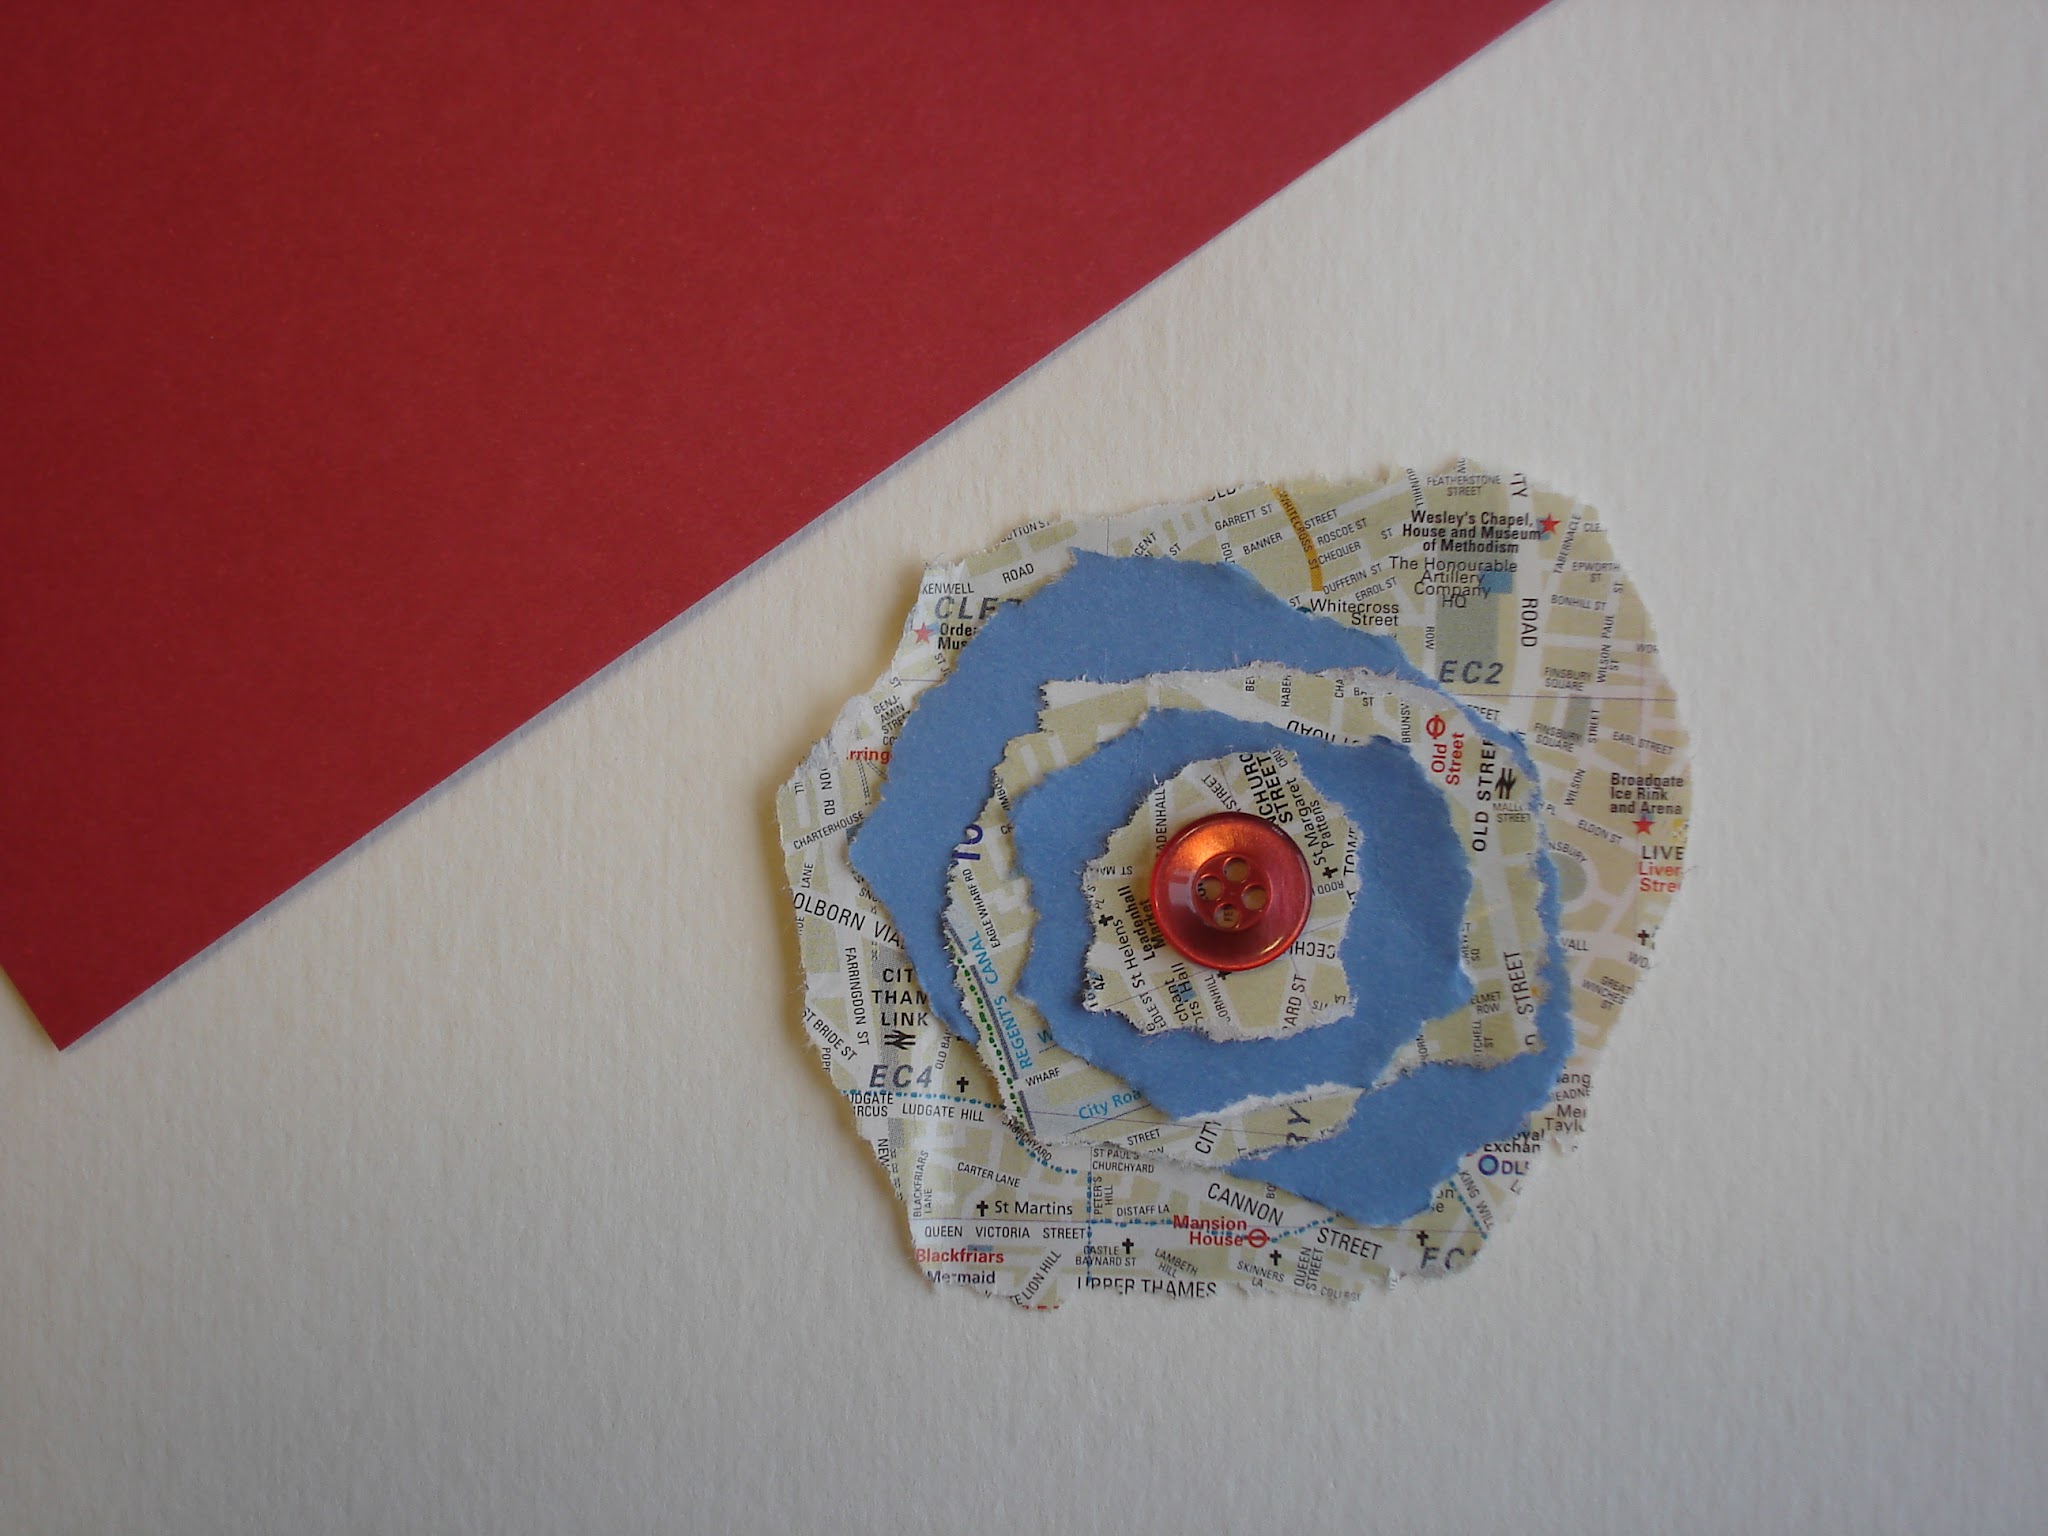
These cards feature a flower on the front using torn paper arranged in layers to form a flower and finished with a button.
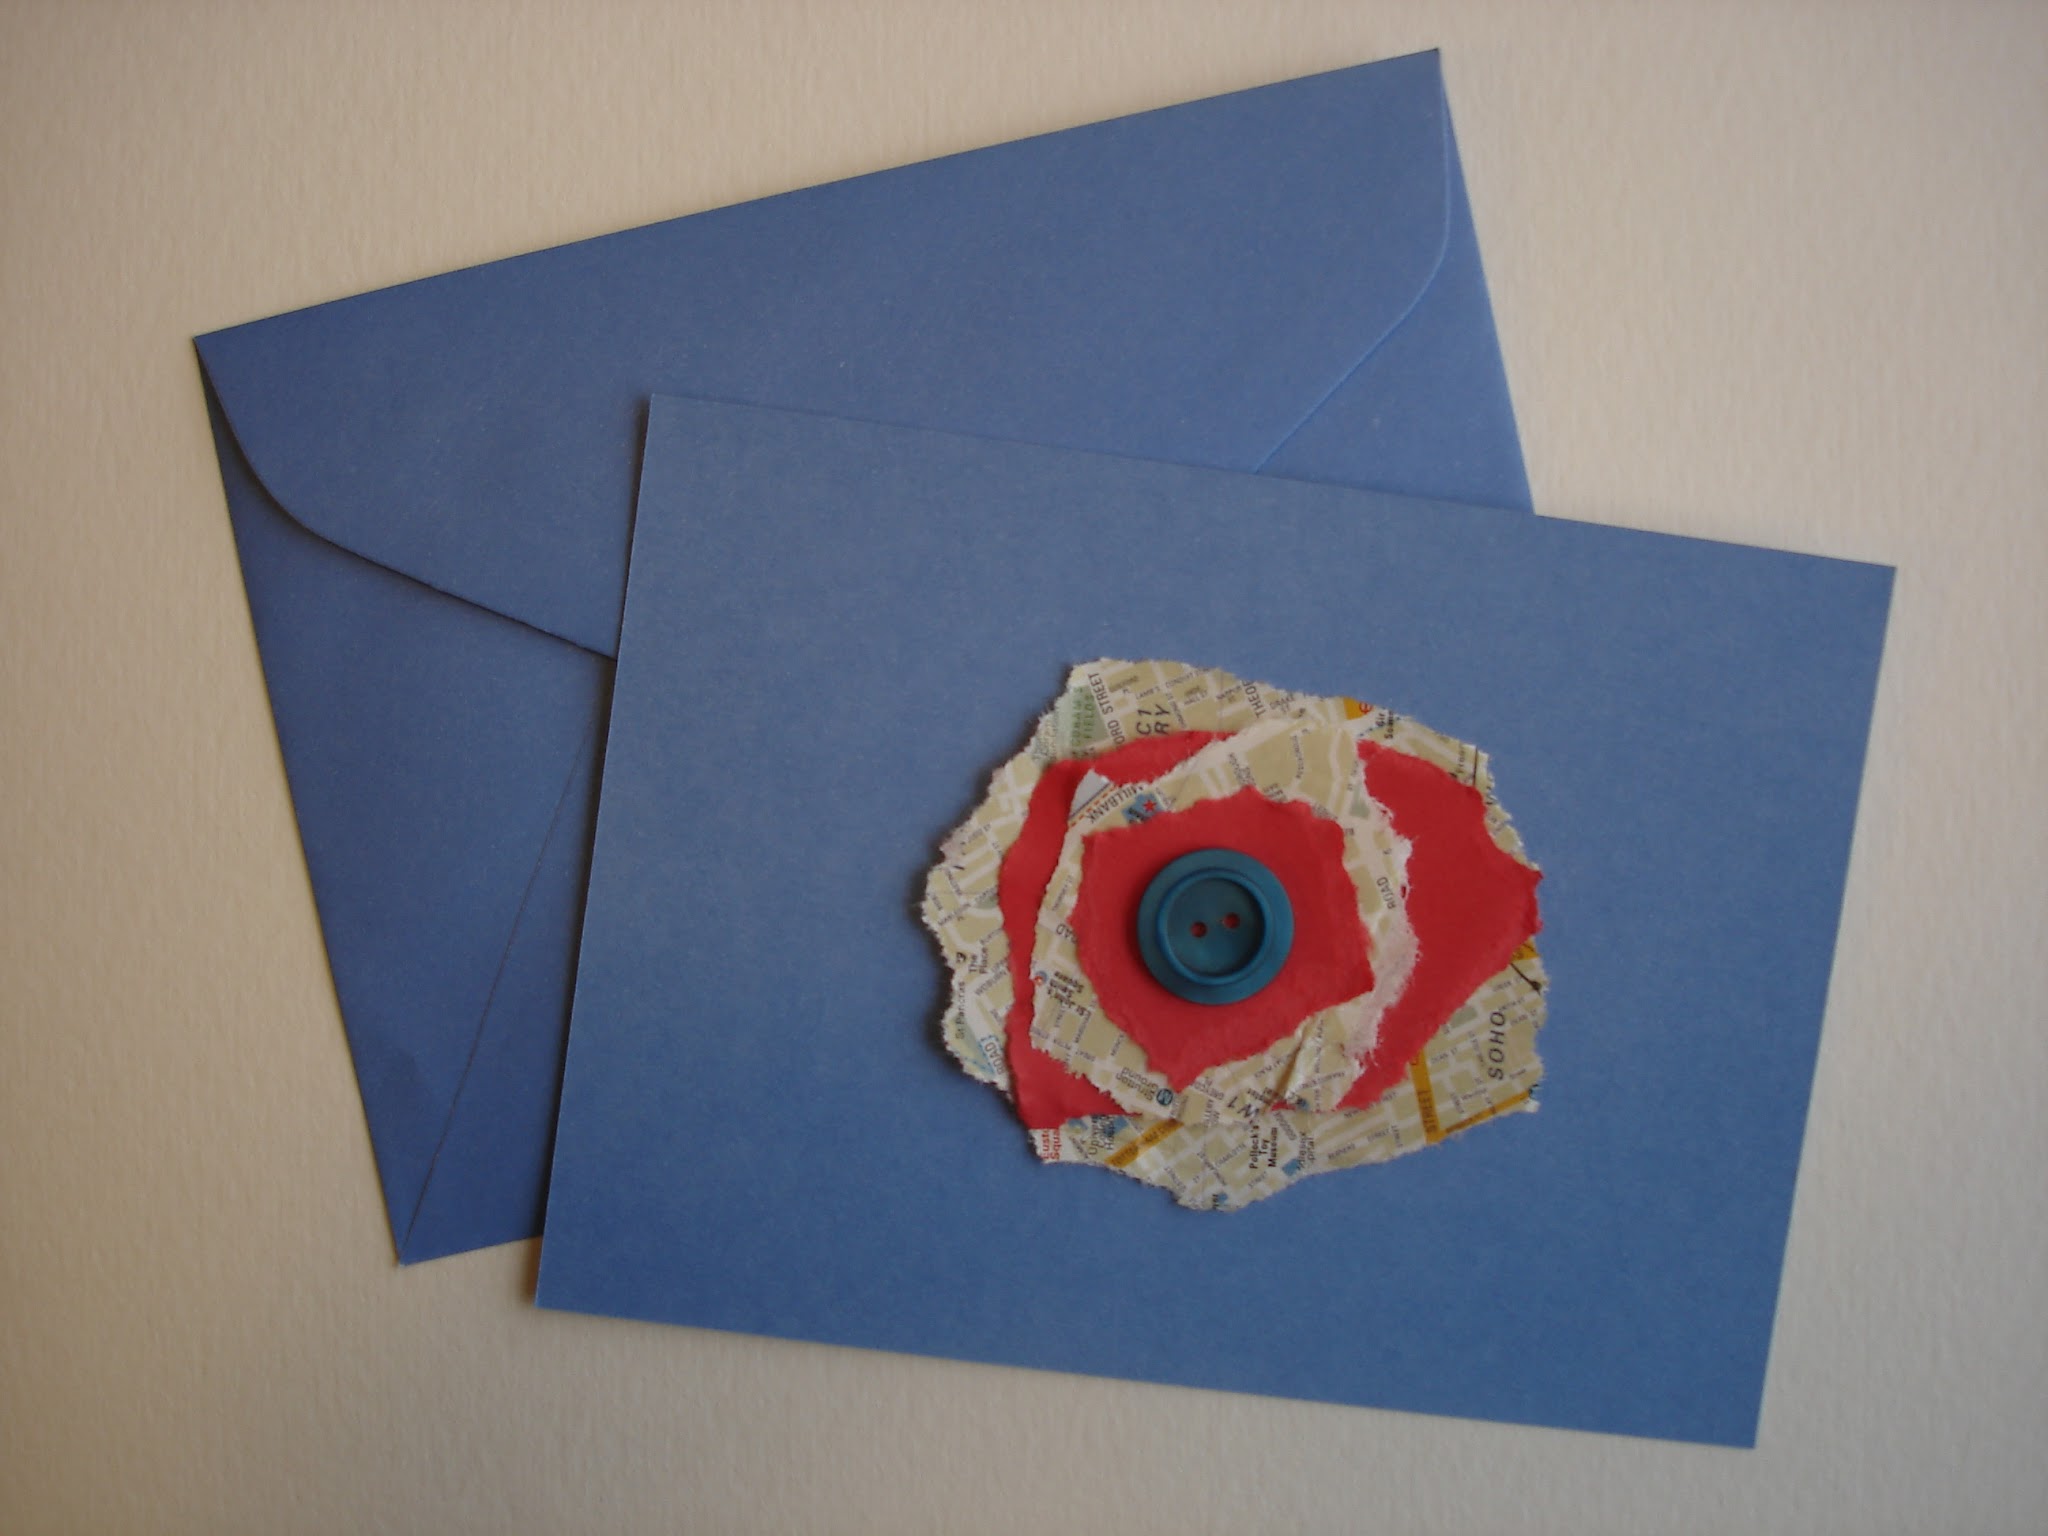 |
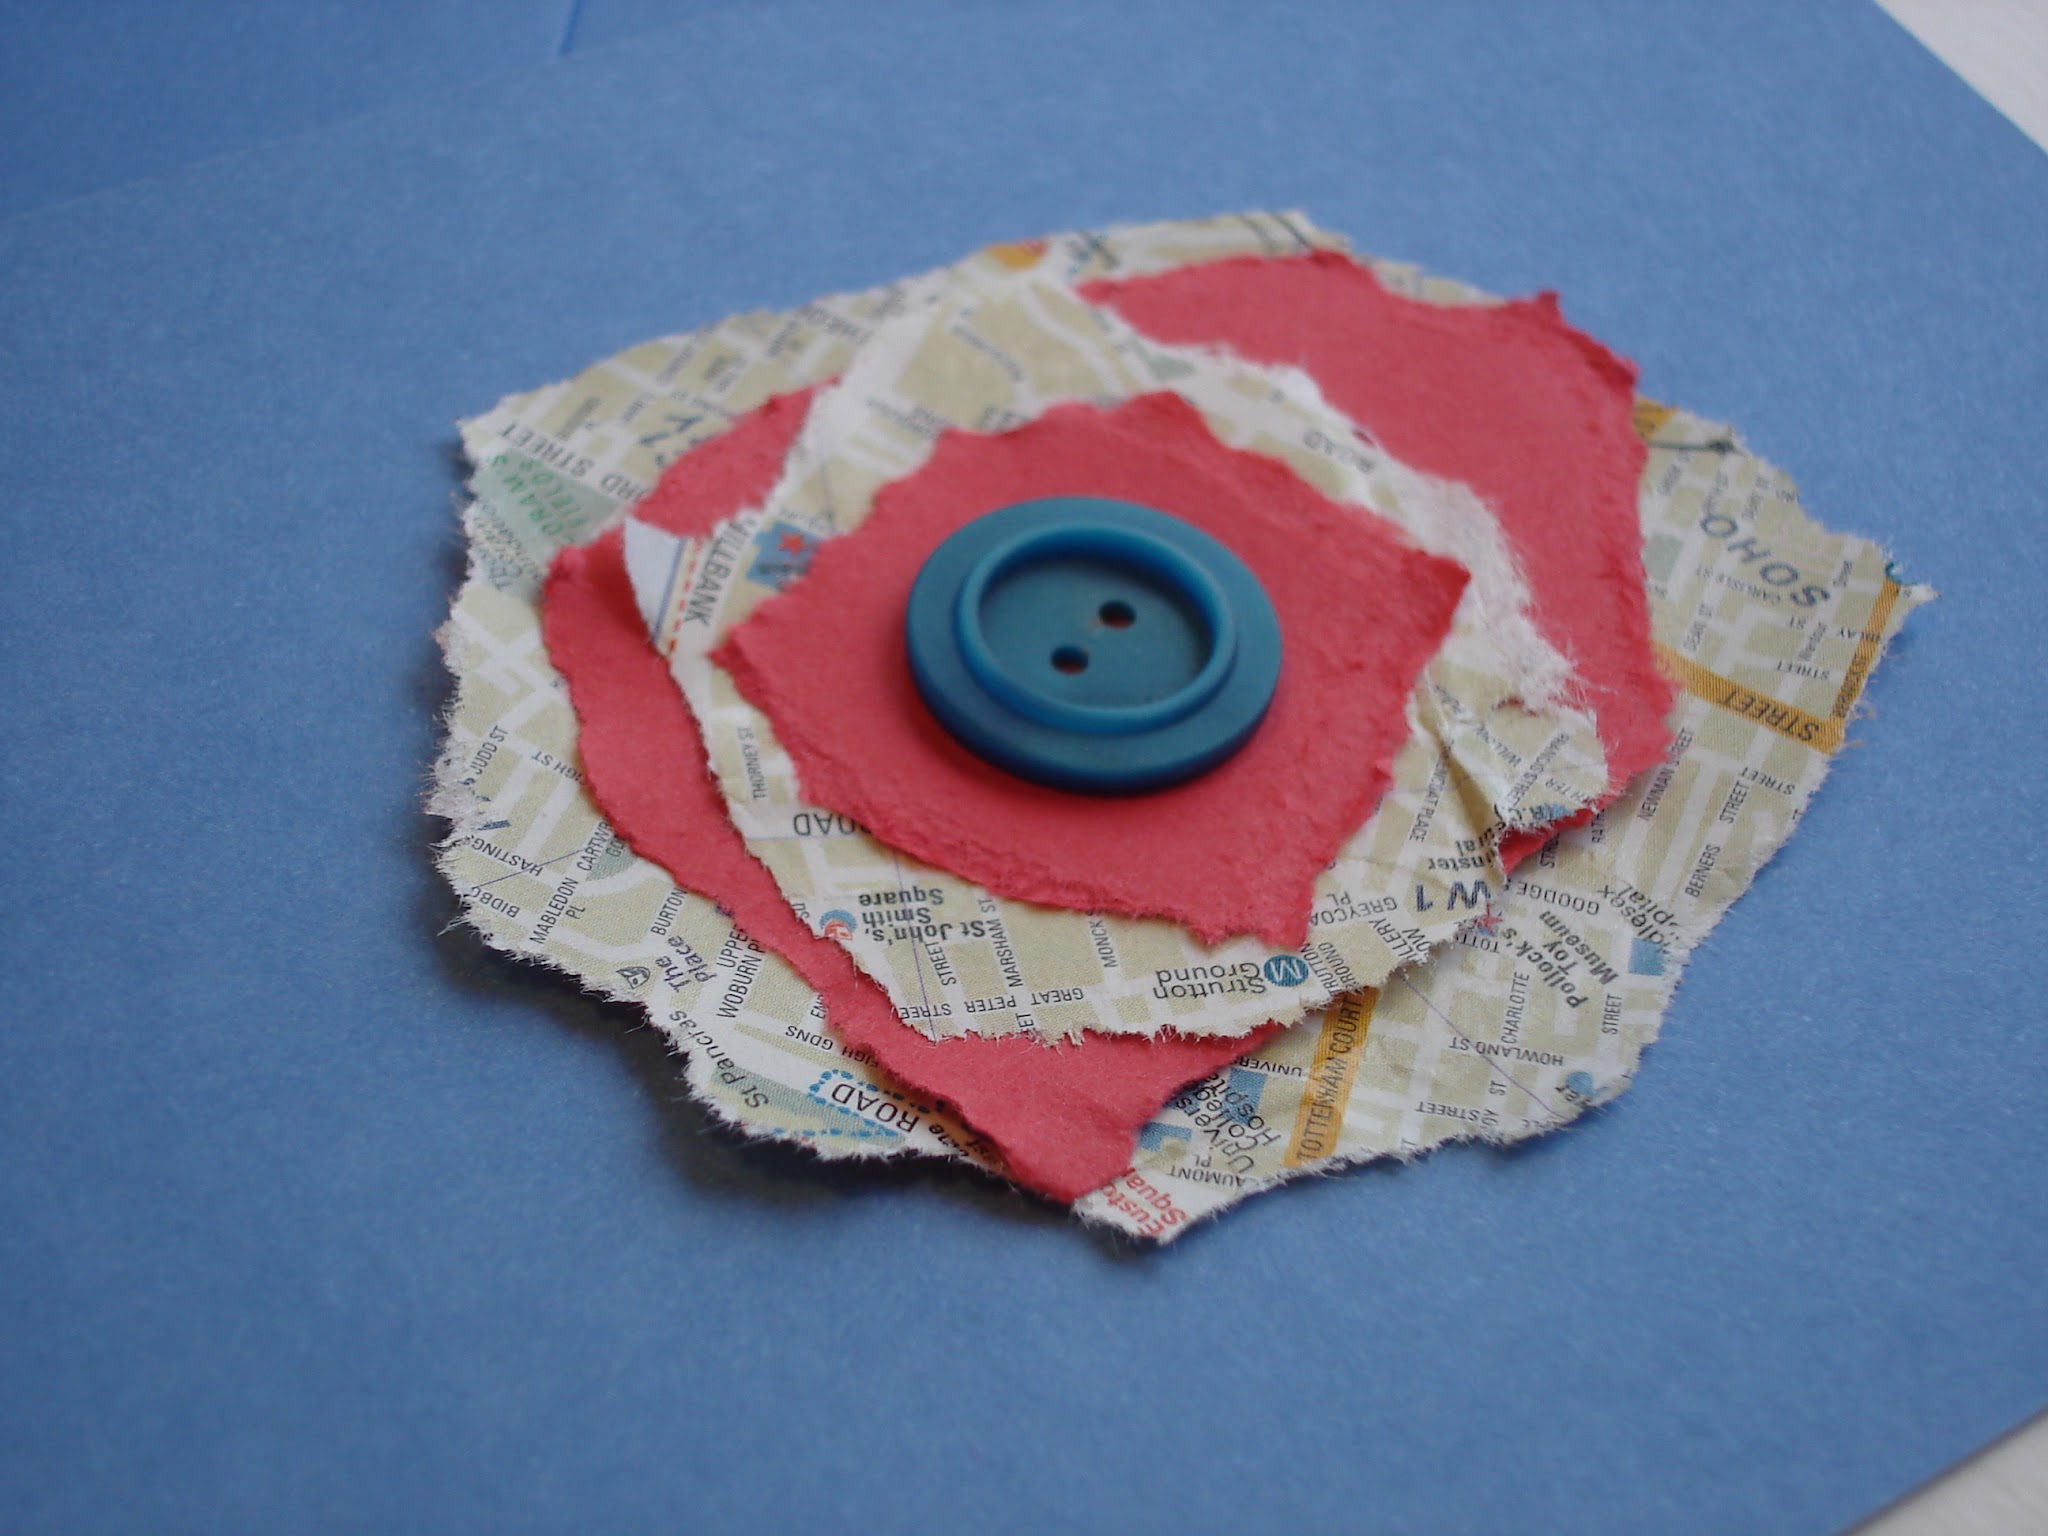
| For this one I used a map from my travels to London and a vintage button to top it off. |
One thing that can either hinder or help a crafter is choosing the best adhesive. For this project I chose not to use traditional glue, which causes this:
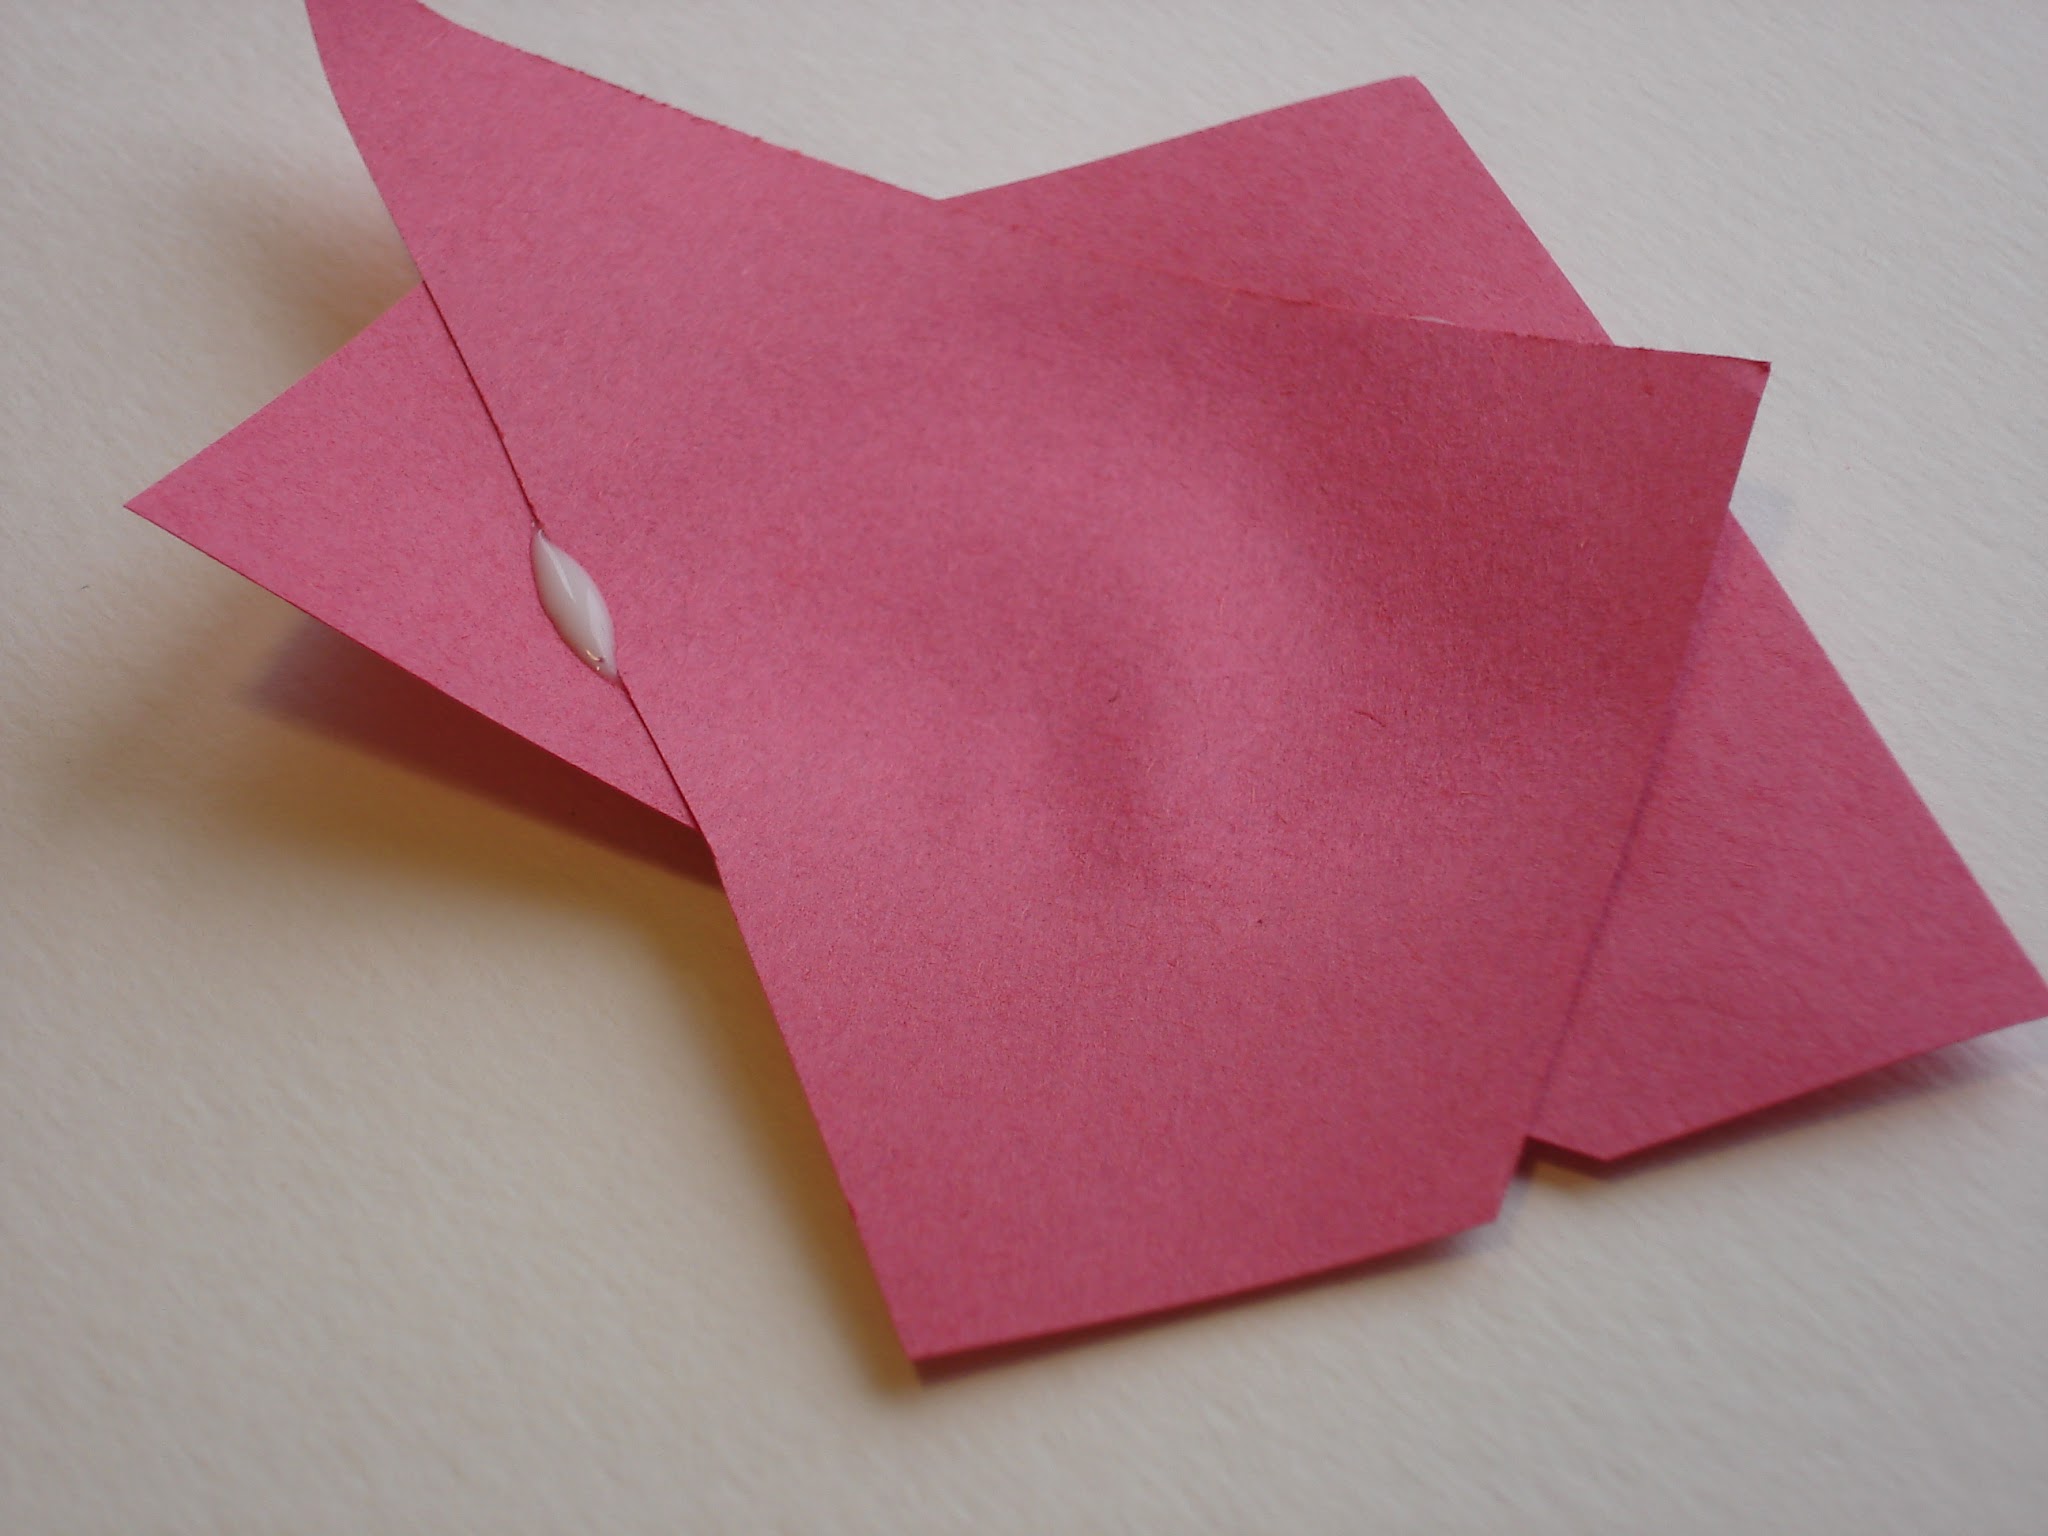 |
| Wrinkles and glue squirting out of the sides, no fun. |
Instead, the nice folks at Aleene’s sent me some really cool adhesives to try out…awesome!
The result was a mess free project that took only minutes to complete with no wrinkles and zero drying time.
Materials:
- Blank Notecards with Envelopes
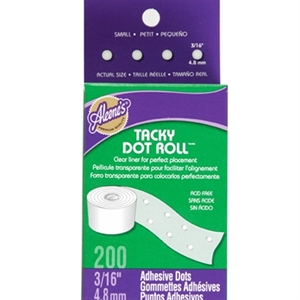
- Aleene’s Tacky Dot Roll, Size Small
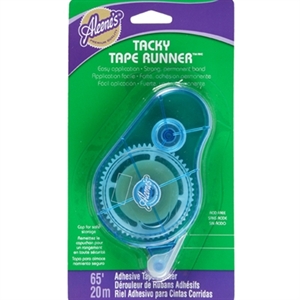
- Aleene’s Tacky Tape Runner
*Both of these products can be found at www.ilovetocreate.com and at www.michaels.com
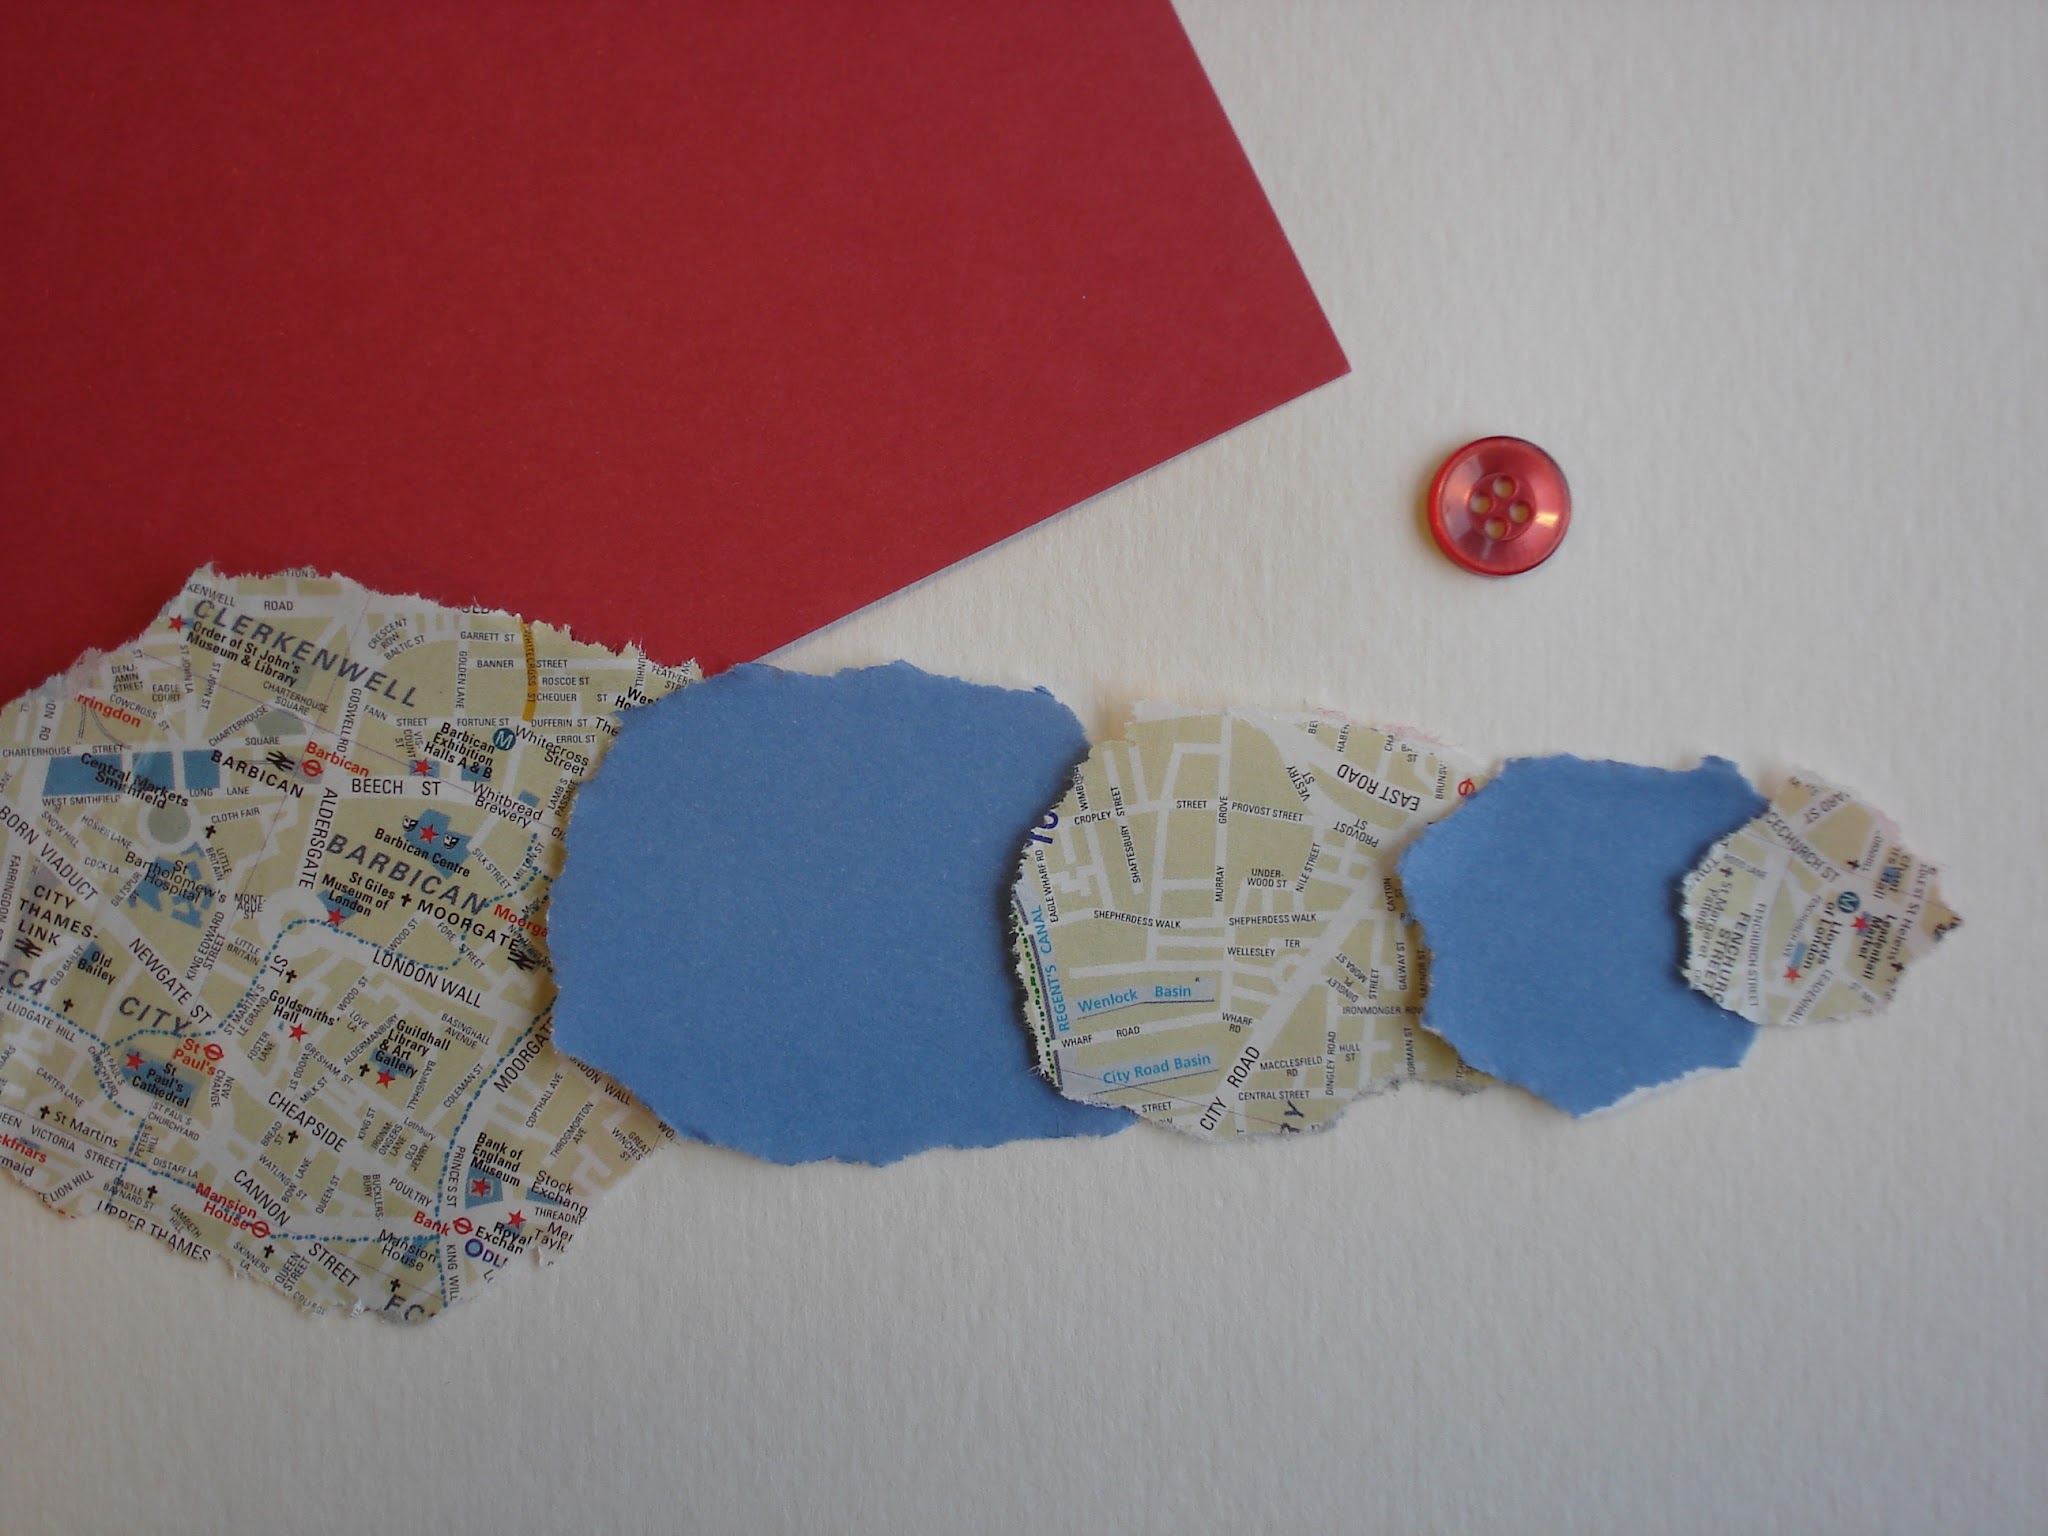
- Scraps of paper (book pages, maps, scrapbooking paper, origami paper, etc.)
- Button(s)
And here are the adhesives I used:
Aleene’s Tacky Dot Roll:
Aleene’s Tacky Tape Runner:
Make the Flowers:
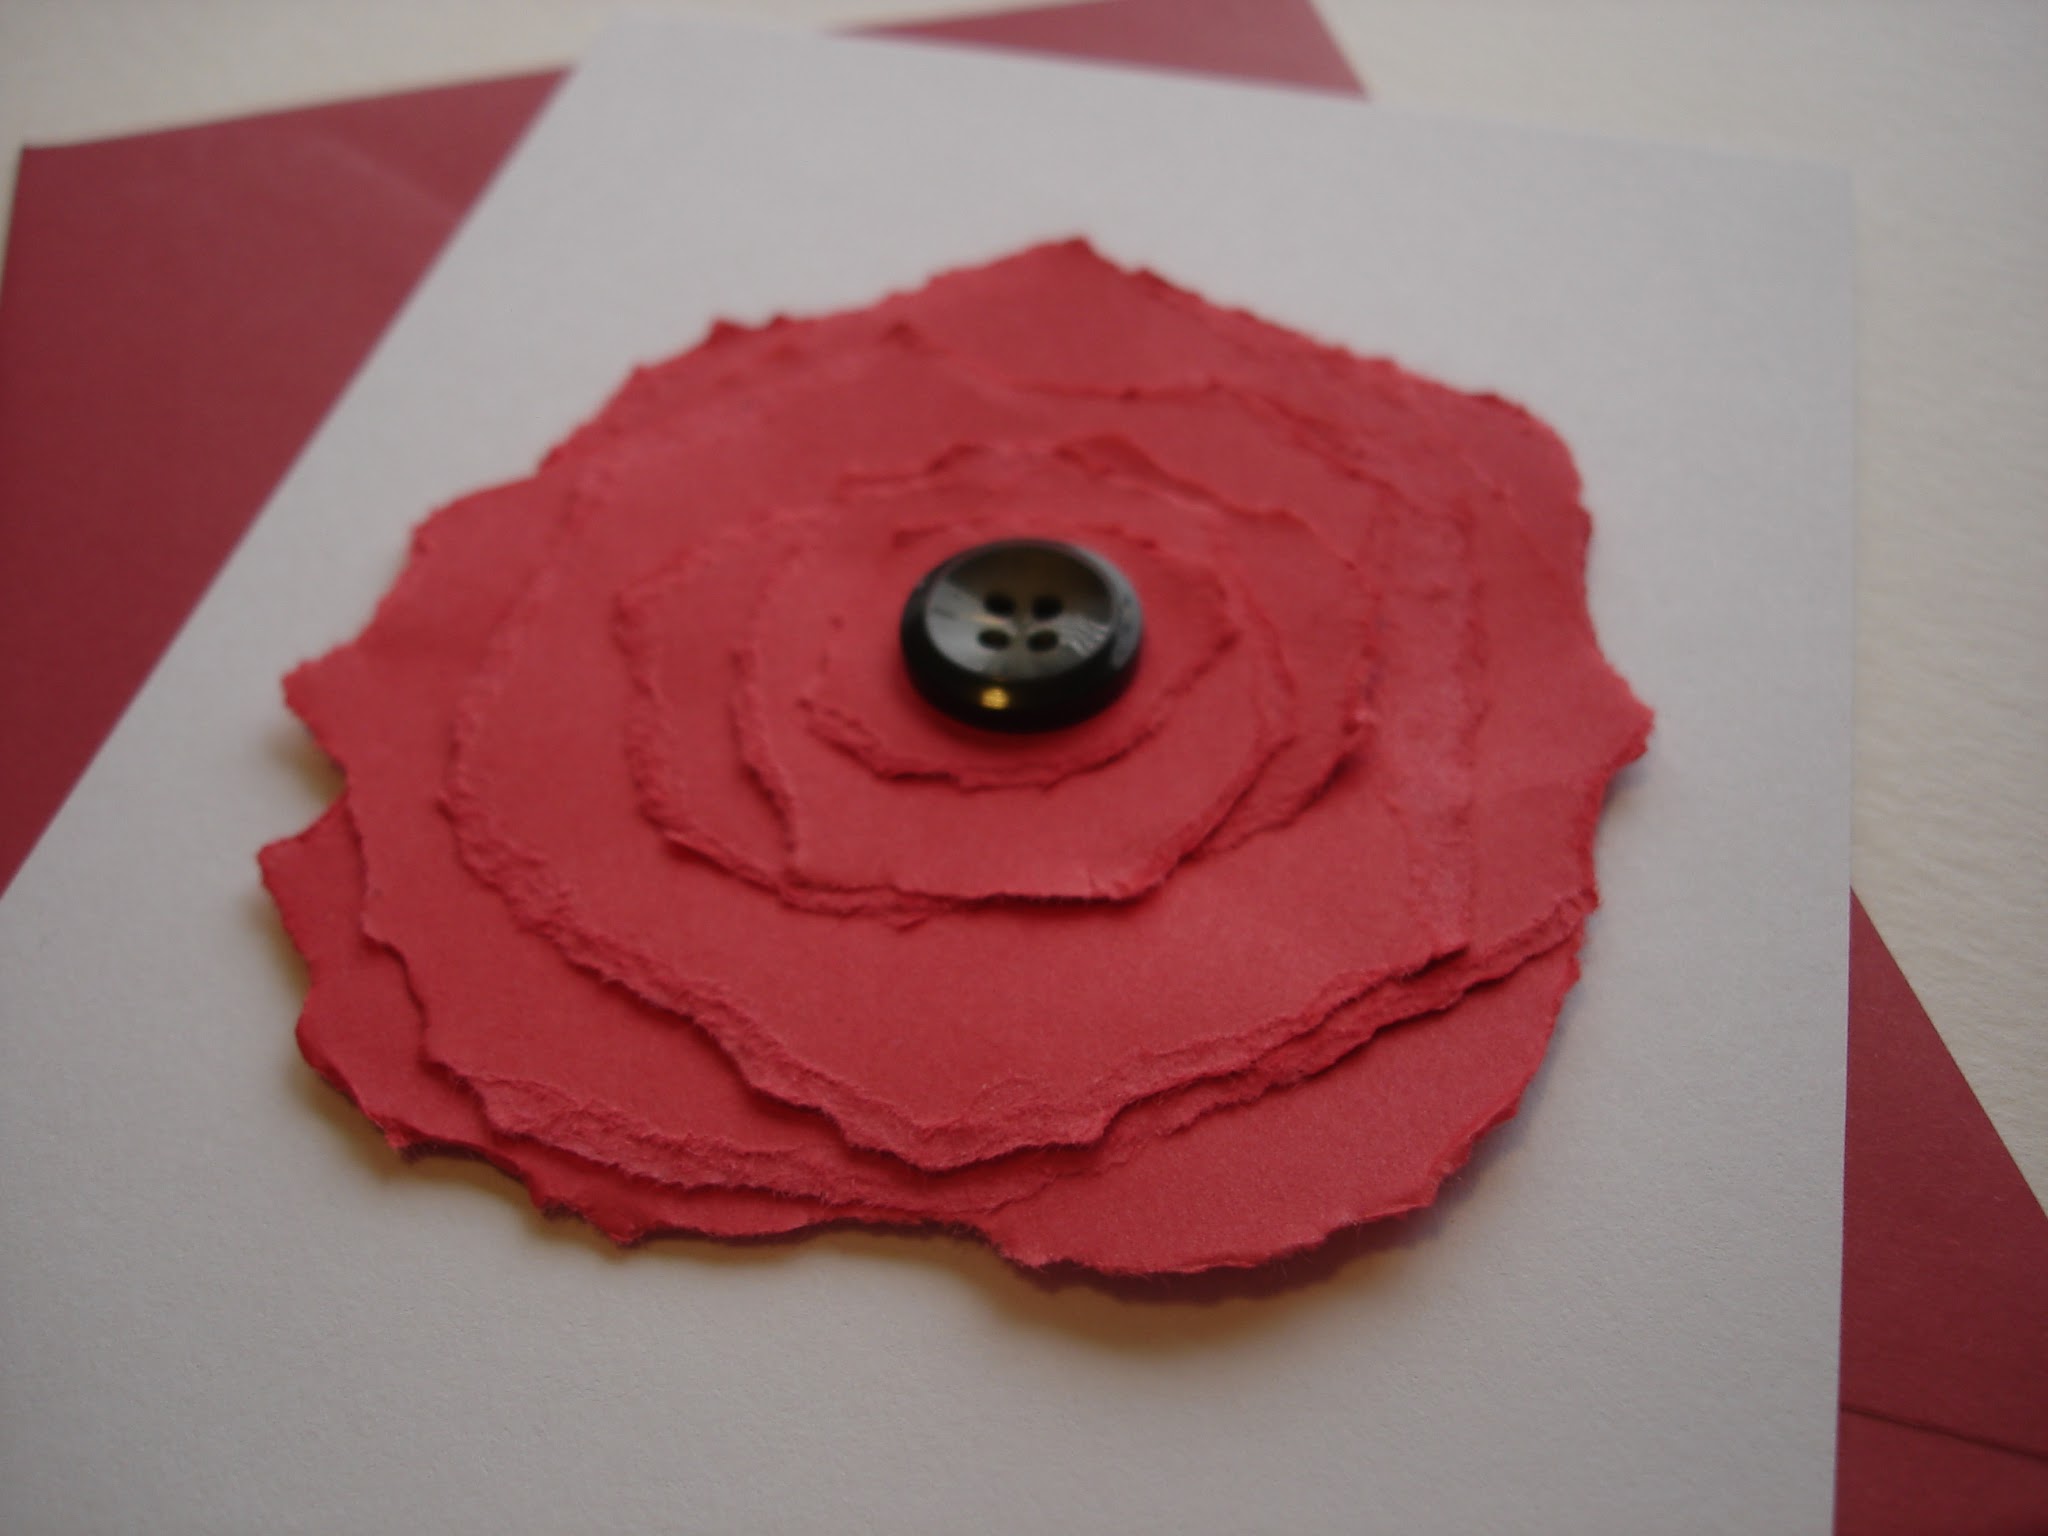
Choose your color scheme and tear selected papers into circles, and stack largest to smallest and attach each one together using the tacky tape runner:
Just like this! Irregular edges are a good thing in this project, they add lots of interest.
Don’t forget to add the button to finish…I used the tacky dot roll and it held it very strongly and cleanly in place.
Finish by using the tacky tape runner to secure it to the card.
All done! So easy! Bundle a few together with some gorgeous ribbon and give as a thoughtful and unique gift this holiday season!
Disclosure: Sponsored Post, all opinions are my own.



How fun! Love the deckled edges. Always adds a rustic touch to projects. Hope you had lots of fun with the Tacky adhesives. 🙂 We are seeing some great projects and creativity coming out of all the bloggers participating!!
BTW… We featured your project on our FB page. Please like us and check it out if you haven't already! facebook.com/lovetocreate
This comment has been removed by a blog administrator.