
Yesterday I was all set to attach a button to a project I had just finished. You know that feeling of satisfaction when you finally set down your hook or needles and are all set to do the finish work? Well my happy thoughts quickly disappeared when I realized that my lovely button wasn’t going to work.
I am somewhat of a button connoisseur. I love them in all shapes, sizes and colors. I have modern ones, very old ones, and everything in between. I love combing through antique store in hopes of finding that perfect Victorian era filigree metal button, or perhaps mid-century Bakelite button set.
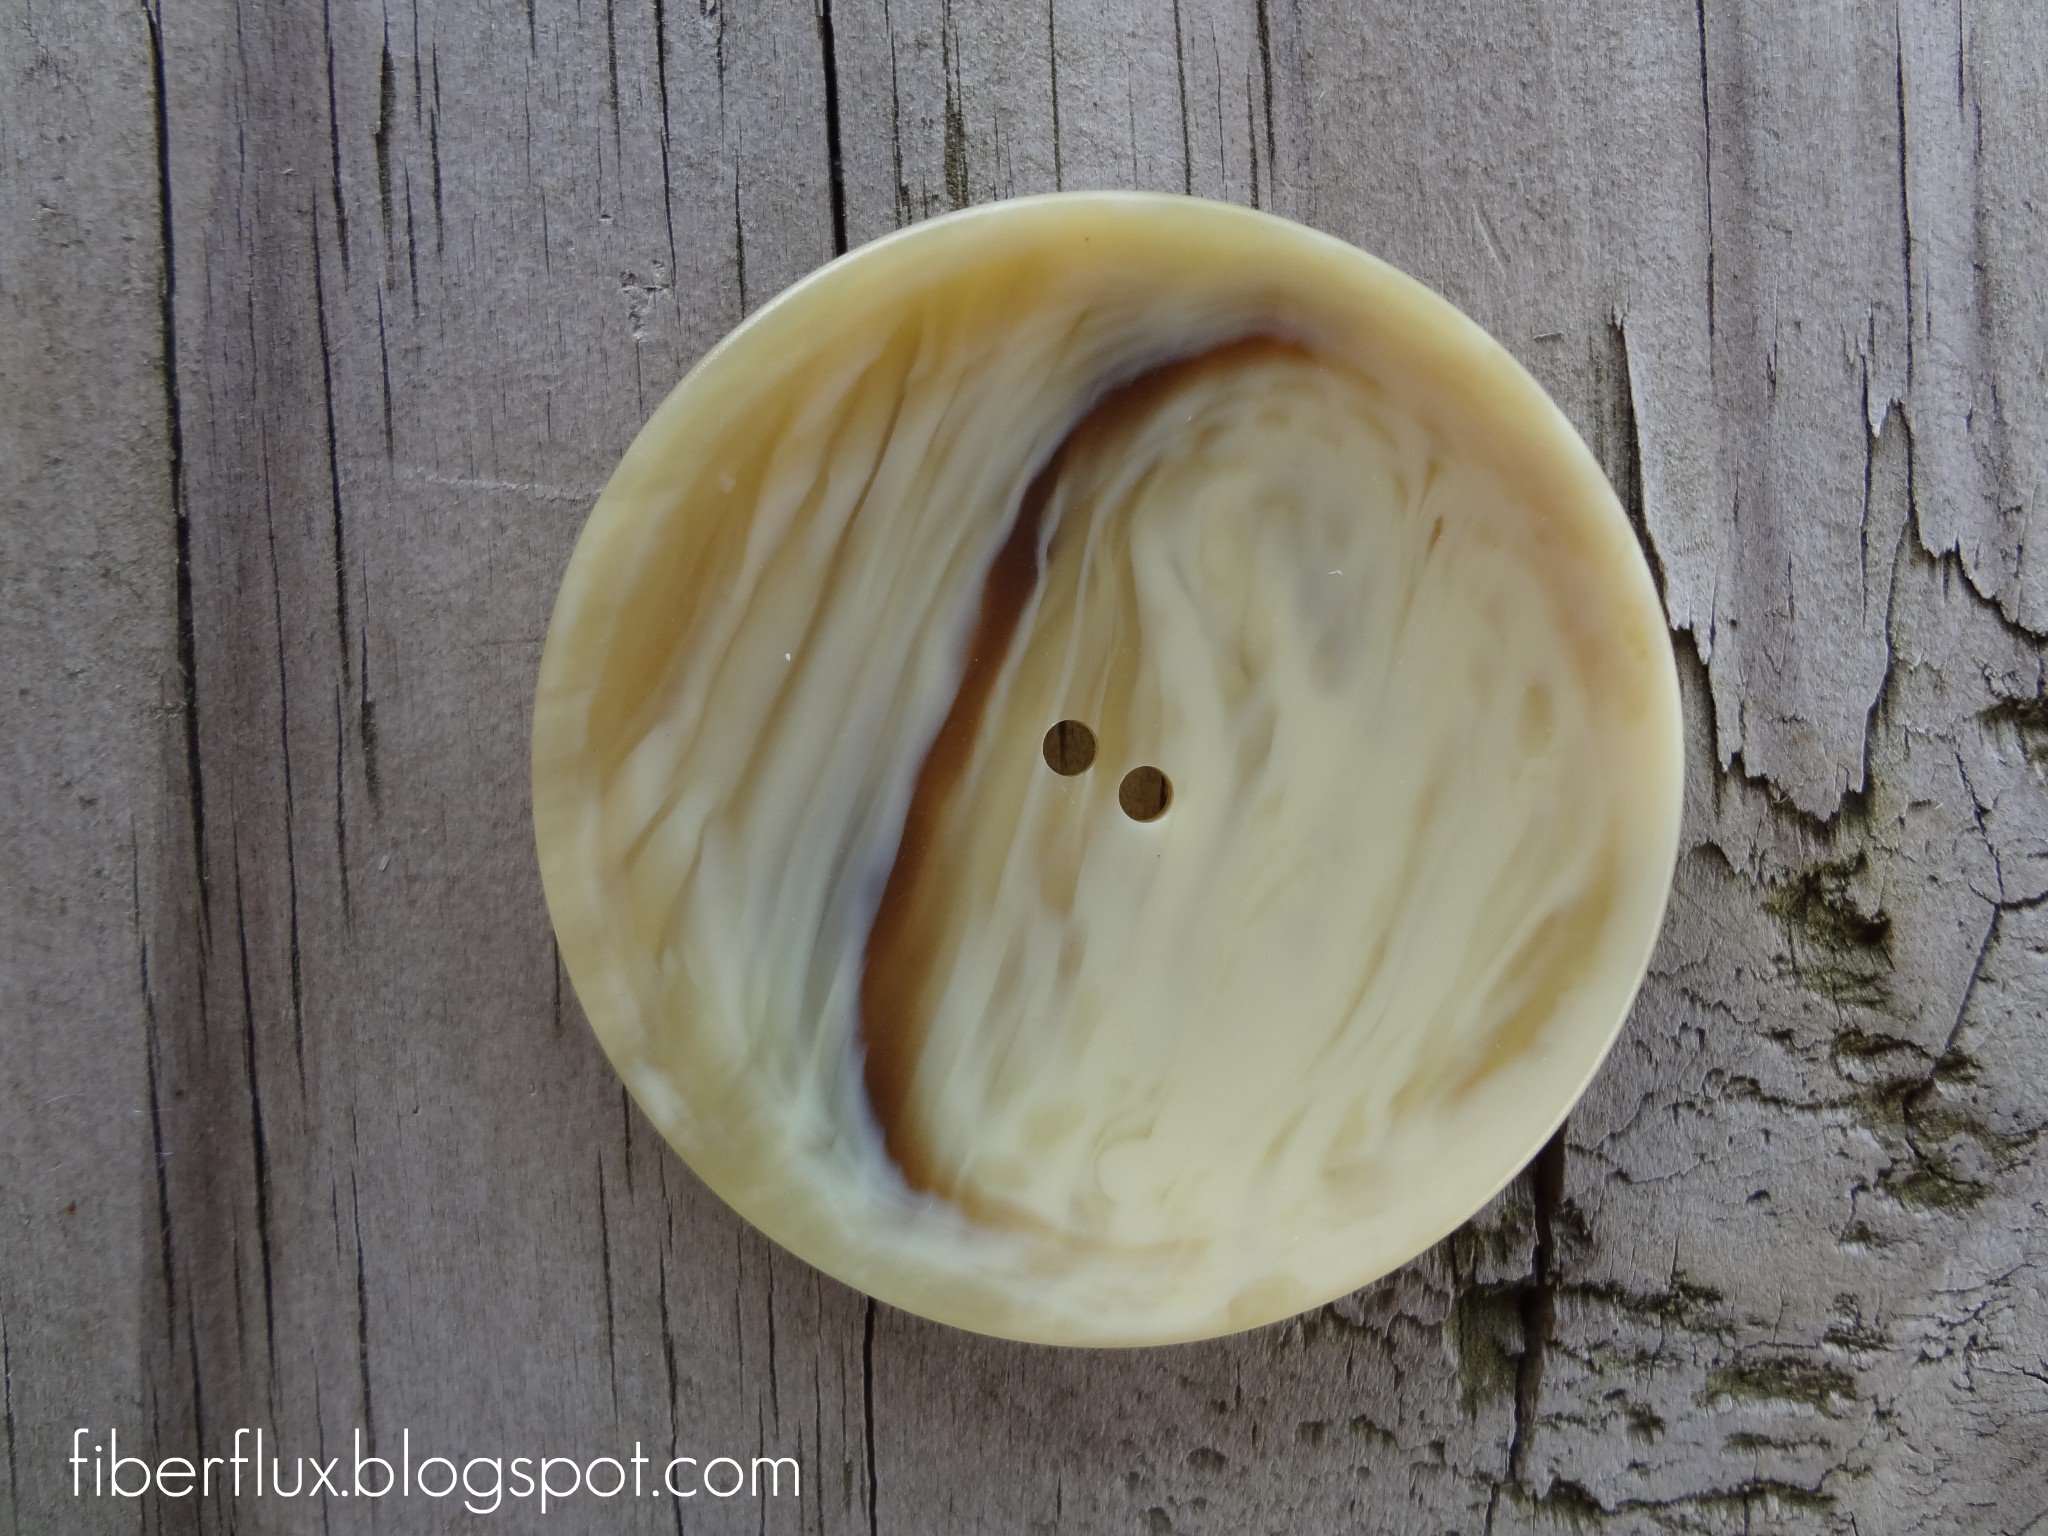
The button in question (shown below) was a 1960’s very large button, perfect to keep a fabulous drapey shawl closed. Well, this cutie simply would not allow me to get my needle through! I really love using the same yarn to attach the button, and my smallest yarn needle just wouldn’t cut it. I ended up sewing it on the old fashioned way with needle and thread, and all was well.
Lesson learned…make sure your fabulous button’s holes are big enough for a needle to pass through. Some button holes are are teeny tiny!
Here’s my tip…I now have a yarn needle in my purse for impromptu button hole tests…is that silly? I think not!
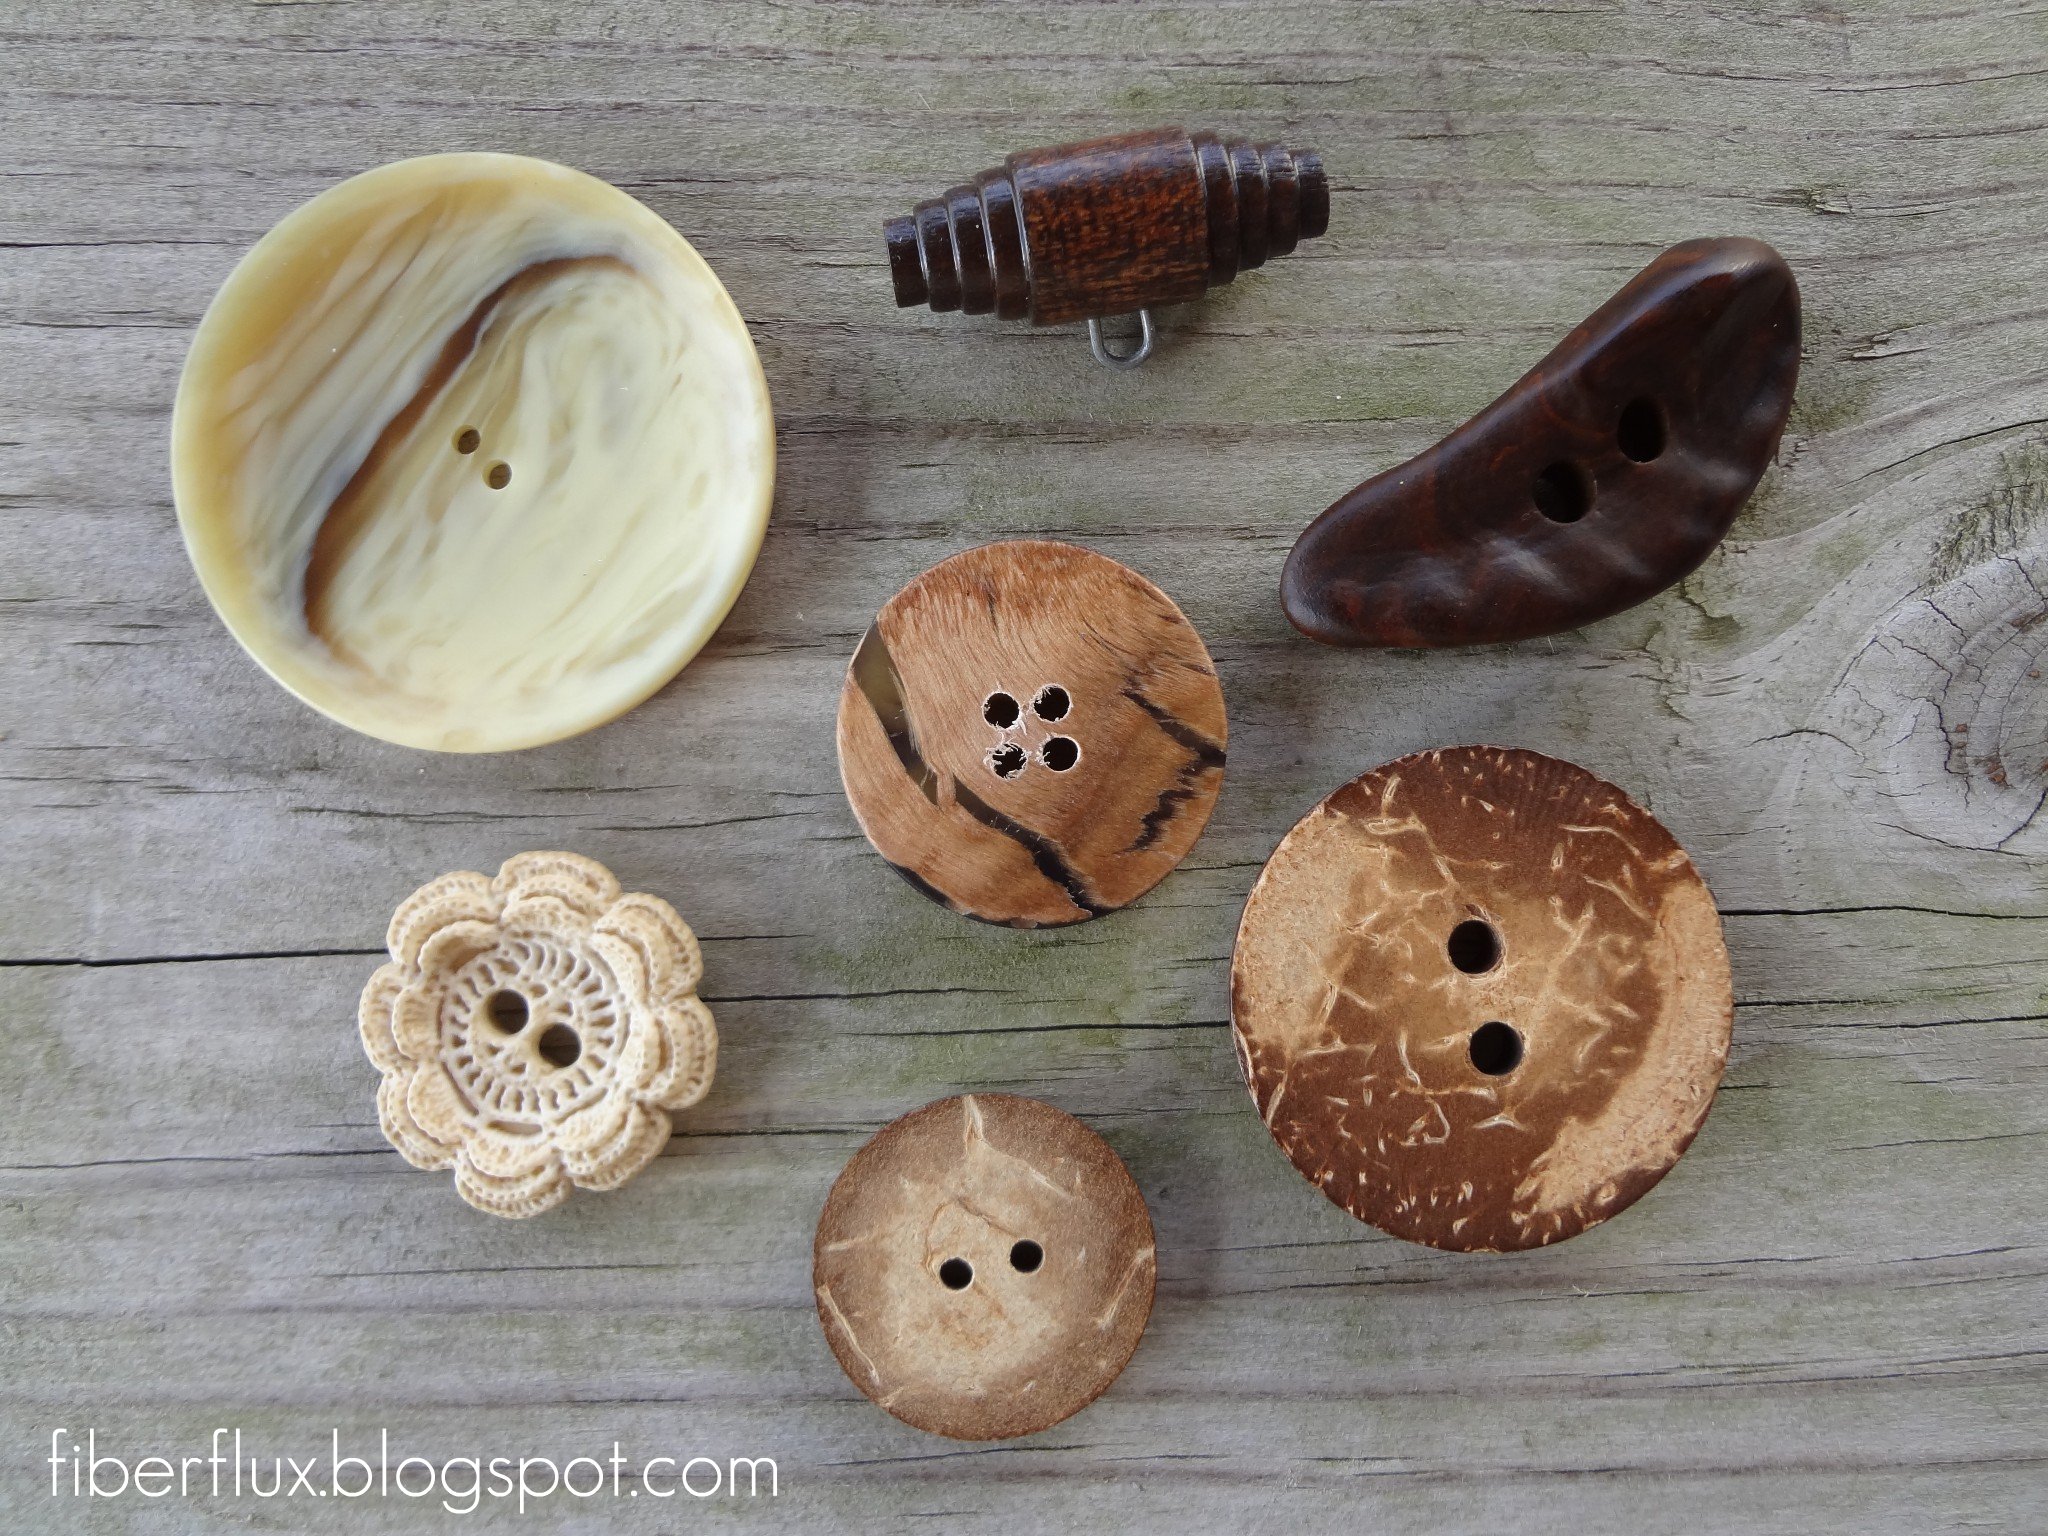
Here are some better candidates for my particular project…these have holes that would be better suited for easy pass through.
Update! Be sure to check out Mary’s comment below…she shared a great tip to use a bead reamer to widen the button hole if needed…she also uses a bit of wire for really tight spaces…awesome! Thanks Mary for sharing with us!


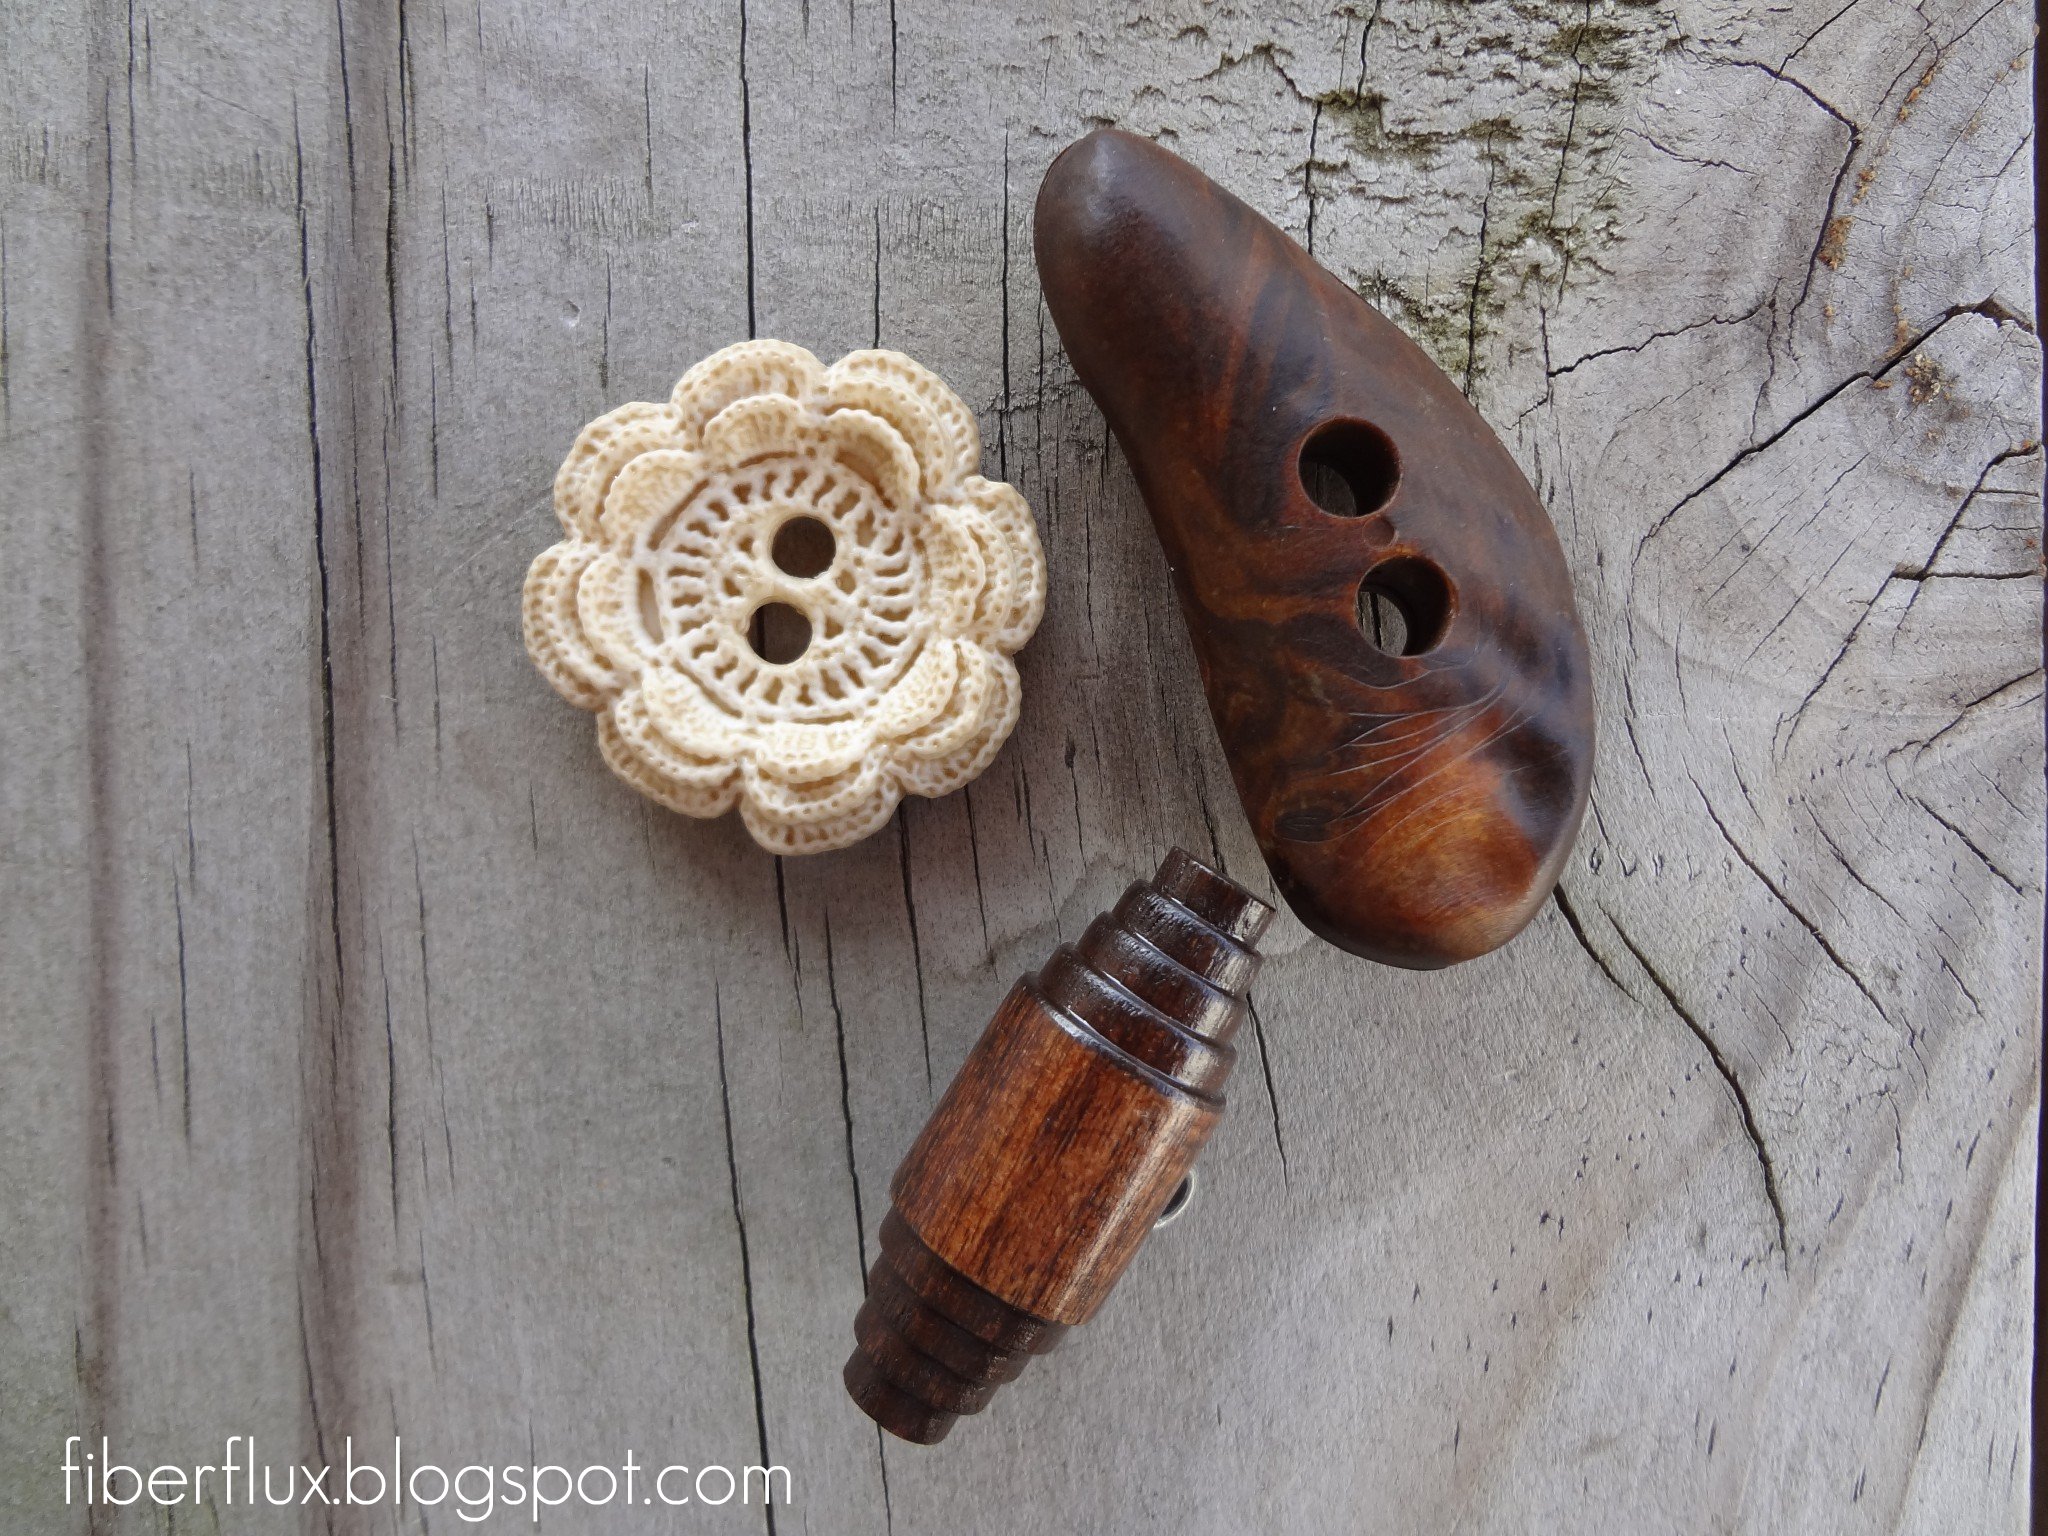
Maybe you don't have to avoid wonderful buttons like this at all!
I had a similar problem one time. I found a thin piece of wire that would hold its shape well enough to allow me to thread it through. I used a wire from a twist tie. (Try to find one wrapped in paper rather than plastic. It's easier to clean off.)
I cleaned the wire and smoothed it straight. Then, I created a small "L" at one end. I put the yarn into the angle and squeezed the bottom leg up against the vertical part of the L squeezing it tight and smooth. (Don't twist. It won't pull through.) You are creating your own "closed eye".
Try pushing it through the holes. If the wire goes through, but the yarn hangs up, try catching the yarn as close to the end of the tail possible. That way you won't be trying to thread 2 widths of yarn at a time thru the opening.
This isn't fool-proof but it may save that button! ( And it will give you a chance to tell a hubby who is dubious about your hoarding proclivities, "I told you that bit of wire would come in handy!")
Mary, what an amazing idea! So simple and so clever! Thanks so much for sharing this golden nugget with us…you saved the day! 🙂
Thanks for the hint. Will have to try. Have many old buttons too. Buttons truly make a garment…
First – I LOVE your site – GREAT tutorials & GREAT step-by-step photography. For "visual learners" this is SO helpful! Re- small holed buttons…my first instinct was if the hole is too small try using a Dremel tool w/ it's small drill bit tip to enlarge the hole. If you don't have one – it is a GREAT tool for any crafter. It's a small power hand held power tool that comes w/ several tips, like sanding, drilling, grinding, etc. I use mine when making earrings out of buttons. I use the small sanding or grinding tip to smooth out or roughen up the back of the button after clipping off the button shank. Then glue your earring backs on. I buy beautiful buttons when 50% off @ my fabric store (like Joann's), then make lots of inexpensive gorgeous earrings out of them.
A bead reamer can also help enlarge the holes a bit but be VERY CAREFUL! Slow and gentle! And stay away from the area between the holes or your 2 holes could become one.
Another great idea…I have one of these that I've used for beads, but never thought to use them for a button too. I agree too…definitely requires a steady and gentle hand. Thanks for your wonderful tips!
I see nothing wrong with a needle in the purse for such occasions. Mine's in my wallet. 😉
I guess great minds think alike then! 🙂
I'm sure you have thought of this, but maybe not everyone has; I take my "too thick" yarn and separate in half so that I'm using only 2 of a 4 ply, for example. This way I can still use the same yarn I used to create the item to sew buttons on.