
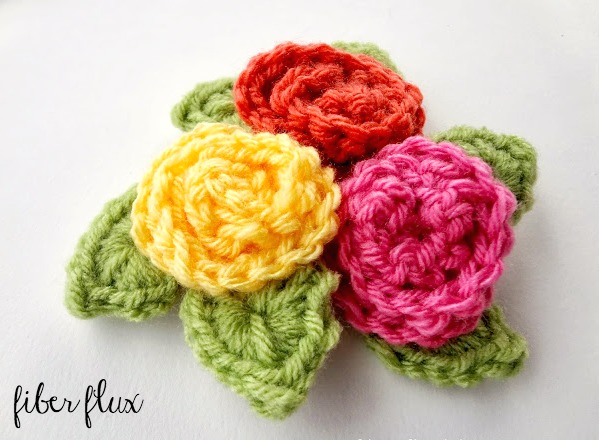
Here is a crochet curlicue rose you can crochet in just a few minutes. They look cute sewn on just about everything, perhaps a whole garden of them is in order!
Watch a video on how to crochet the rose:
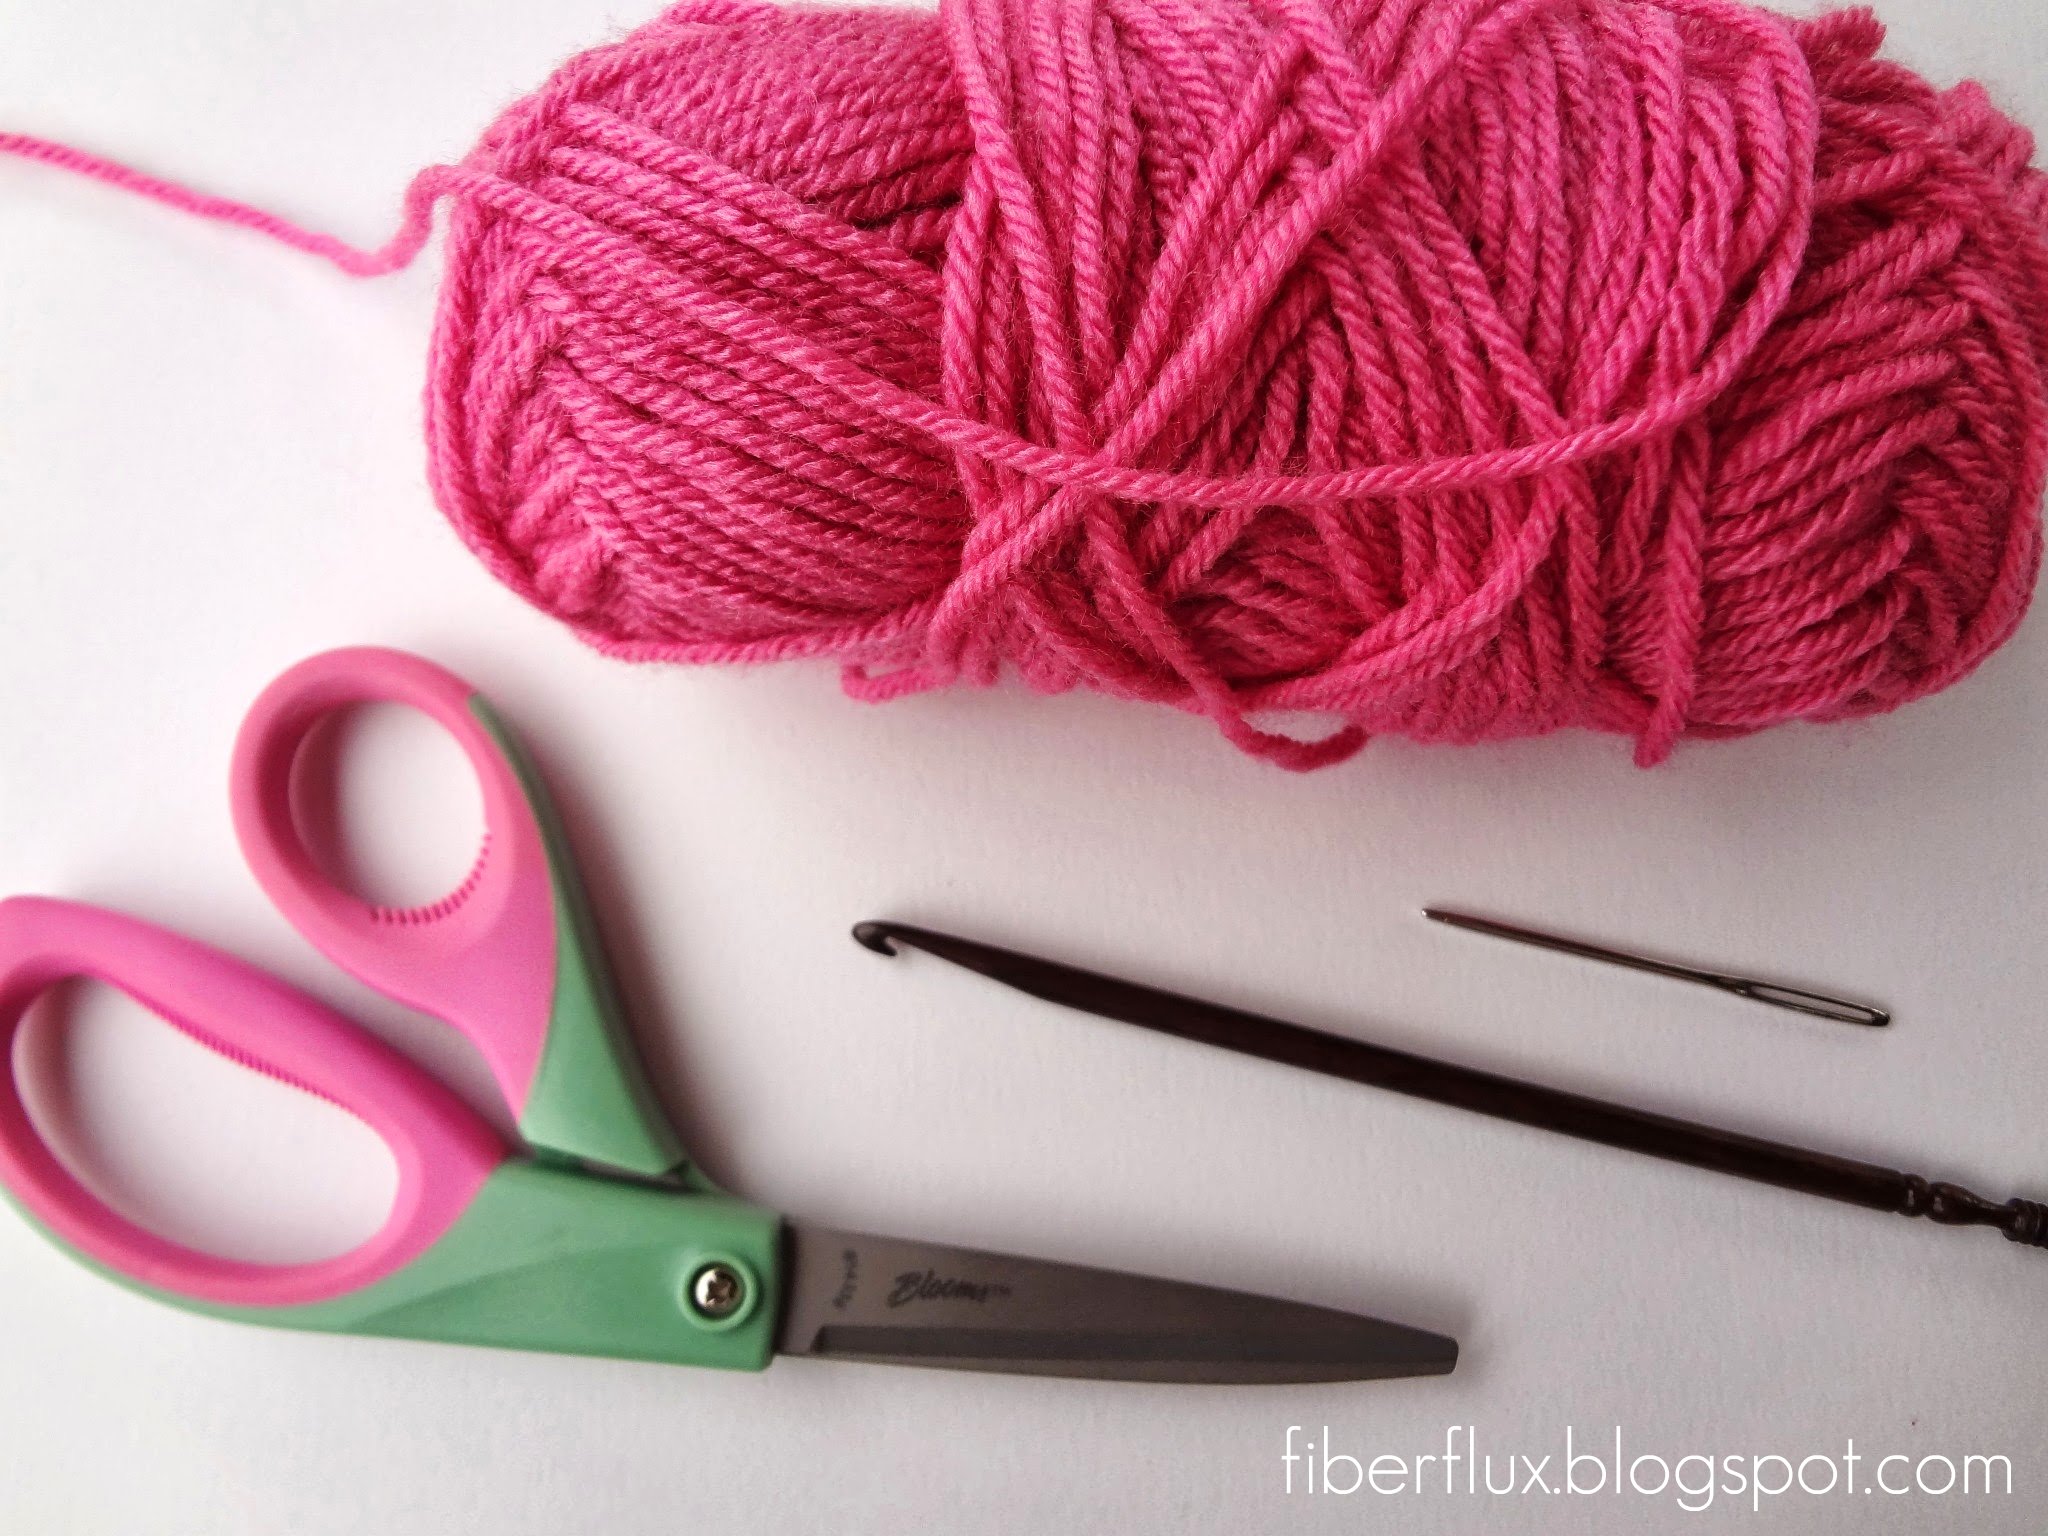
To make a crochet curlicue rose, here’s what you’ll need:
- Yarn leftovers (I chose worsted weight for the roses shown)
- Crochet hook (I used a J hook for the roses shown)
- Scissors
- Tapestry Needle
Begin by making a chain. The longer the chain, the wider and fuller your rose will be. I began by chaining 12,
In the 4th chain from the hook, work 2 dc,
Next, work 3 dc in each chain all the way across. It will begin to curl up immediately, and by the time you get to the end, it will look like a rose.
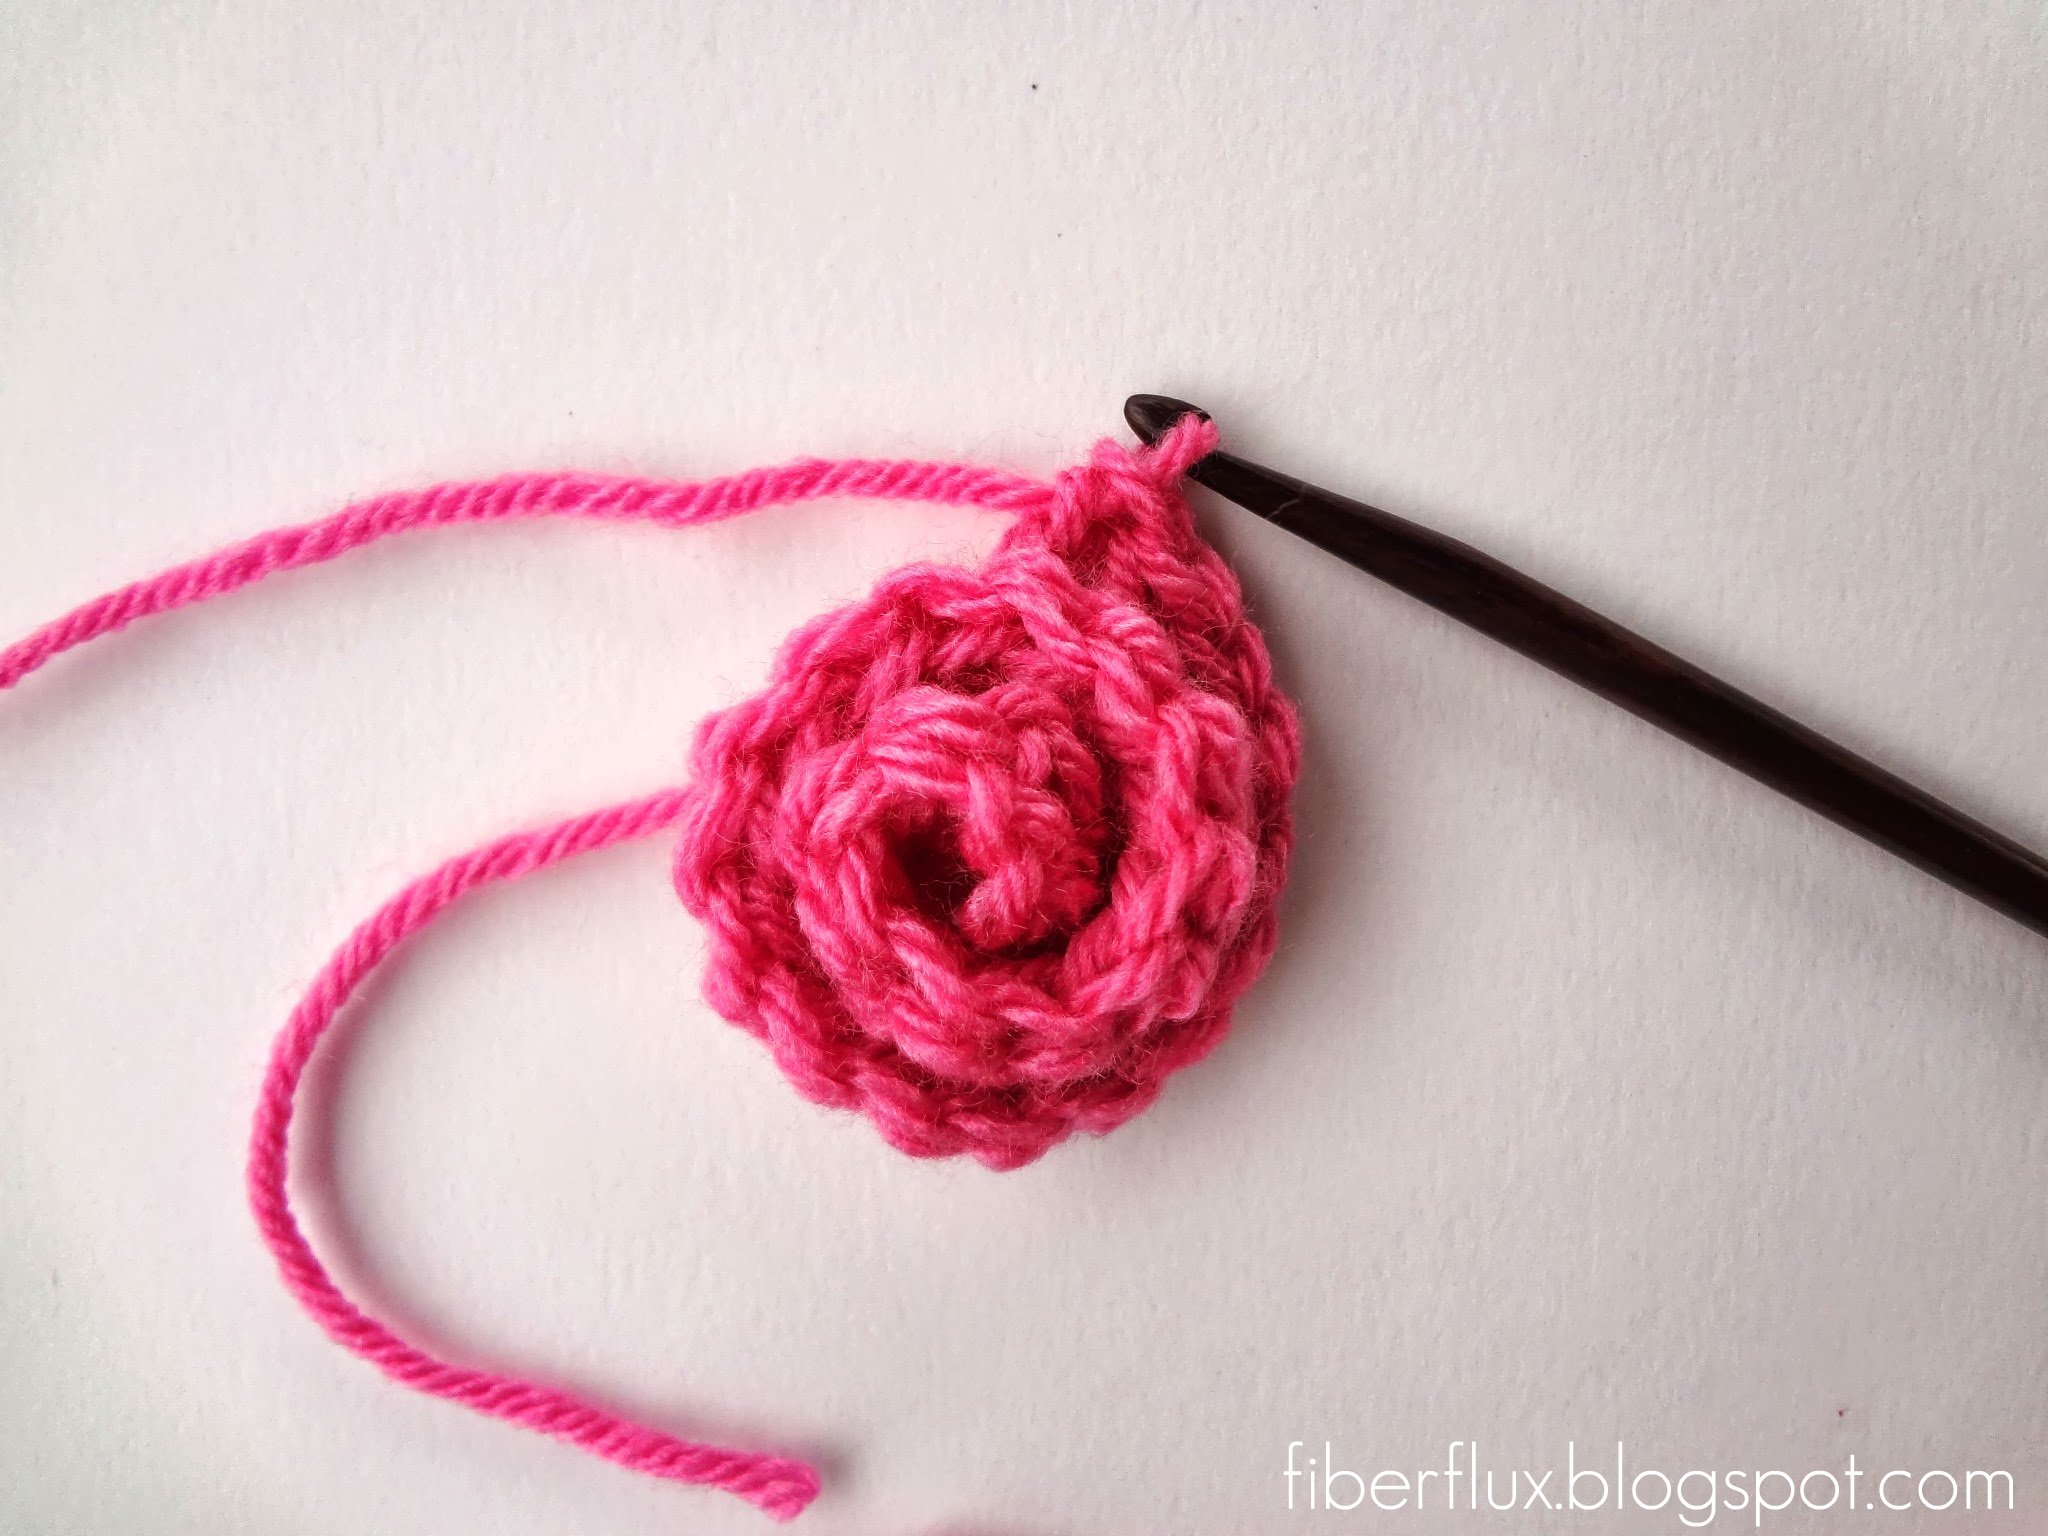
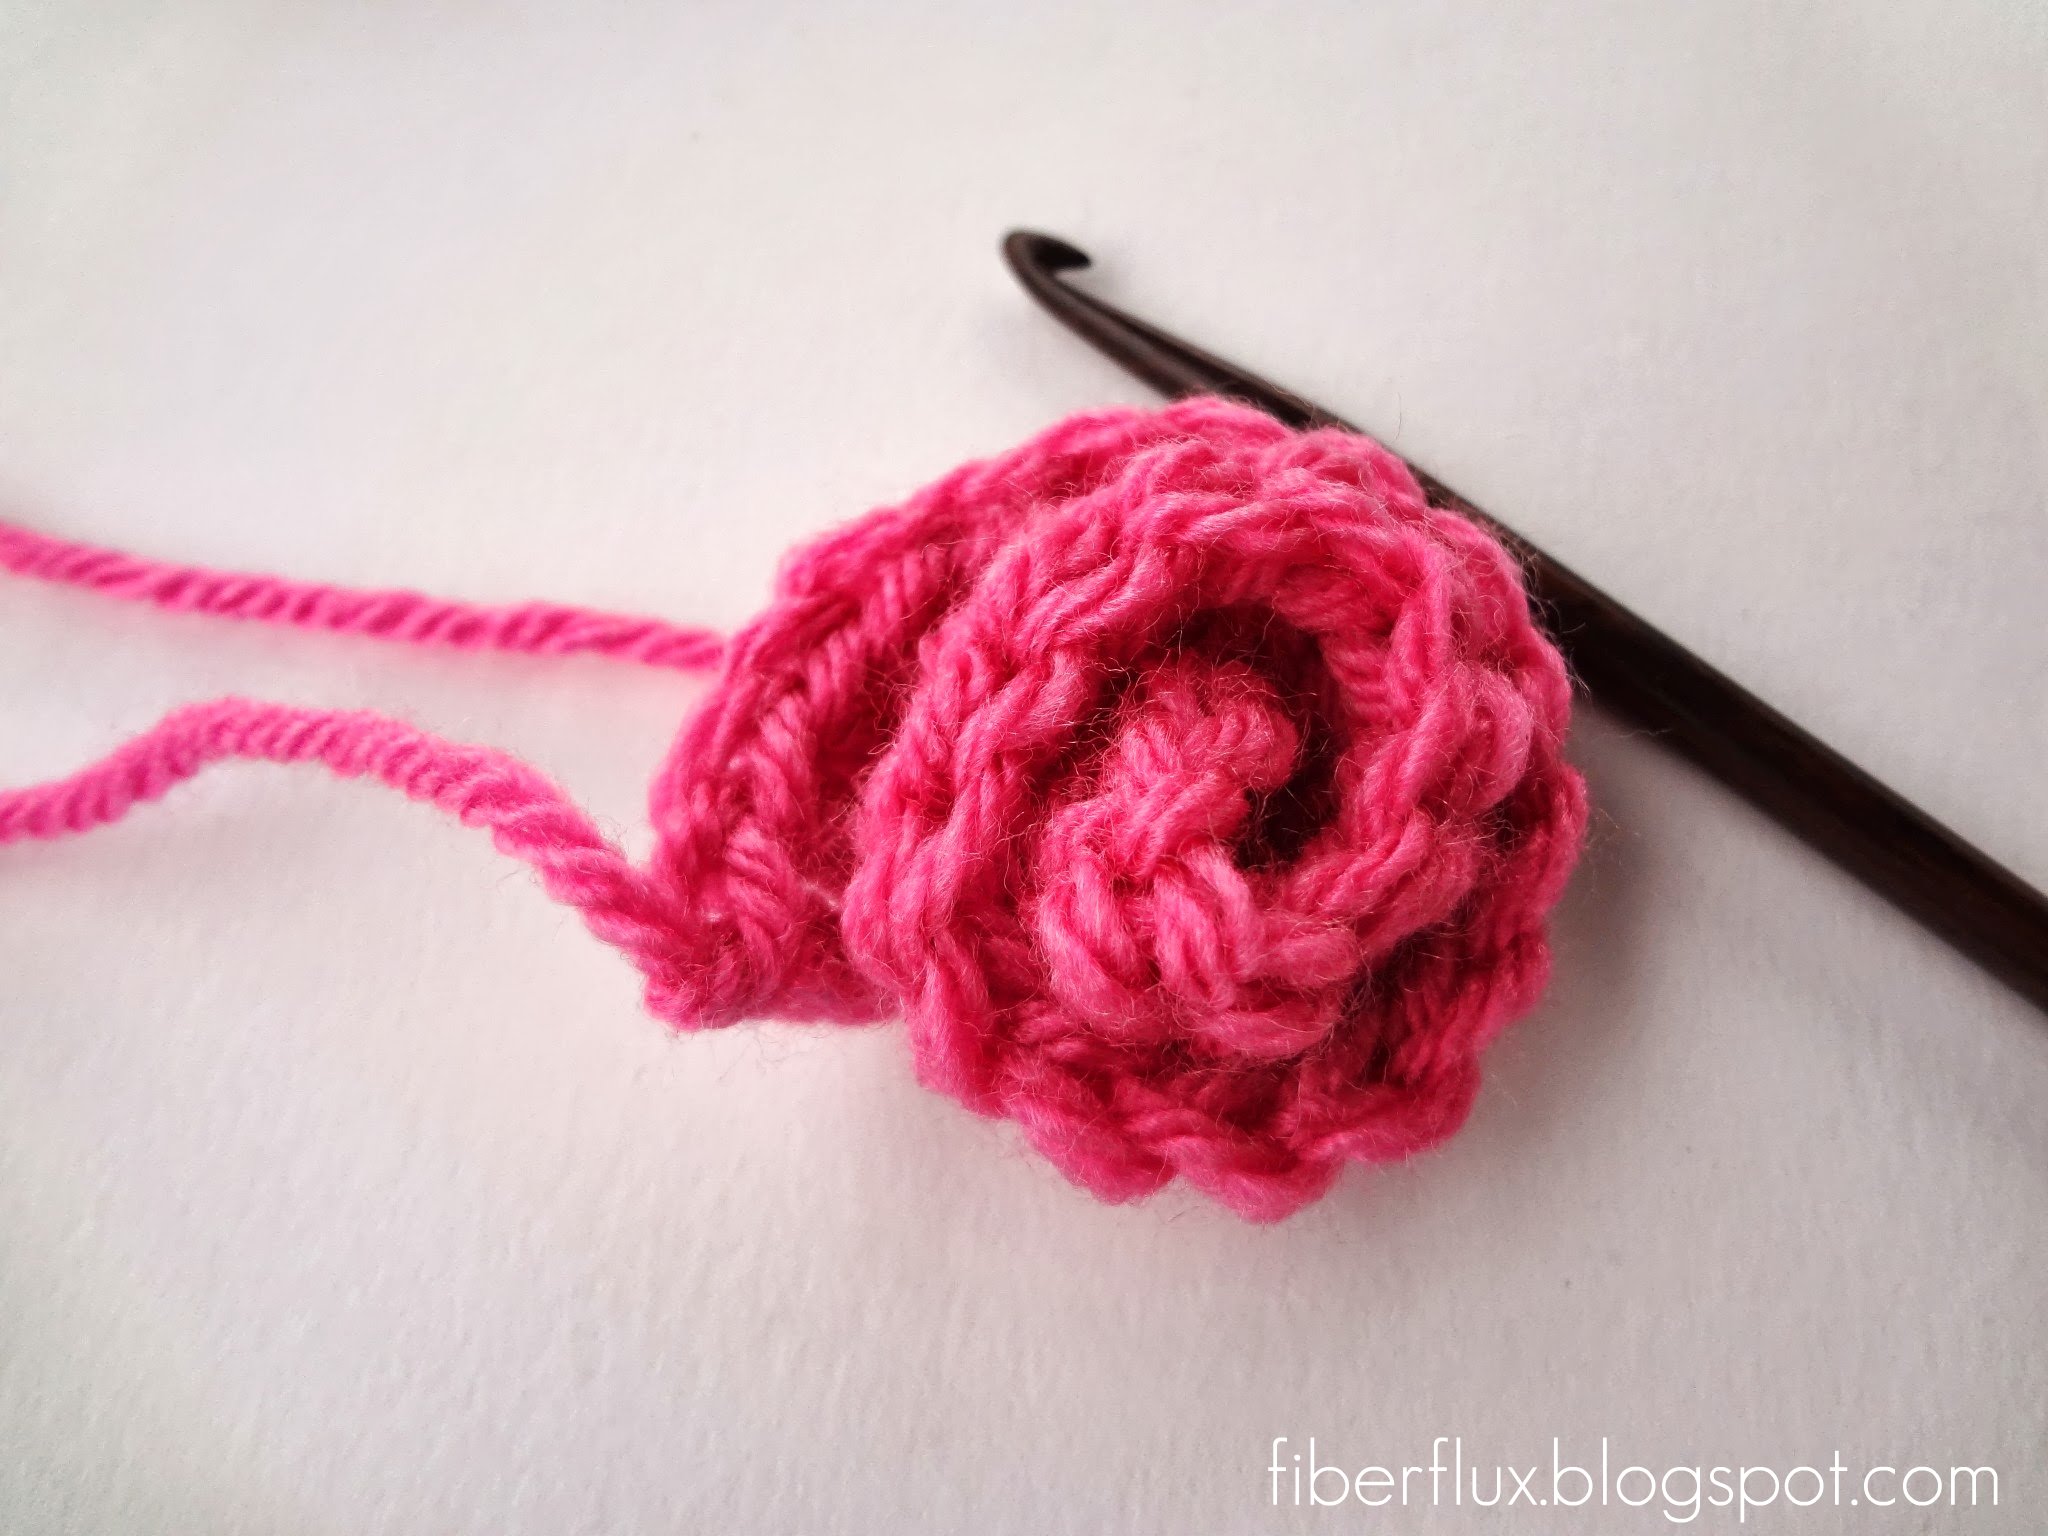
You can use these same instructions to make a curlicue at this point, all you have to do is weave the ends. However for a rose, you’ll keep it coiled up as shown and stitch it together.
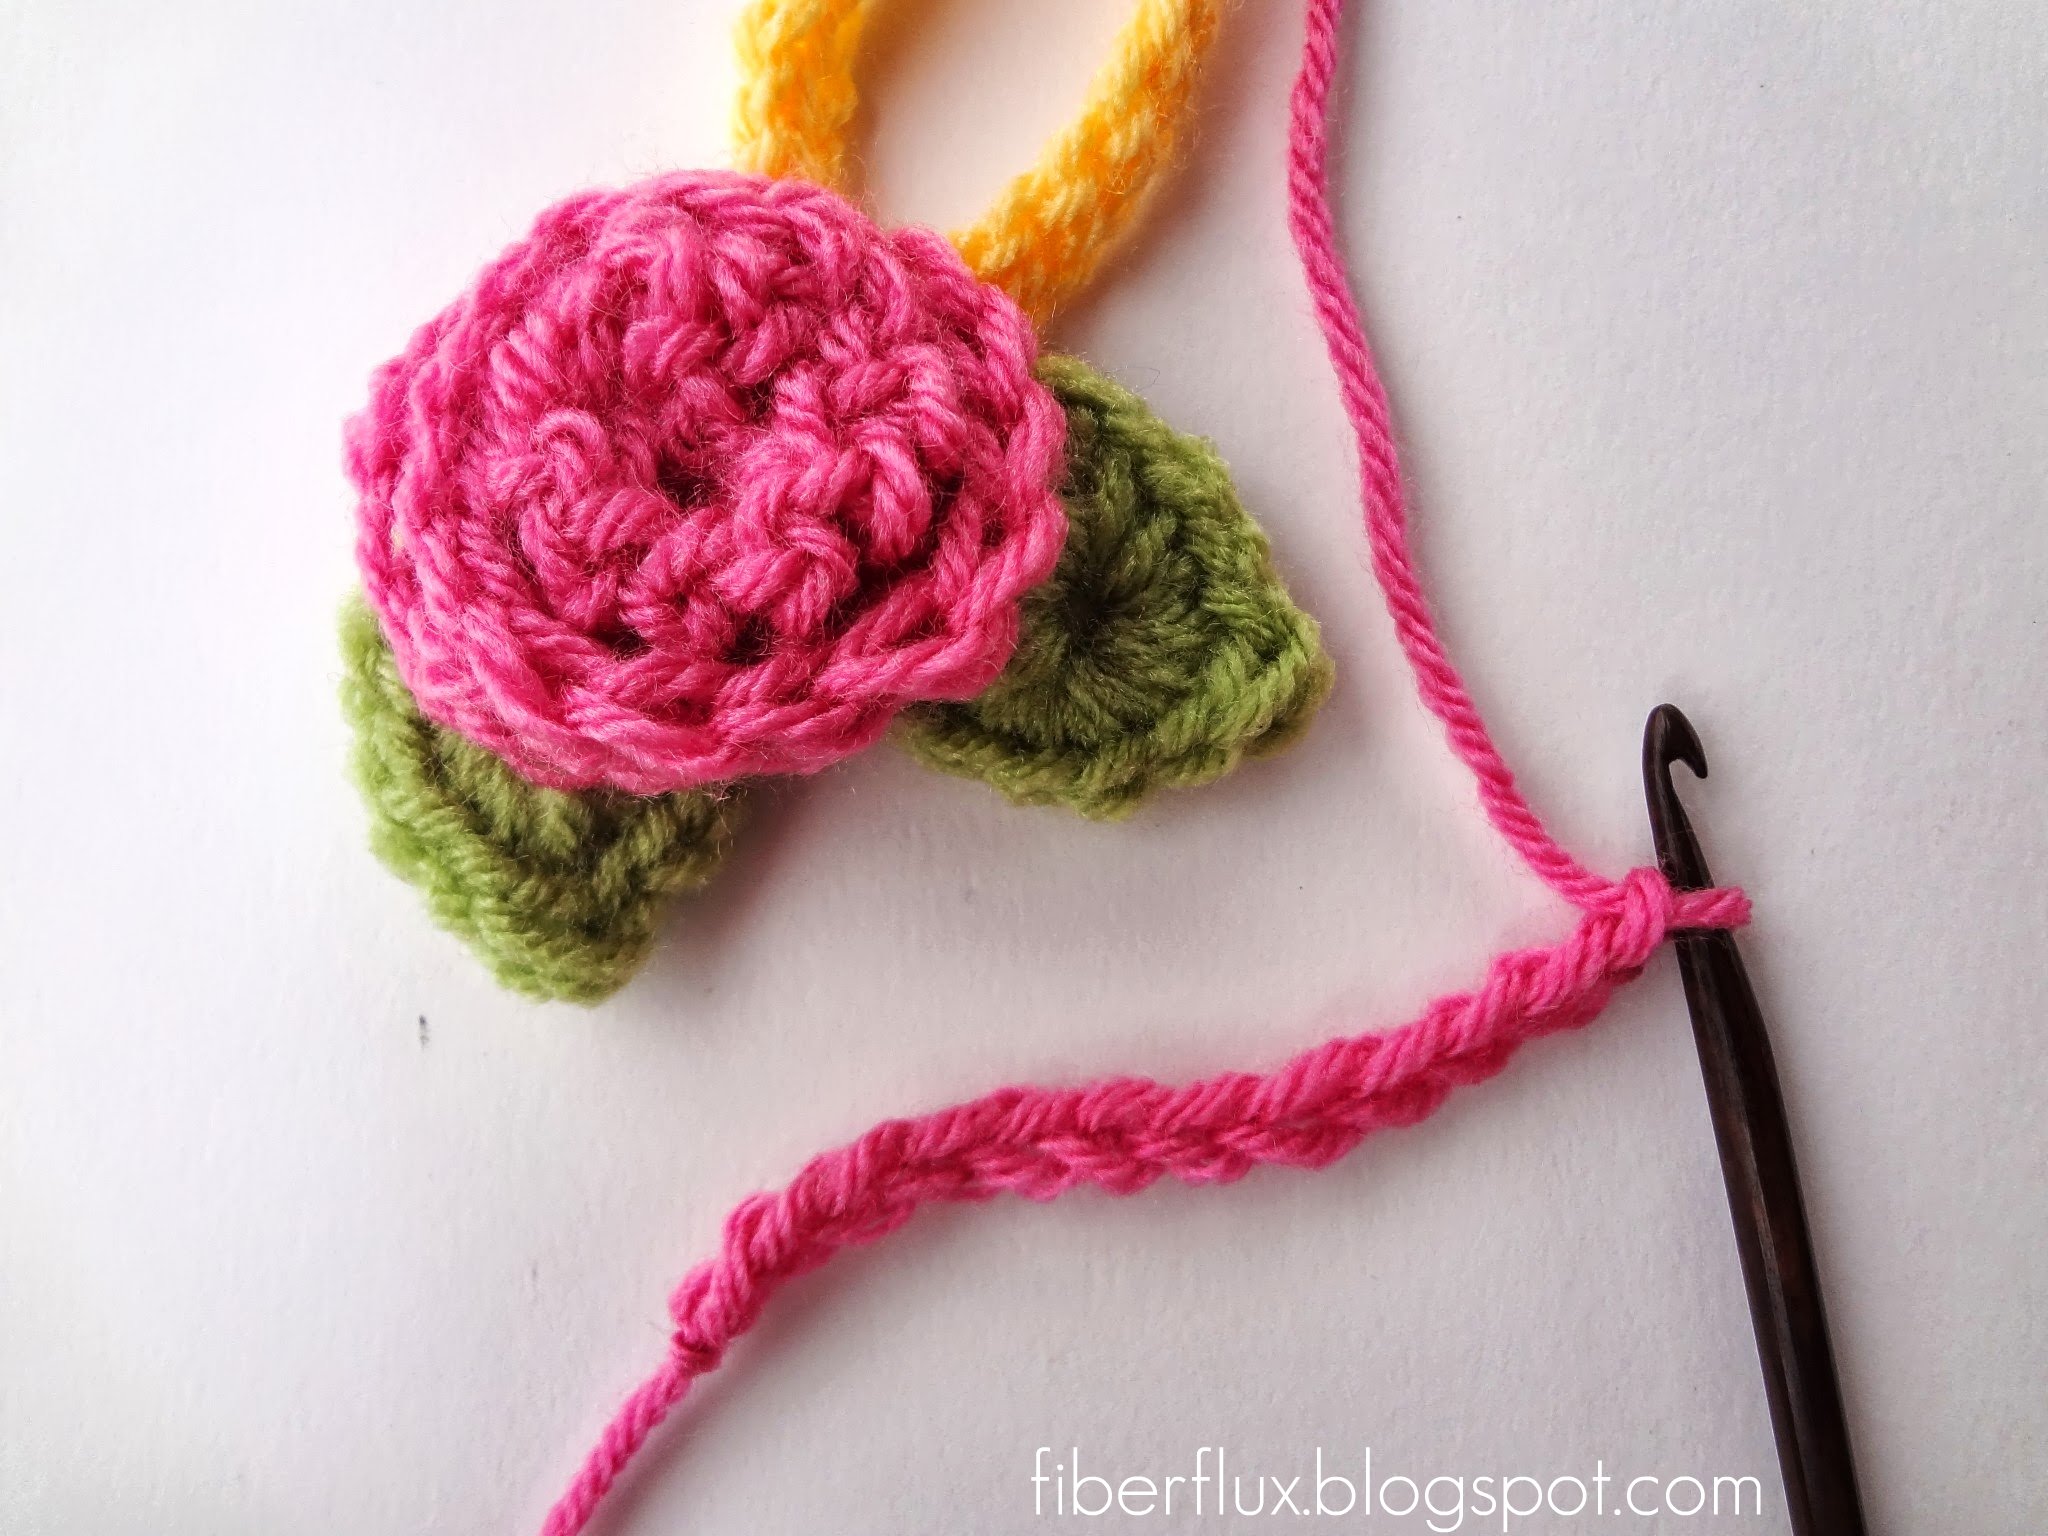
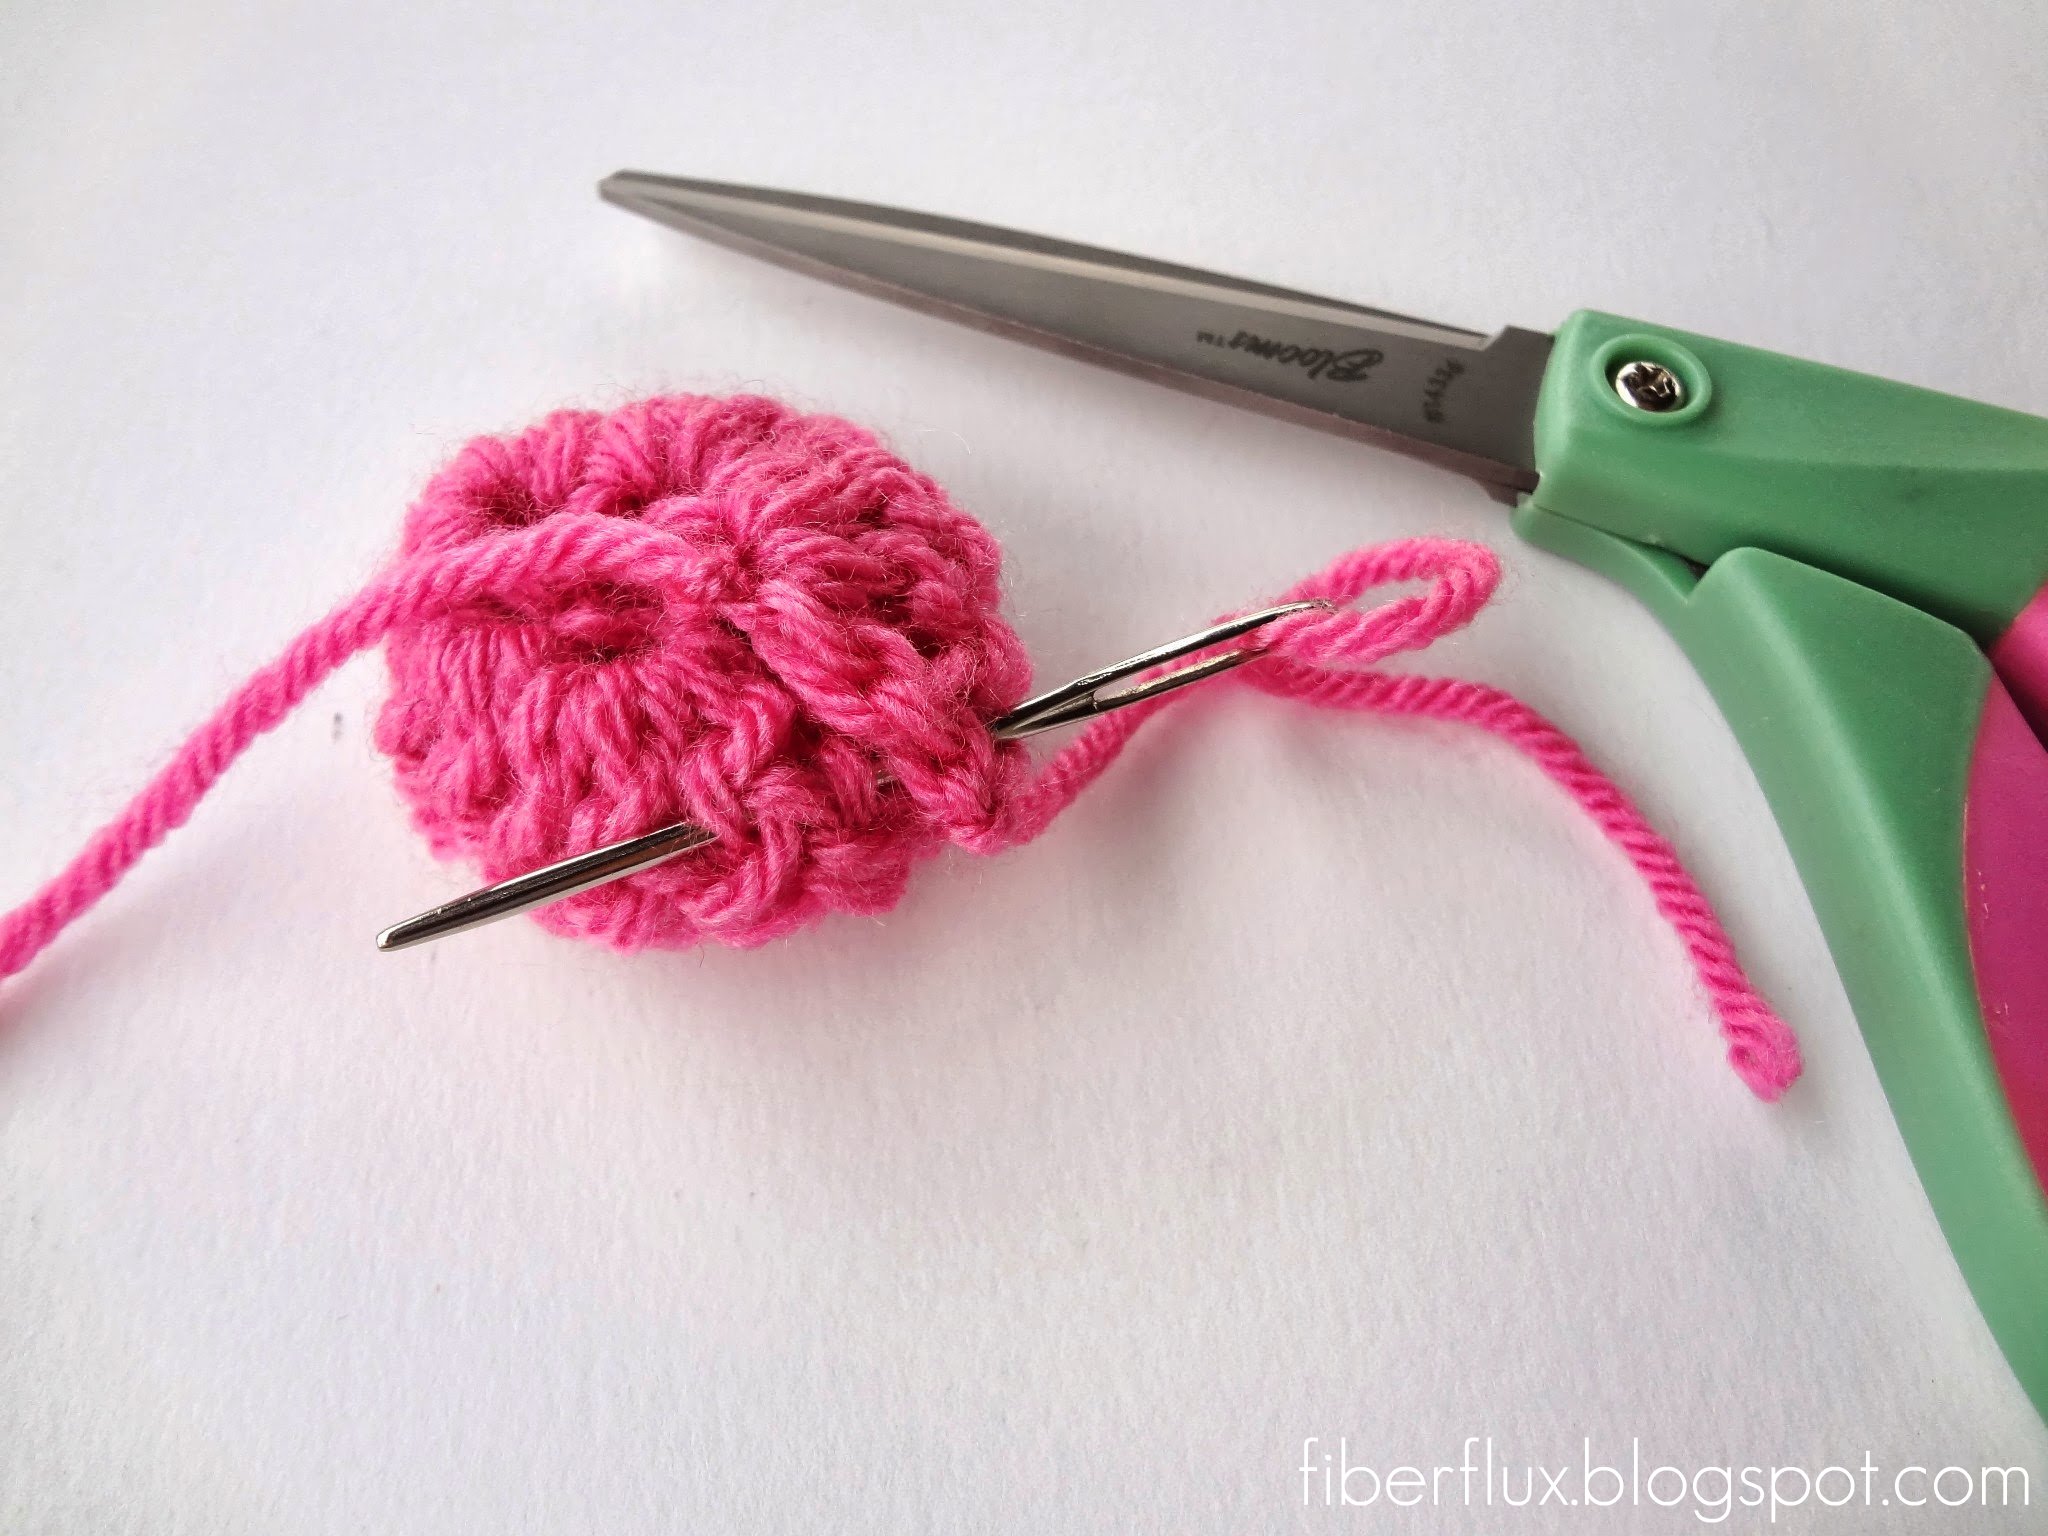
To seam it up, start by fastening it off,
Thread a tapestry needle,
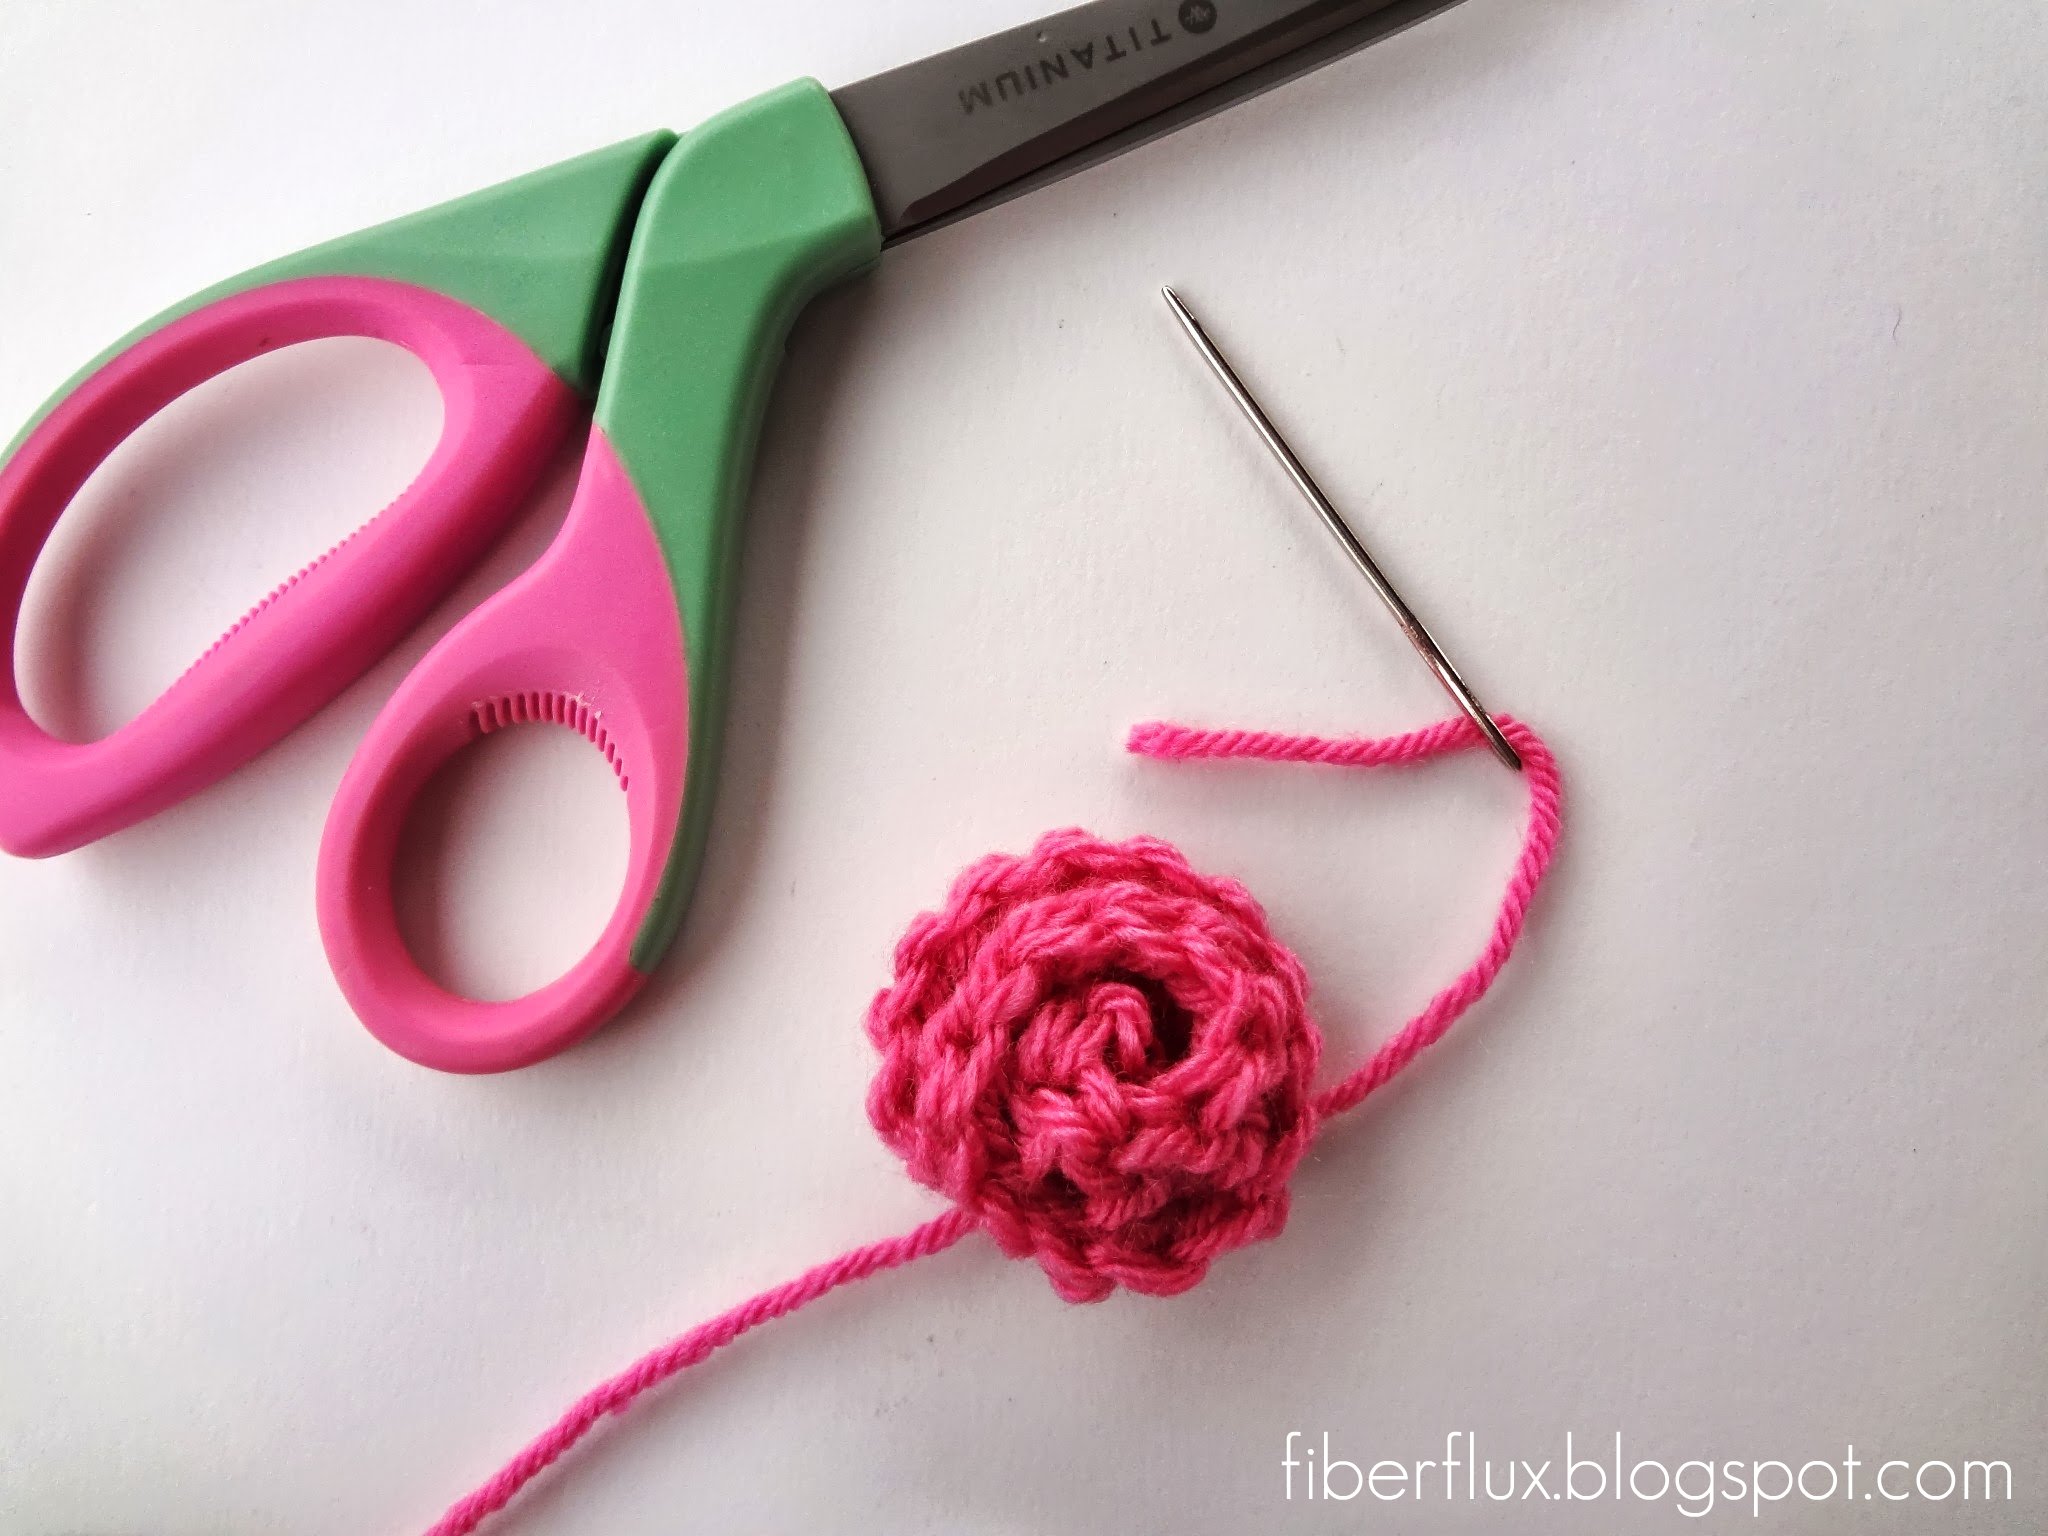
I usually start with the outermost tail and tack down the edge with a stitch or two,
After that, thread the other tail with the tapestry needle and run it through the middle to secure.
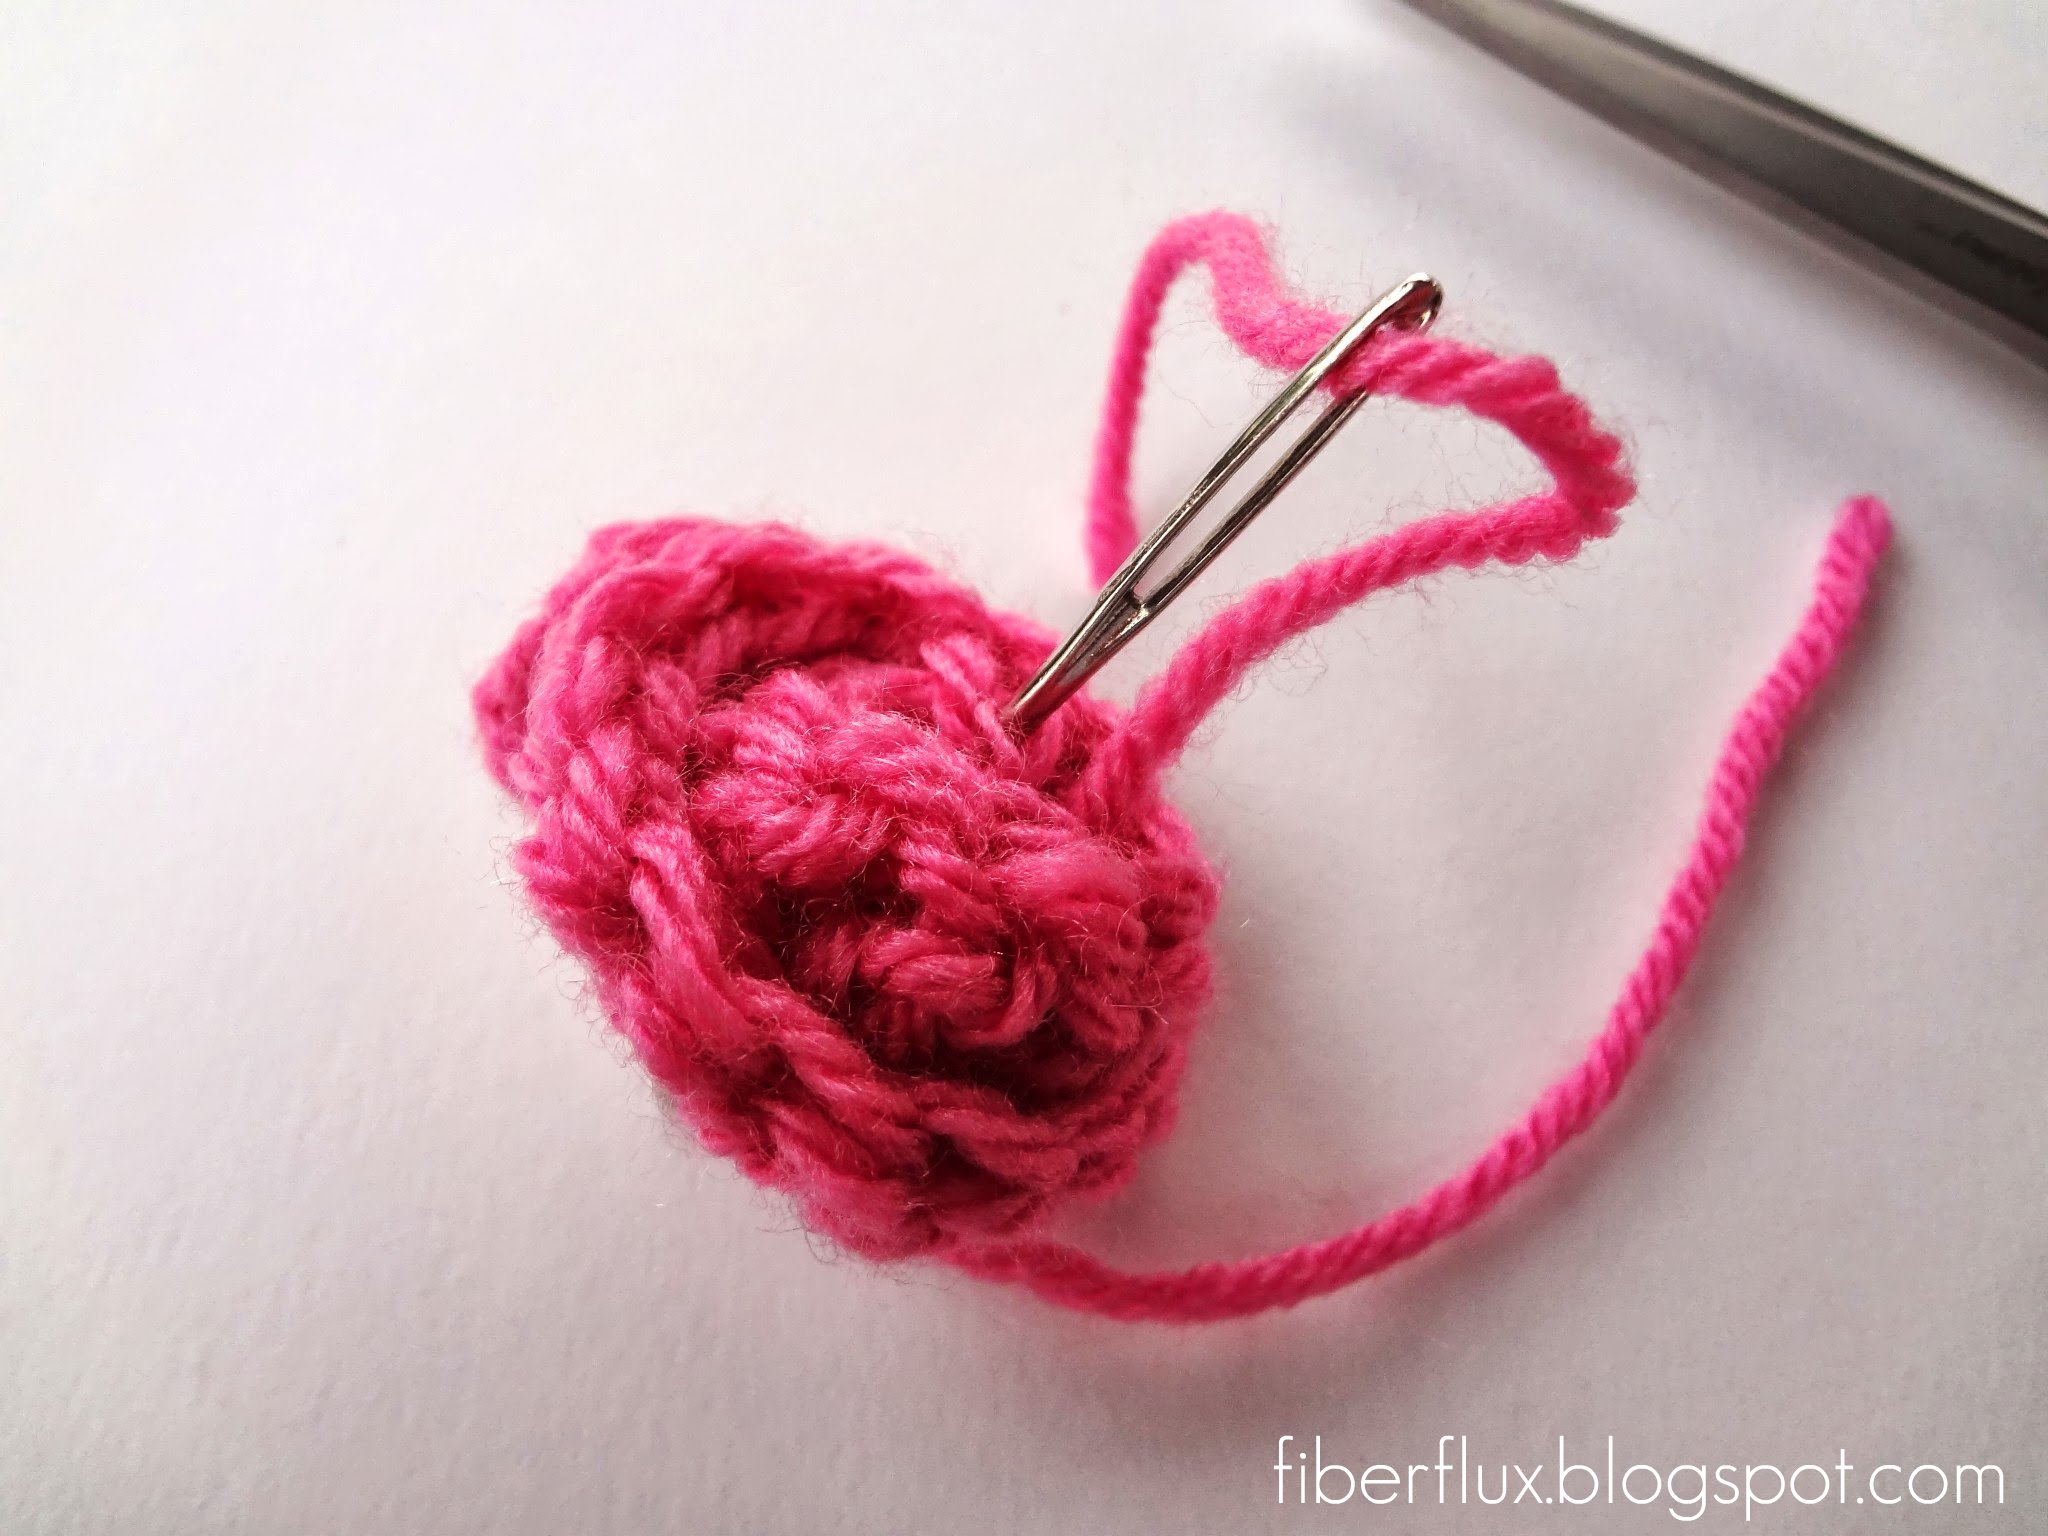
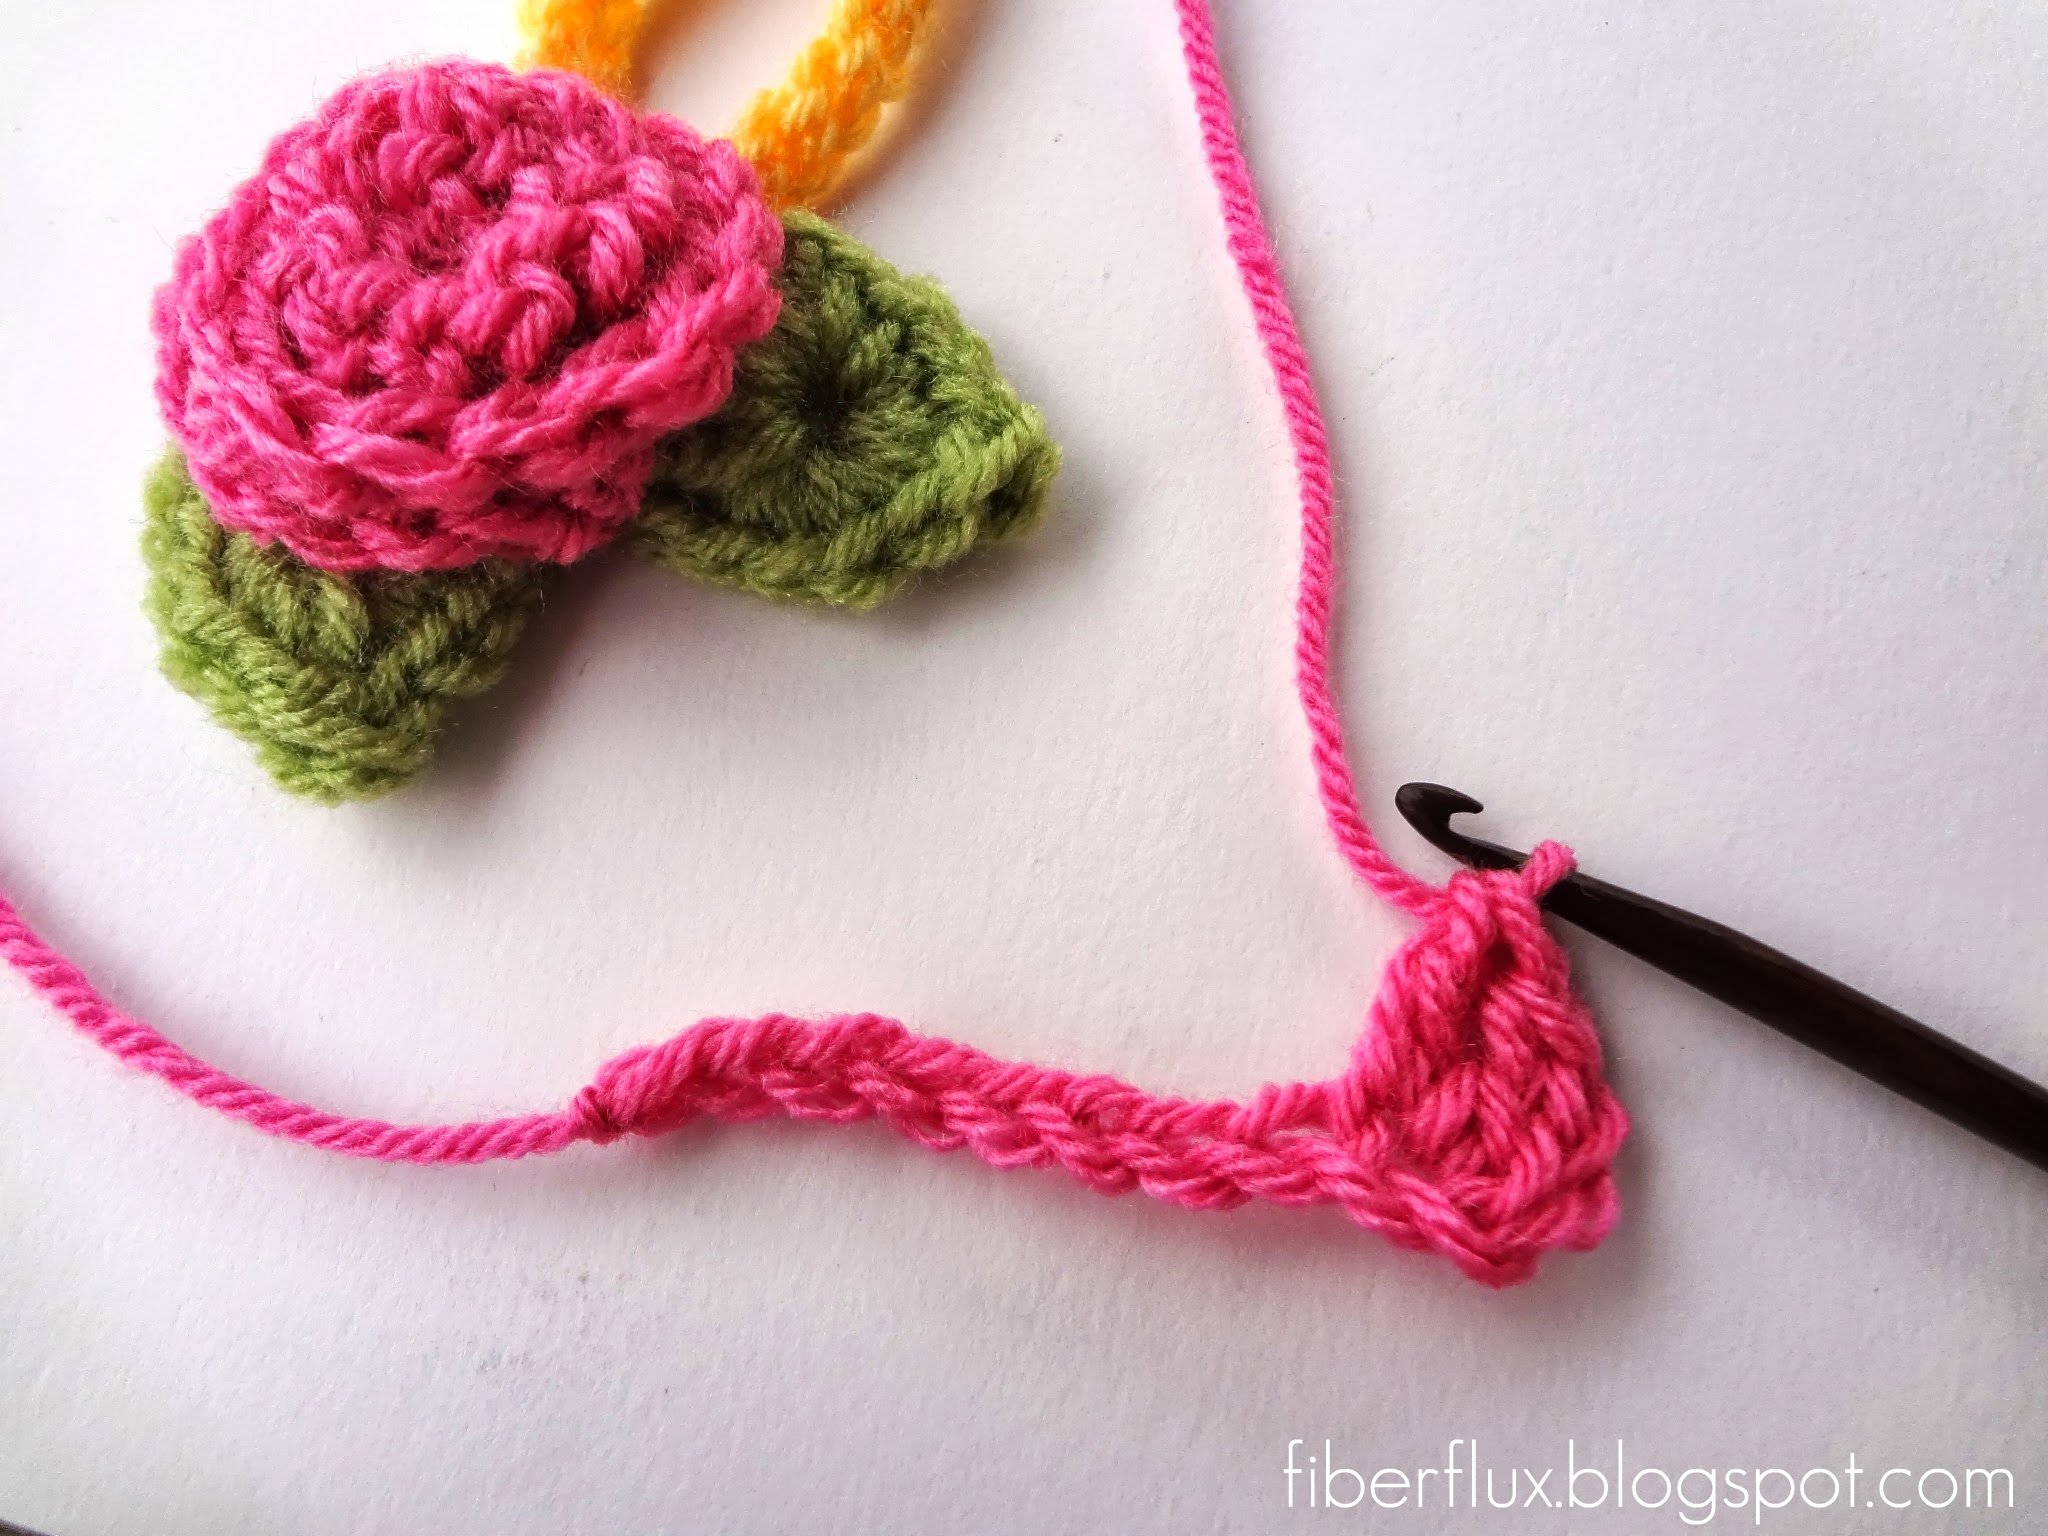
And then maybe a few around to hold it together a bit more. I have found that if I don’t put enough stitches in, it tends to be a bit floppy. However, if you over stitch it, I have found that it flattens out and looses a lot of its dimension. A couple of well placed stitches are all you need.
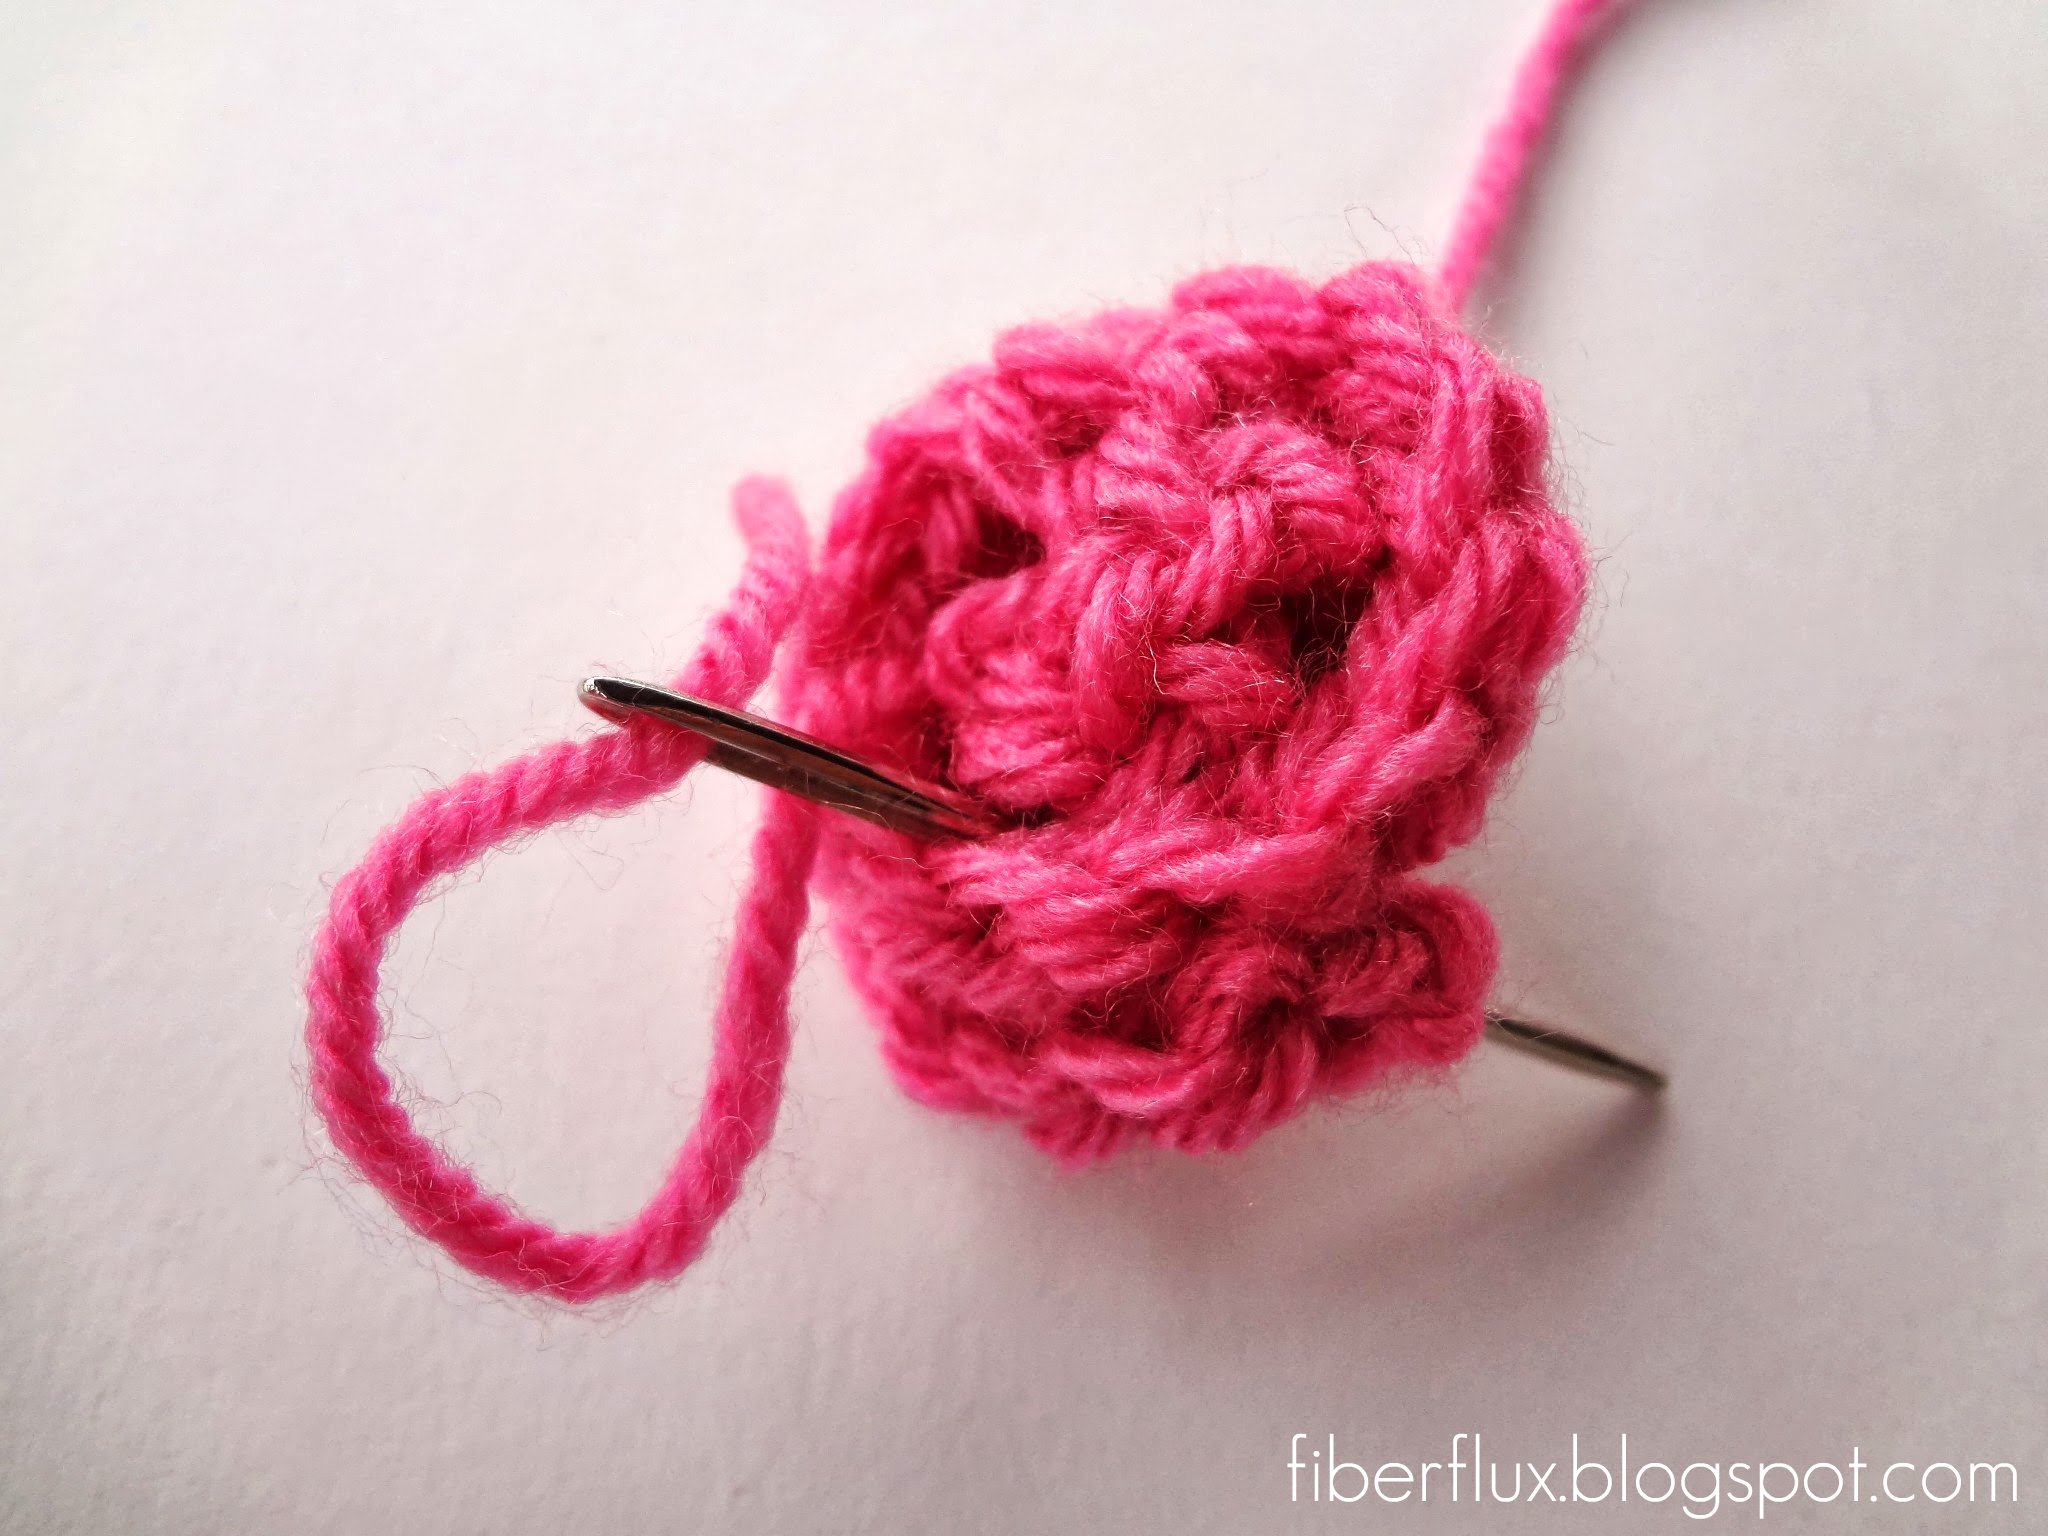
To finish it off, tie off the back and weave in the ends.
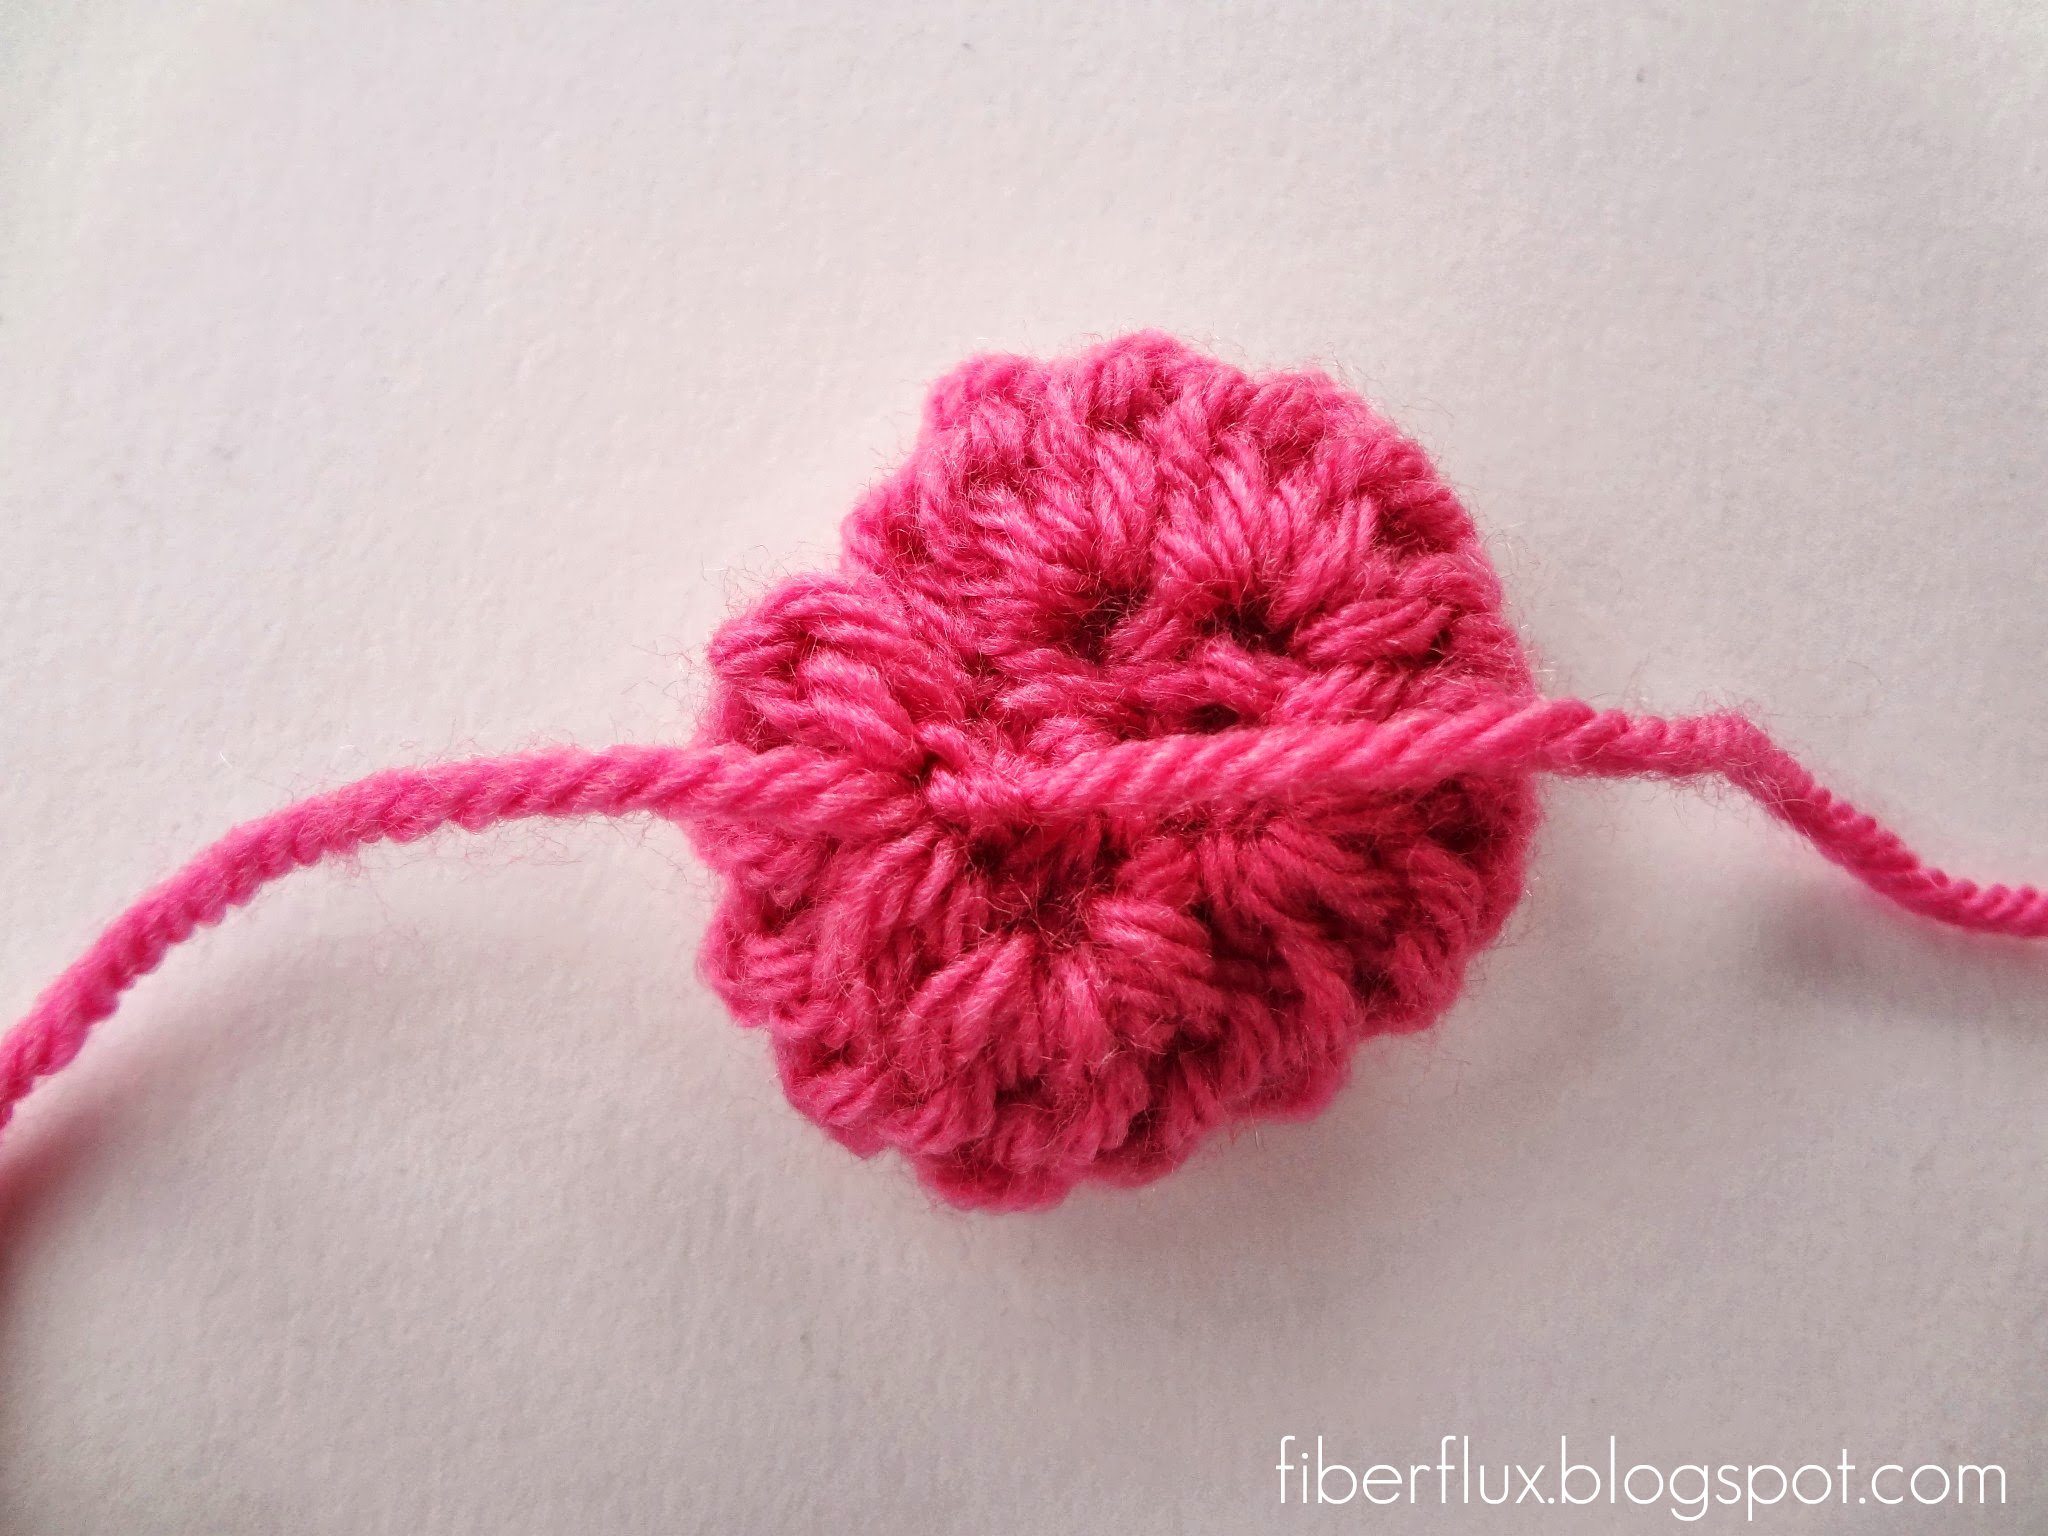
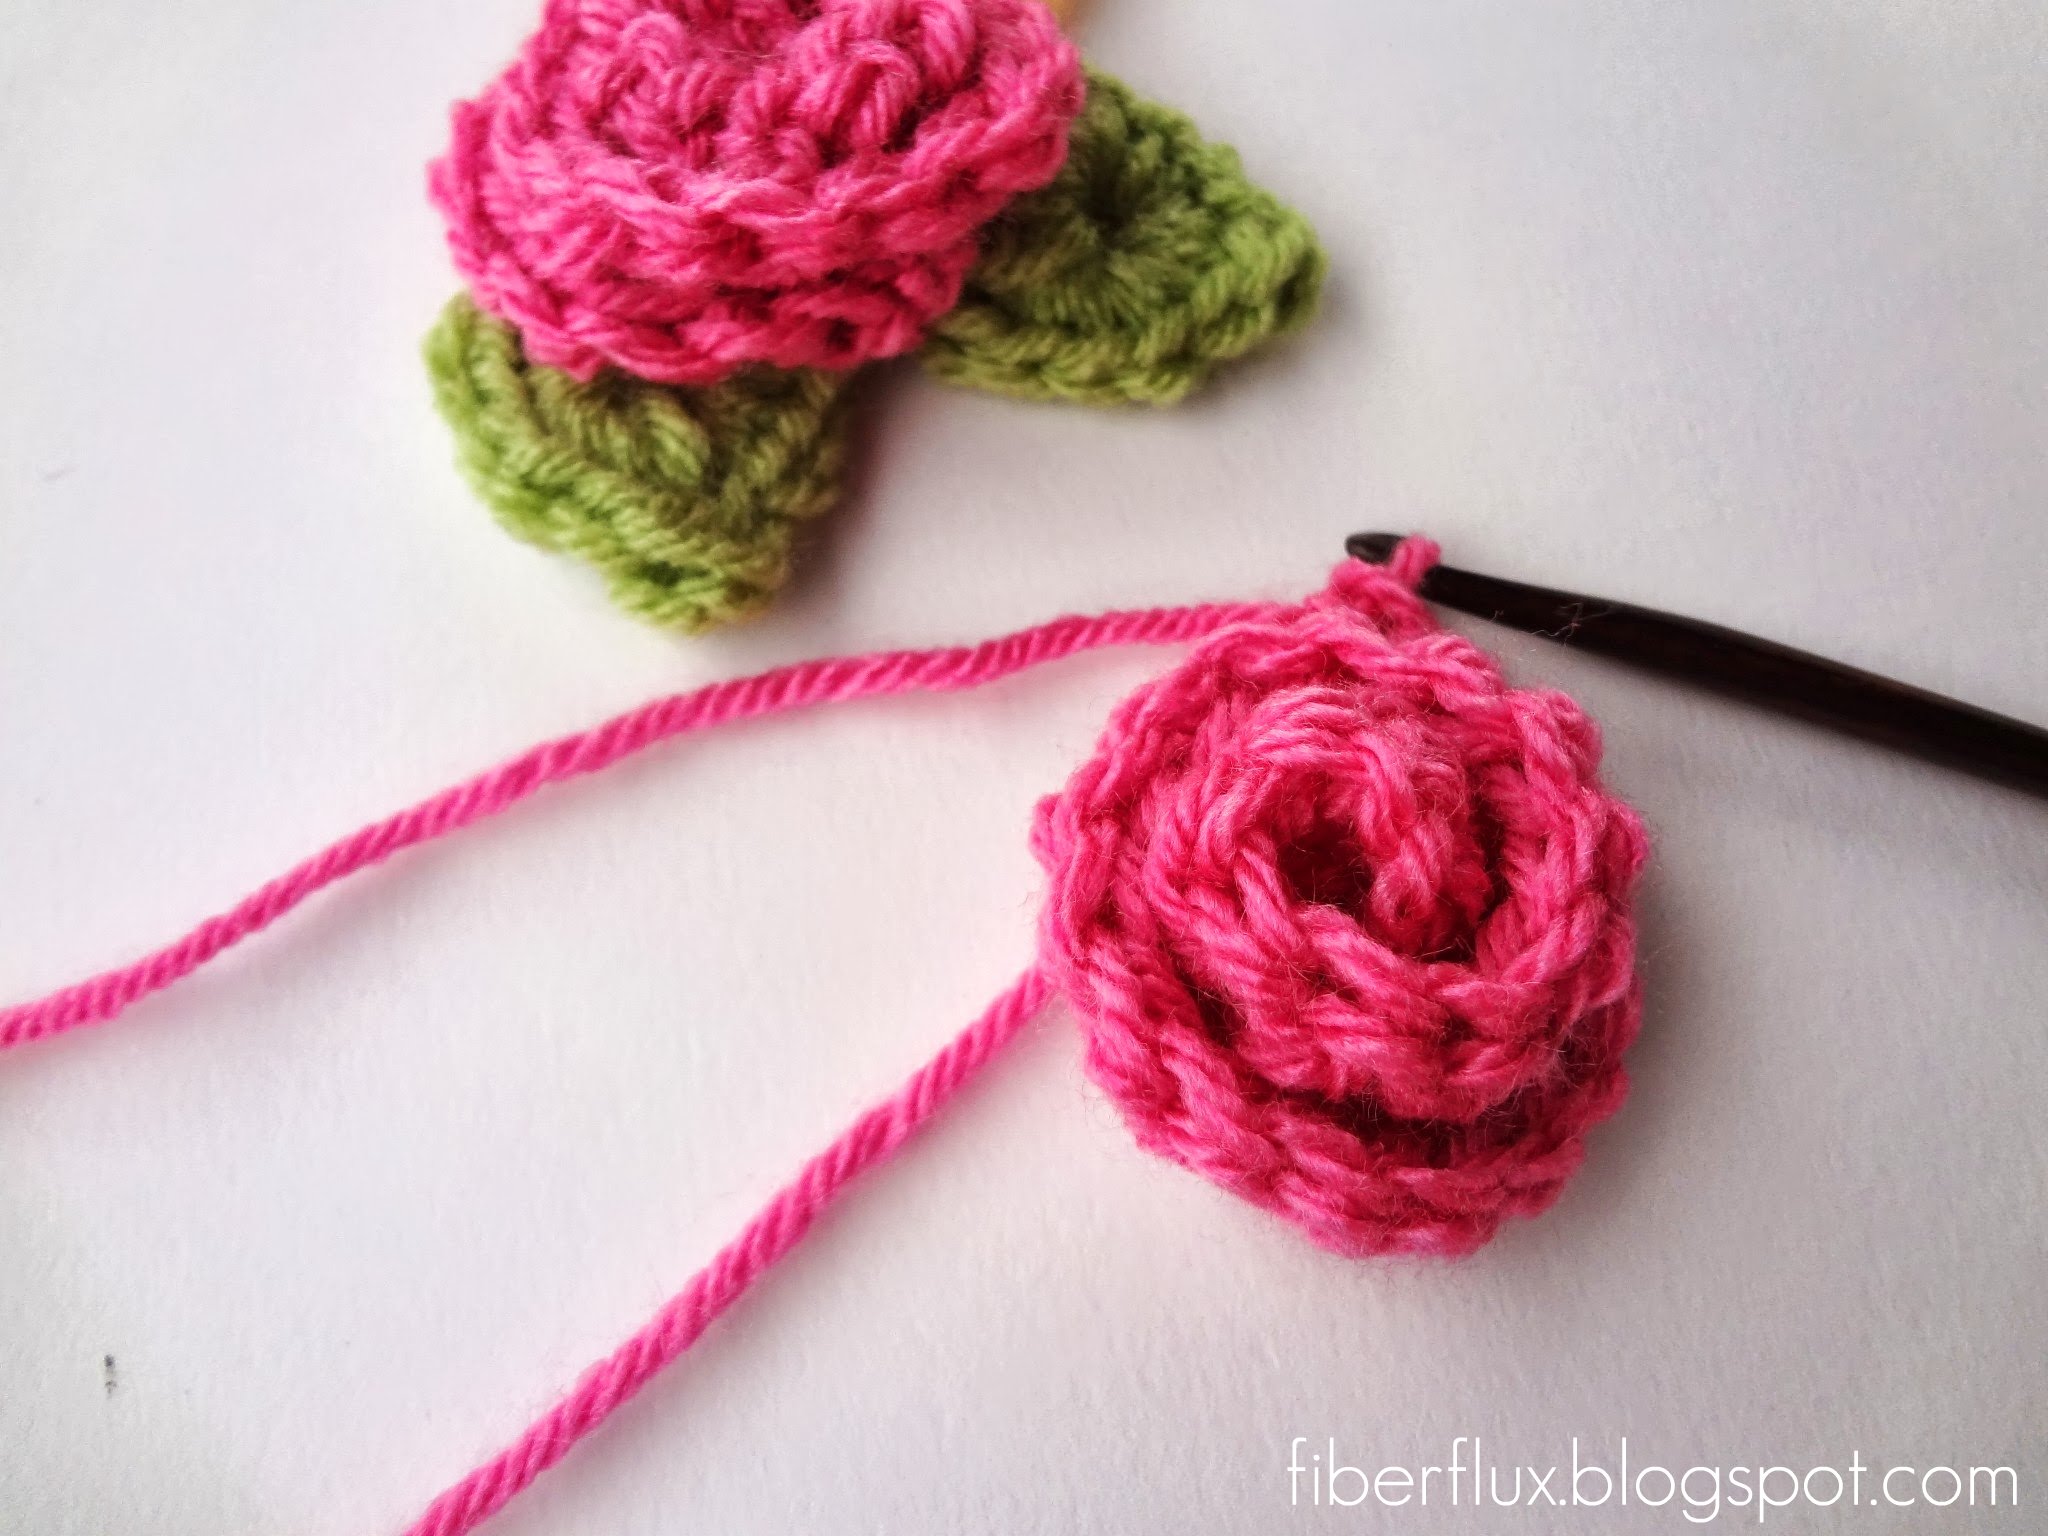
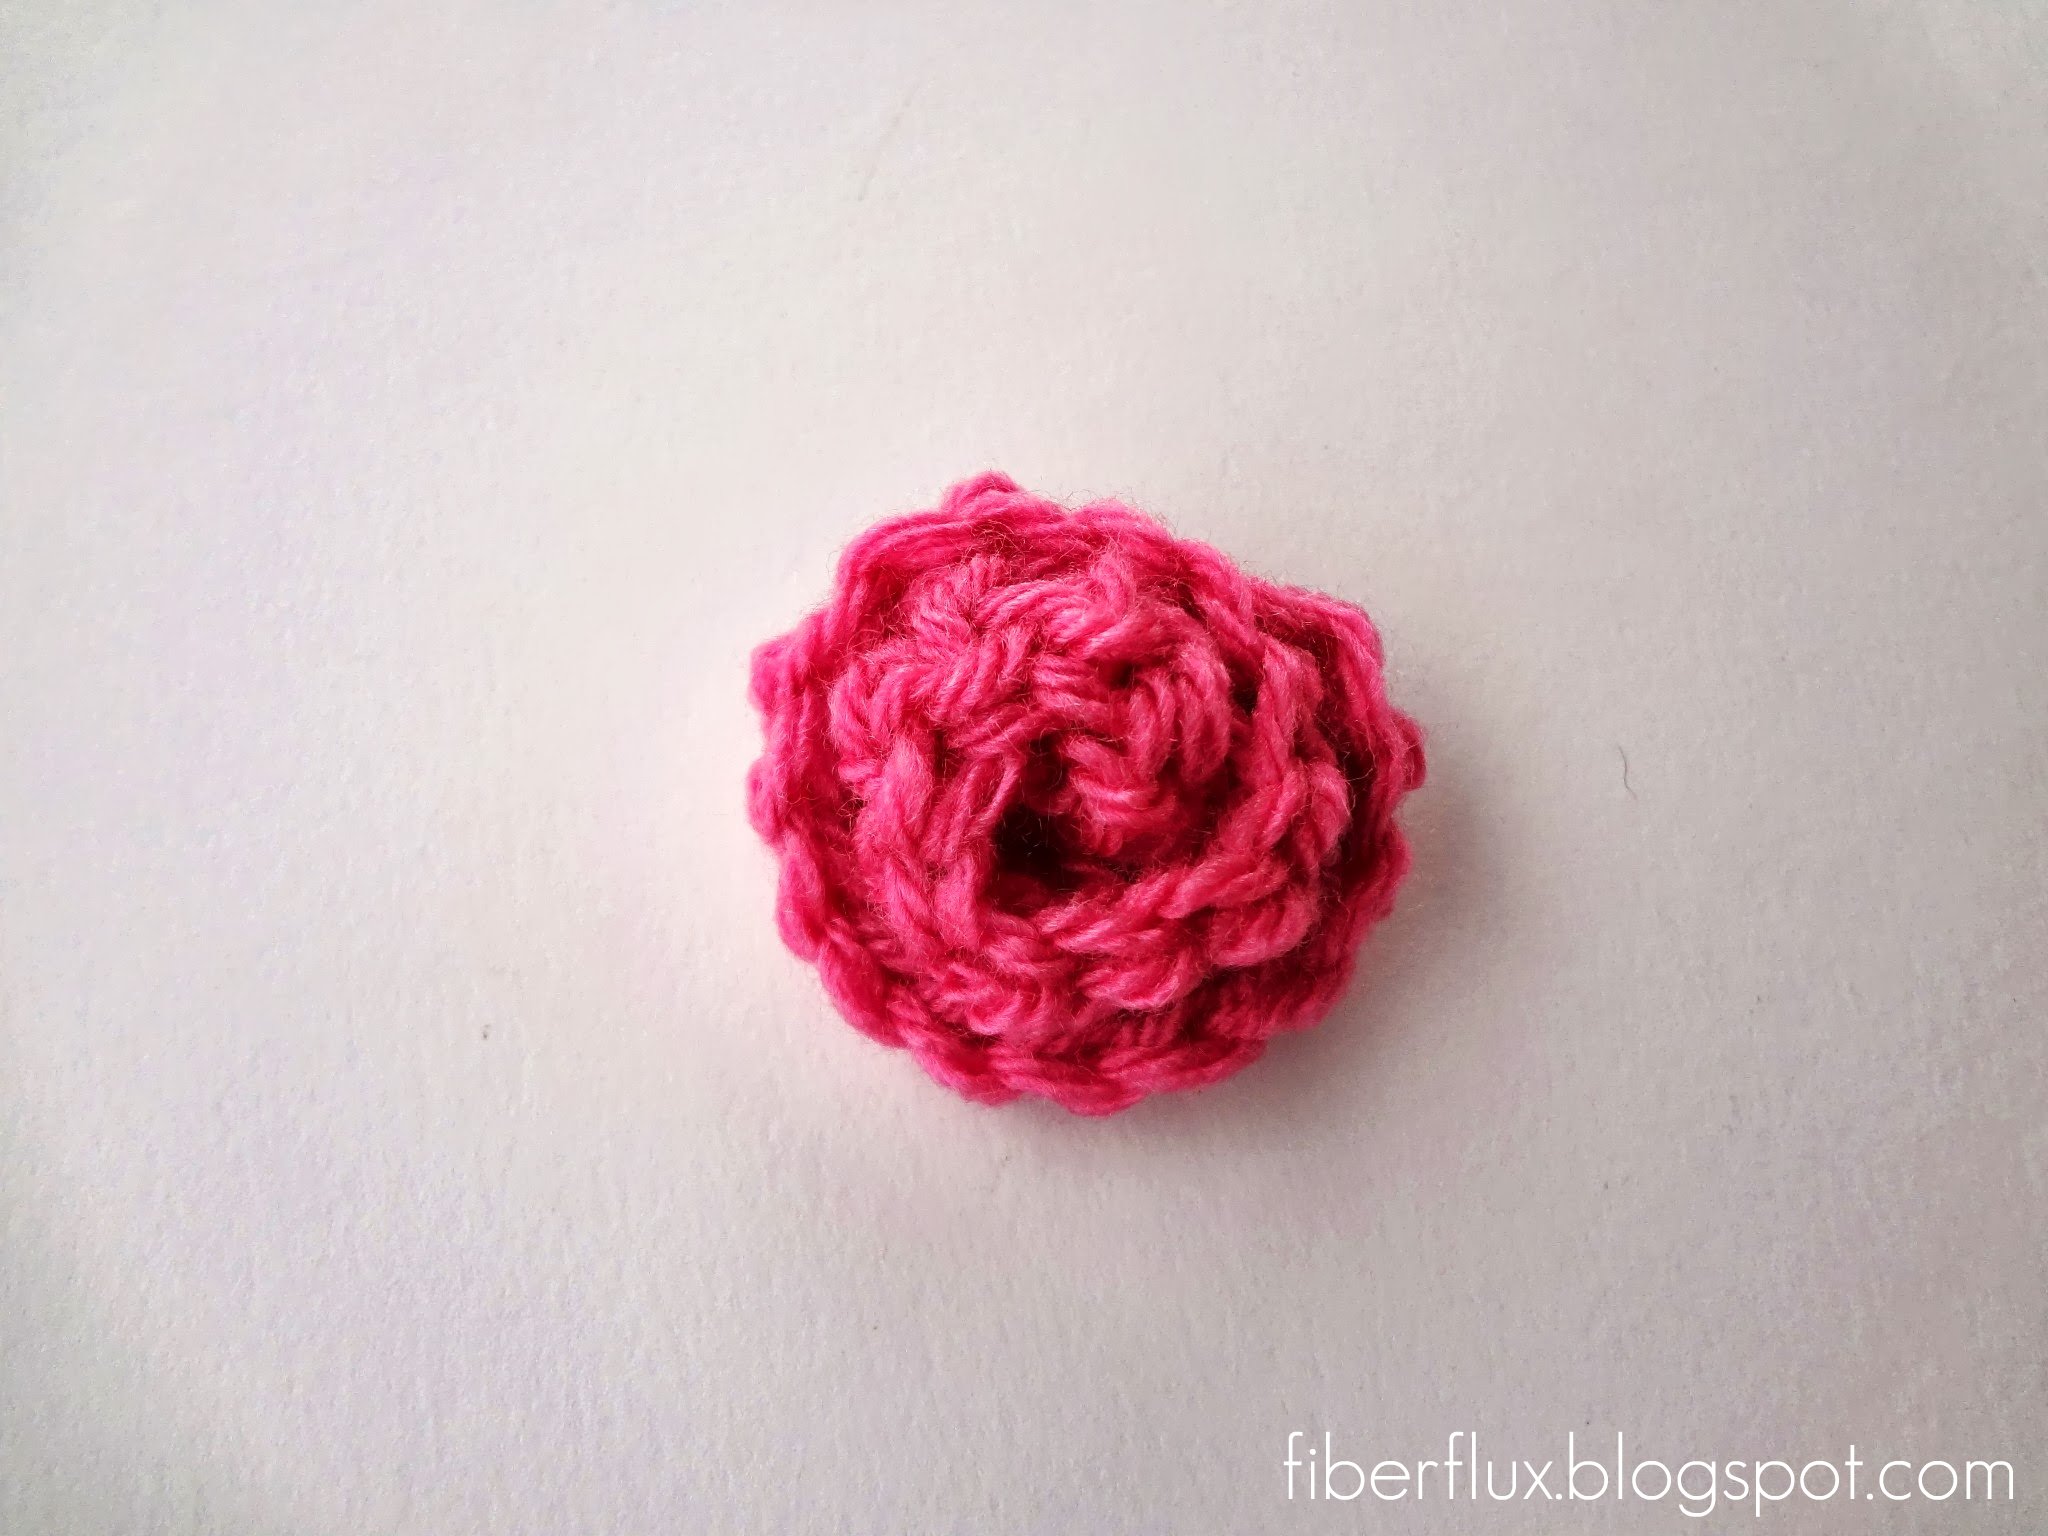
Lovely! This one was about an inch and a half wide. Experiment with different yarn and hook sizes for a variety of different blooms.
If you’d like to add leaves to your bouquet,
Click here for leaf with stem pattern…
Click here for stemless leaf pattern…


These roses look nicer and more realistic (as far as yarn can) than any other pattern I have previously seen. I look forward to making several sets of these to use on a wreath and possibly a corsage.
Cathy the Bagg Lady
I think these roses are really beautiful. I would love to make some to support Hannah's Charity. Thank you so much for posting the pattern
Kindest Regards Linda
Your roses are beautiful and your tutorial so simple to follow! Many thanks!
Thanks everyone! I had a lot of fun making these 🙂
These are so fun to make, thx so much! Great way to use of bits and bites of yarn, too.
Hi Jen, thanks so much for this new rose pattern. They're so beautiful and easy to make. I tried it already, including the leaves. I have posted my work and linked back to you. http://gardenchefsneedleandpen.blogspot.com/2013/05/curlicue-roses-pattern-by-fiber-flux.html
These roses look so easy when you do them. Very anxious to try. The tutorial is very well done and easy to follow. Thank you.
Thanks for sharing the roses pattern, the tutorial is well presented and much appreciated. Once again thank-you.
This is particularly valid for young fellows looking for the young ladies in their lives. On the off chance that you are one of these, take heart. The ideal corsage or bunch is simply sitting tight for you to request it and make a spectacular impression with your date. http://www.mordocrosswords.com/2016/02/corsage-fastener.html
Hi Jen, I made blue curlicue roses using your pattern. Here’s the latest blog on it where I linked back to you. https://gardenchefsneedleandpen.blogspot.com/2019/03/blue-curlicue-roses.html?m=1
These roses make lovely gifts.