
The back post double crochet stitch, or “bpdc” as it is abbreviated in patterns is an easy stitch to learn. It is often used with the front post double crochet (fpdc) to create ribbing in crochet, or by itself to make pretty ridges in your work. It almost just like a regular double crochet, except where you place the hook in the beginning. Be sure to scroll down to watch a short video on how to make the stitch too.
Looking for more crochet stitch tutorials? Get them here!
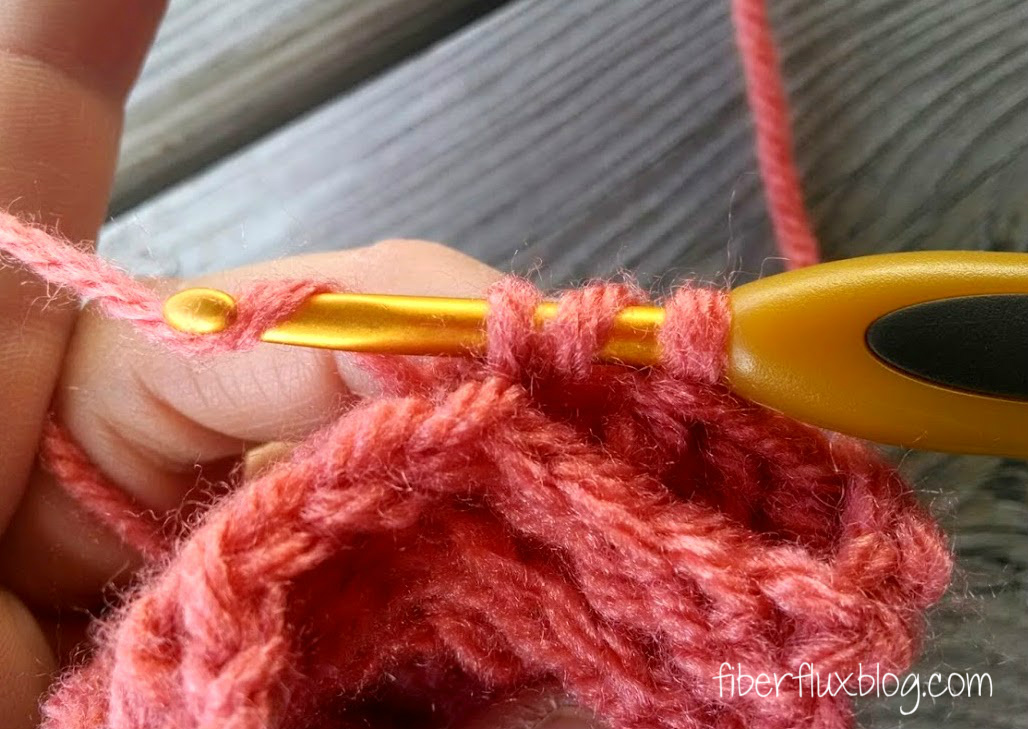
To work the back post double crochet stitch (bpdc), begin by wrapping yarn around hook,
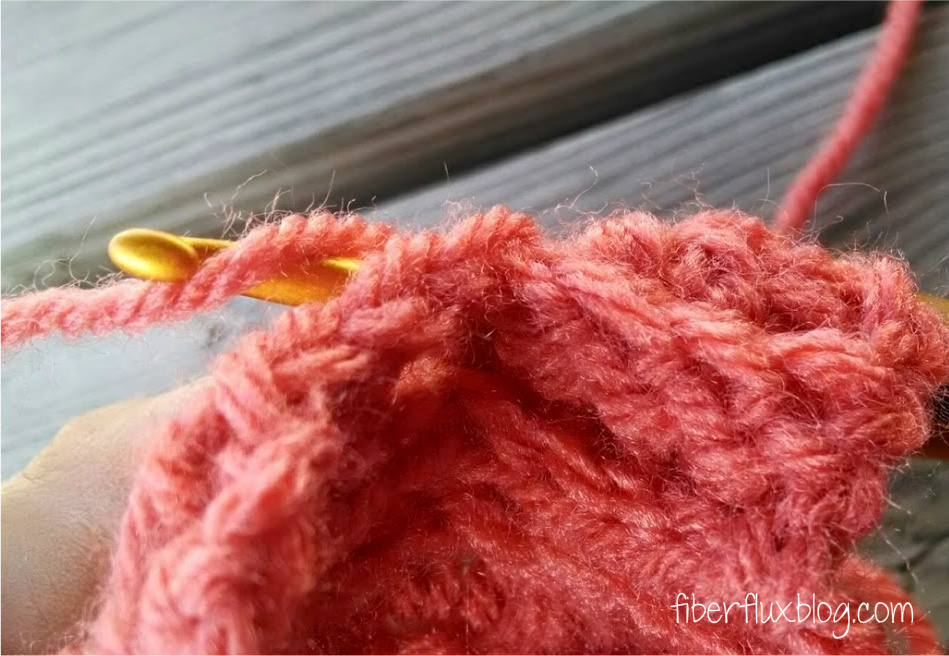
Next go in between the posts from back to front with your hook as shown below,
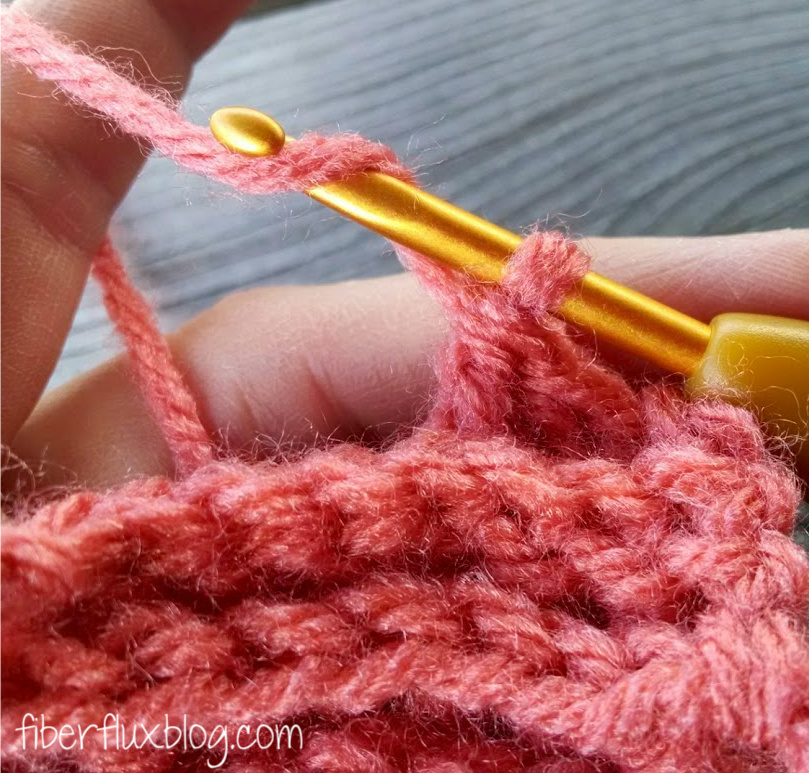
Then back down…the hook should be on top of the post (it is almost like sewing a stitch with your hook)
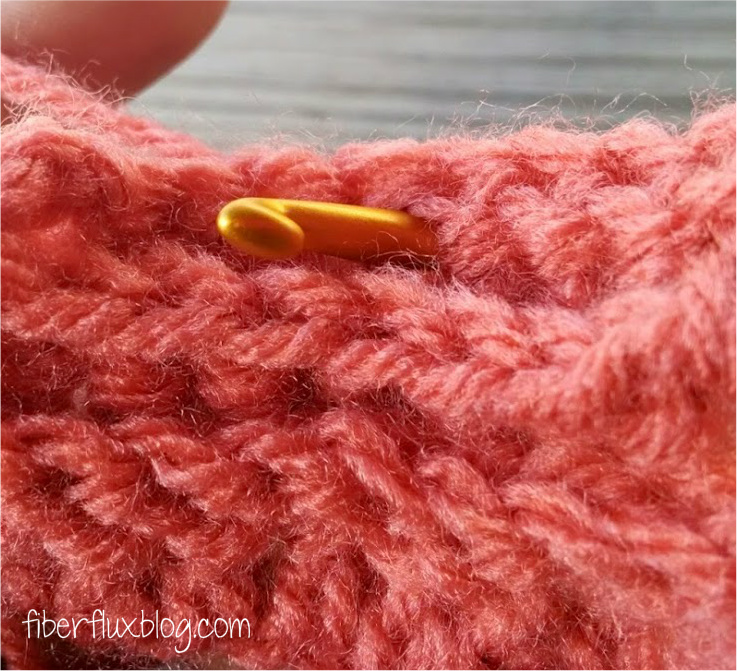
Here’s another shot of what the back looks like:

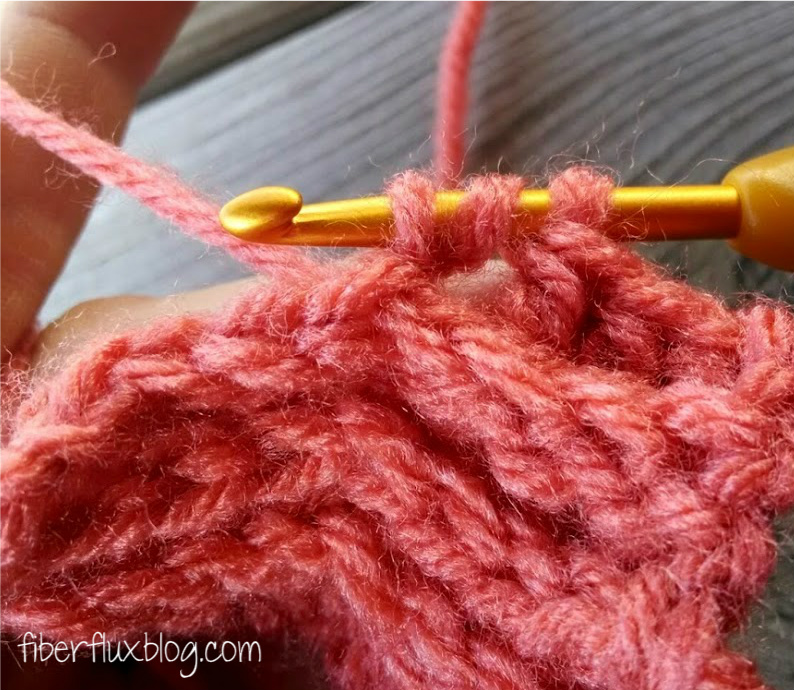
Wrap yarn around hook and draw through the post.
It should now look like this…three loops on the hook. From this point forward, you’ll work the stitch as your normally would a regular double crochet stitch.
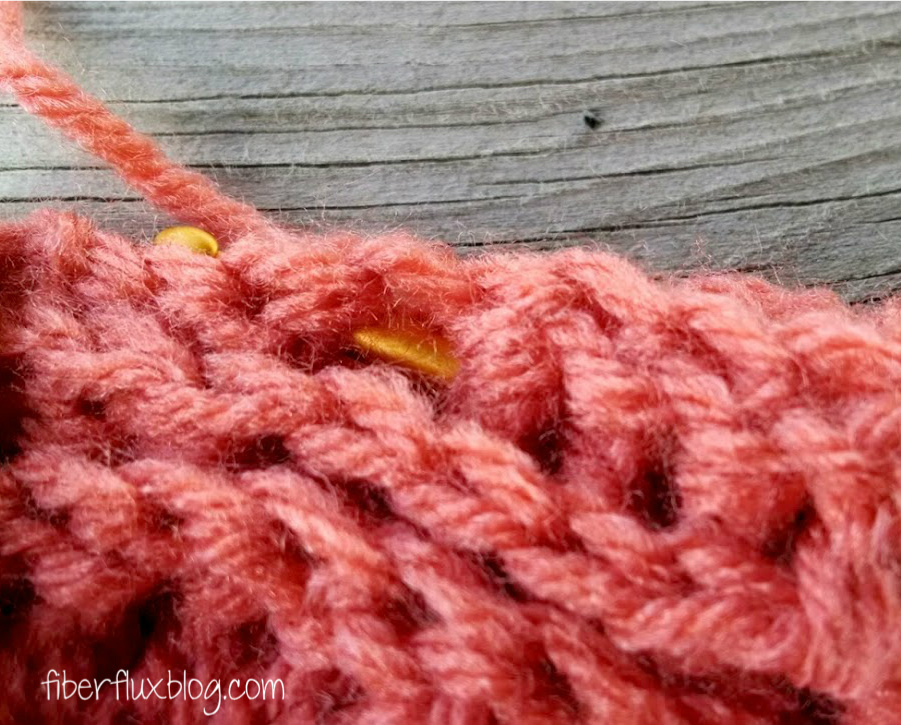
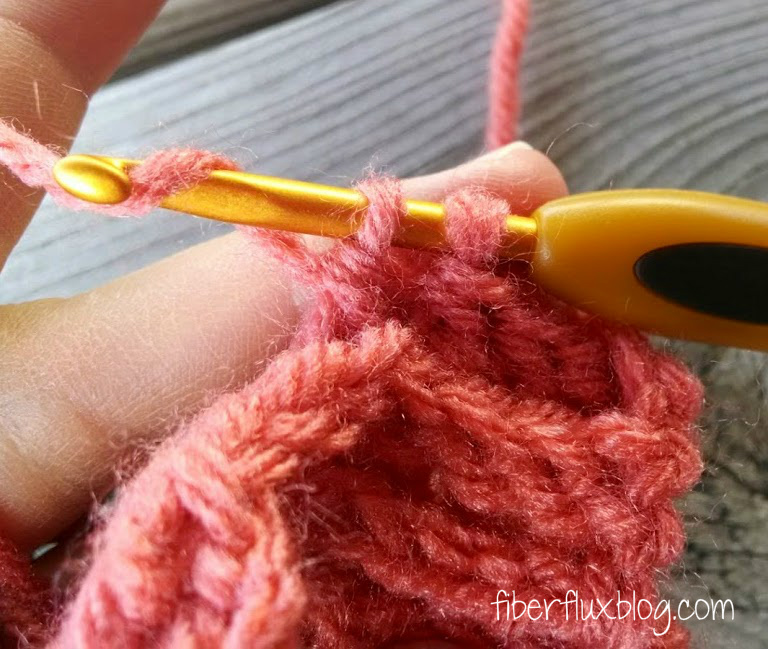
Wrap yarn around hook and draw it through the first two loops on the hook,

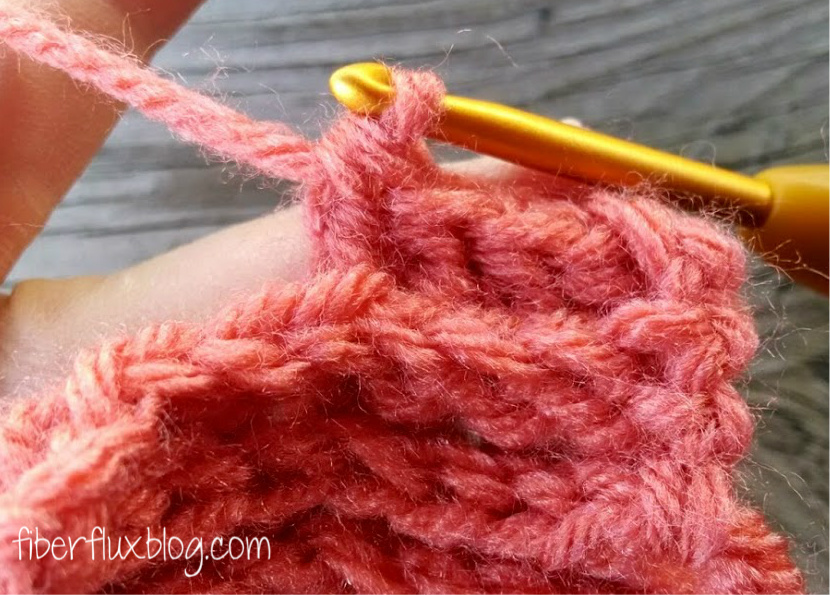
Yarn around hook and draw it through last two loops on the hook,
one loop left, now you’re ready to work another!
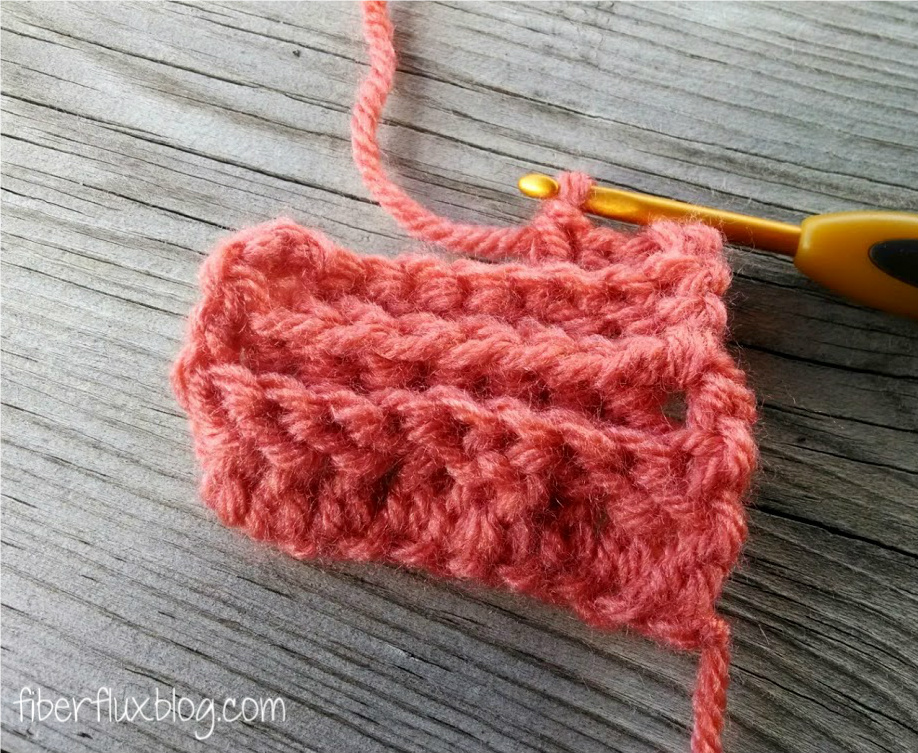
Here’s what my little swatch looks like to give you an idea of what a few rows will look like. To see this stitch in action, be sure to scroll down a bit for the video…happy stitching!
Watch the video on how to work the back post double crochet stitch:
Here’s the video too showing how to work the front post double crochet stitch too:
For more fun projects and pretty patterns, be sure to follow Fiber Flux on Google+, Facebook, Twitter, and Pinterest for the latest updates!


This comment has been removed by a blog administrator.
This comment has been removed by a blog administrator.
Thanks for the help. You make it look easy.
This comment has been removed by a blog administrator.