
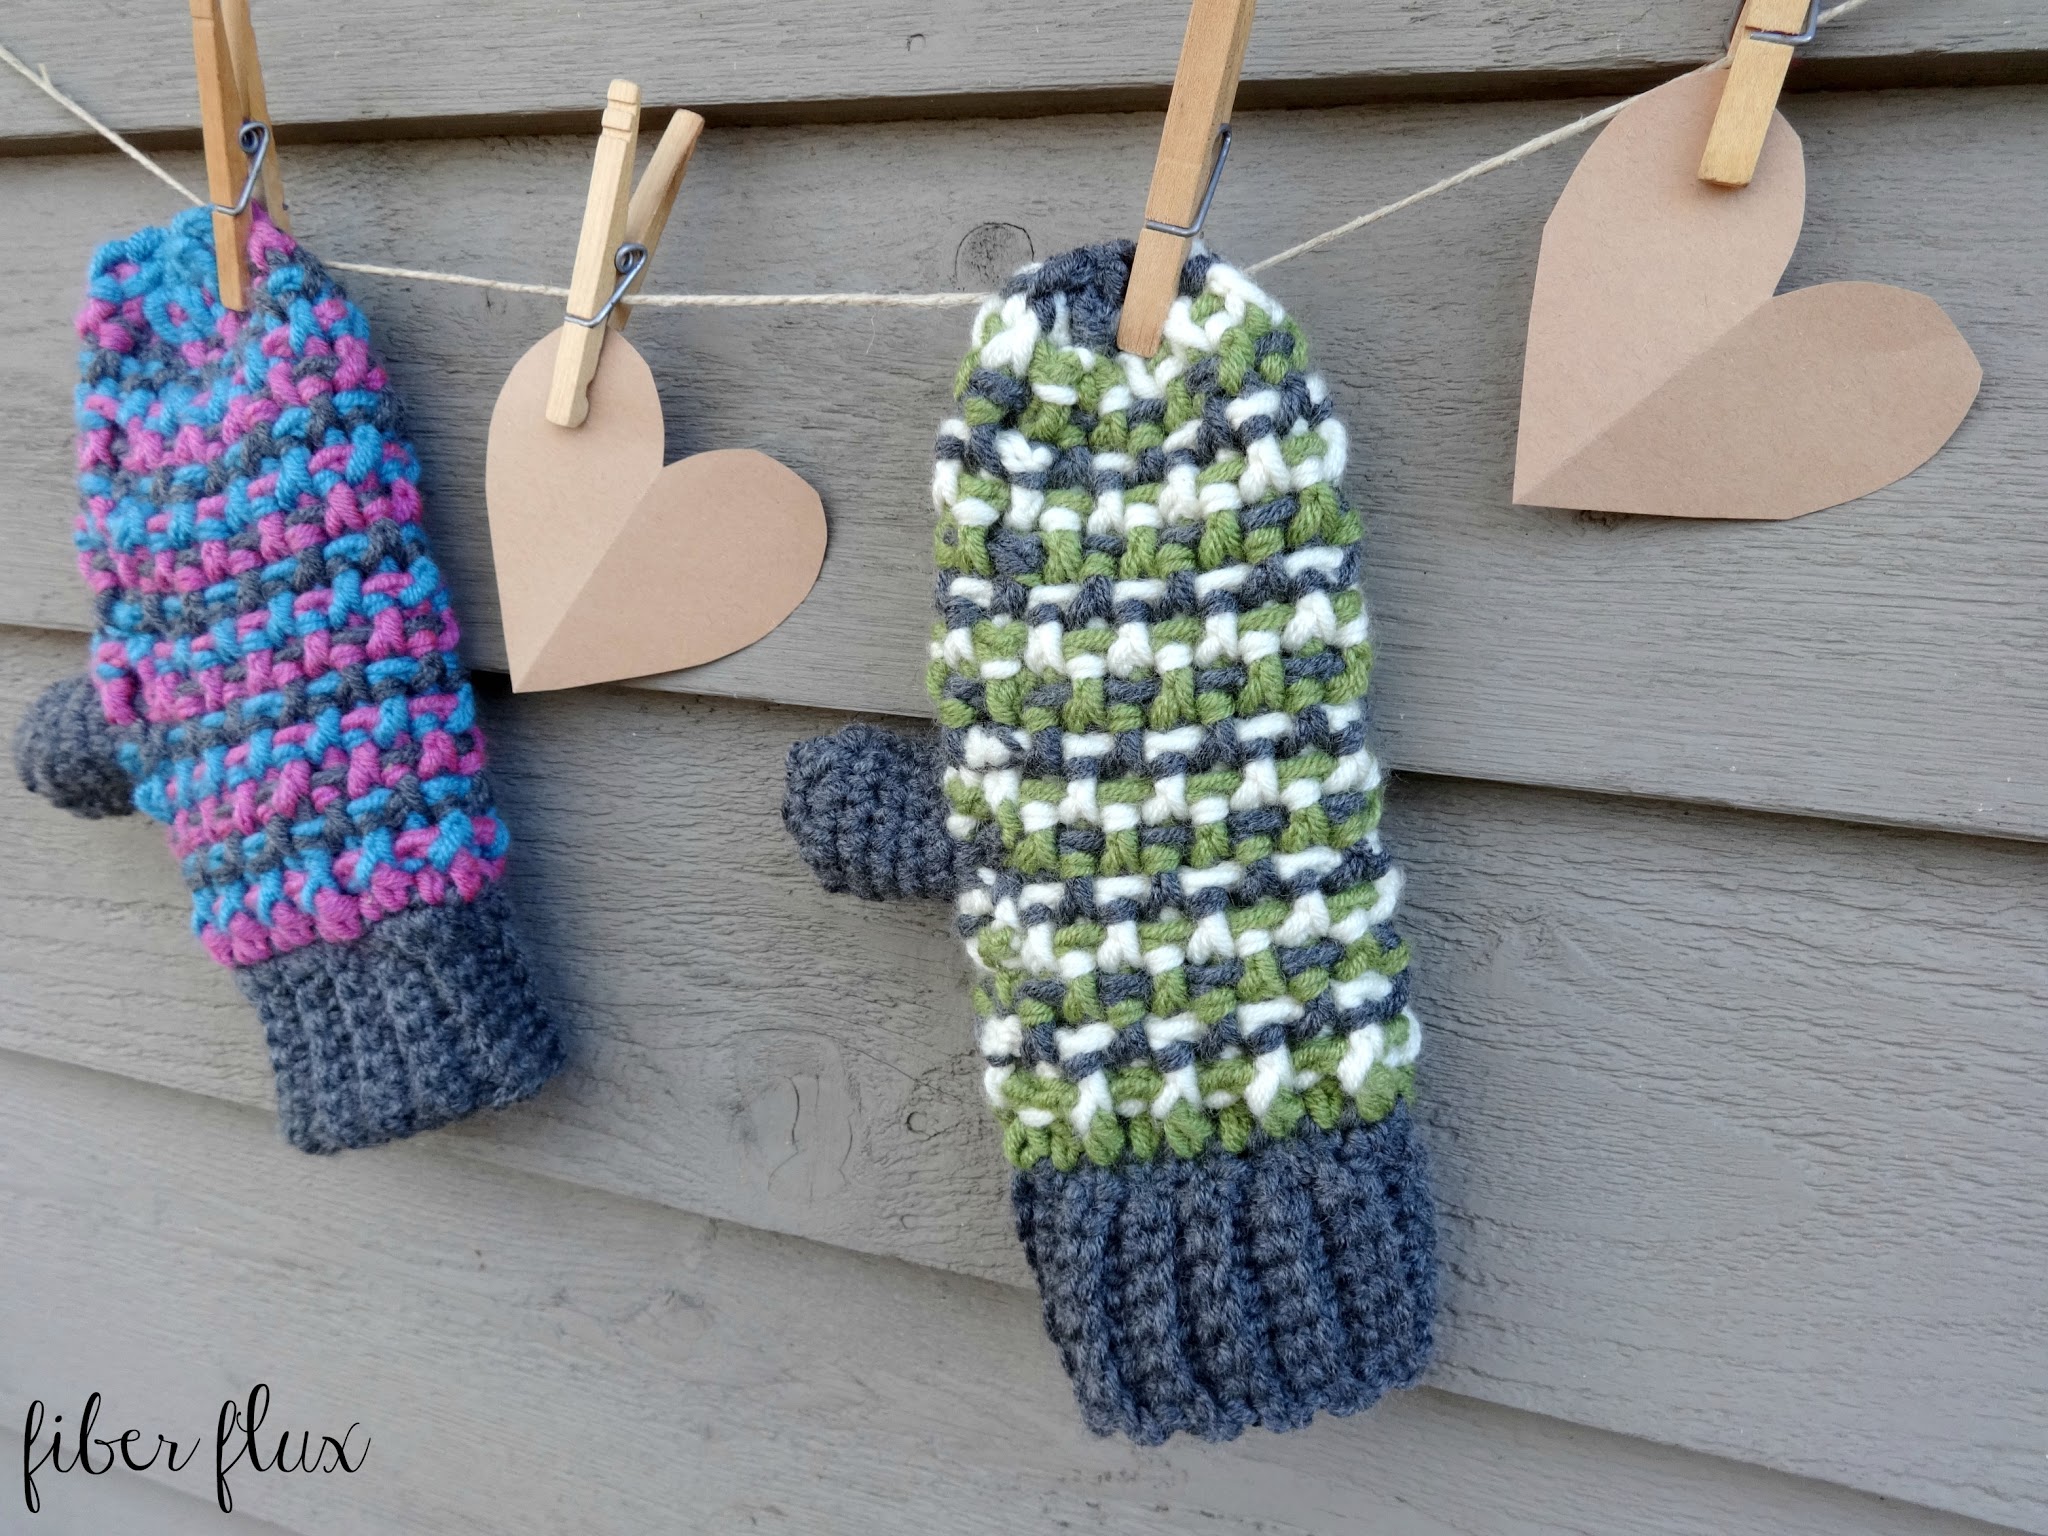
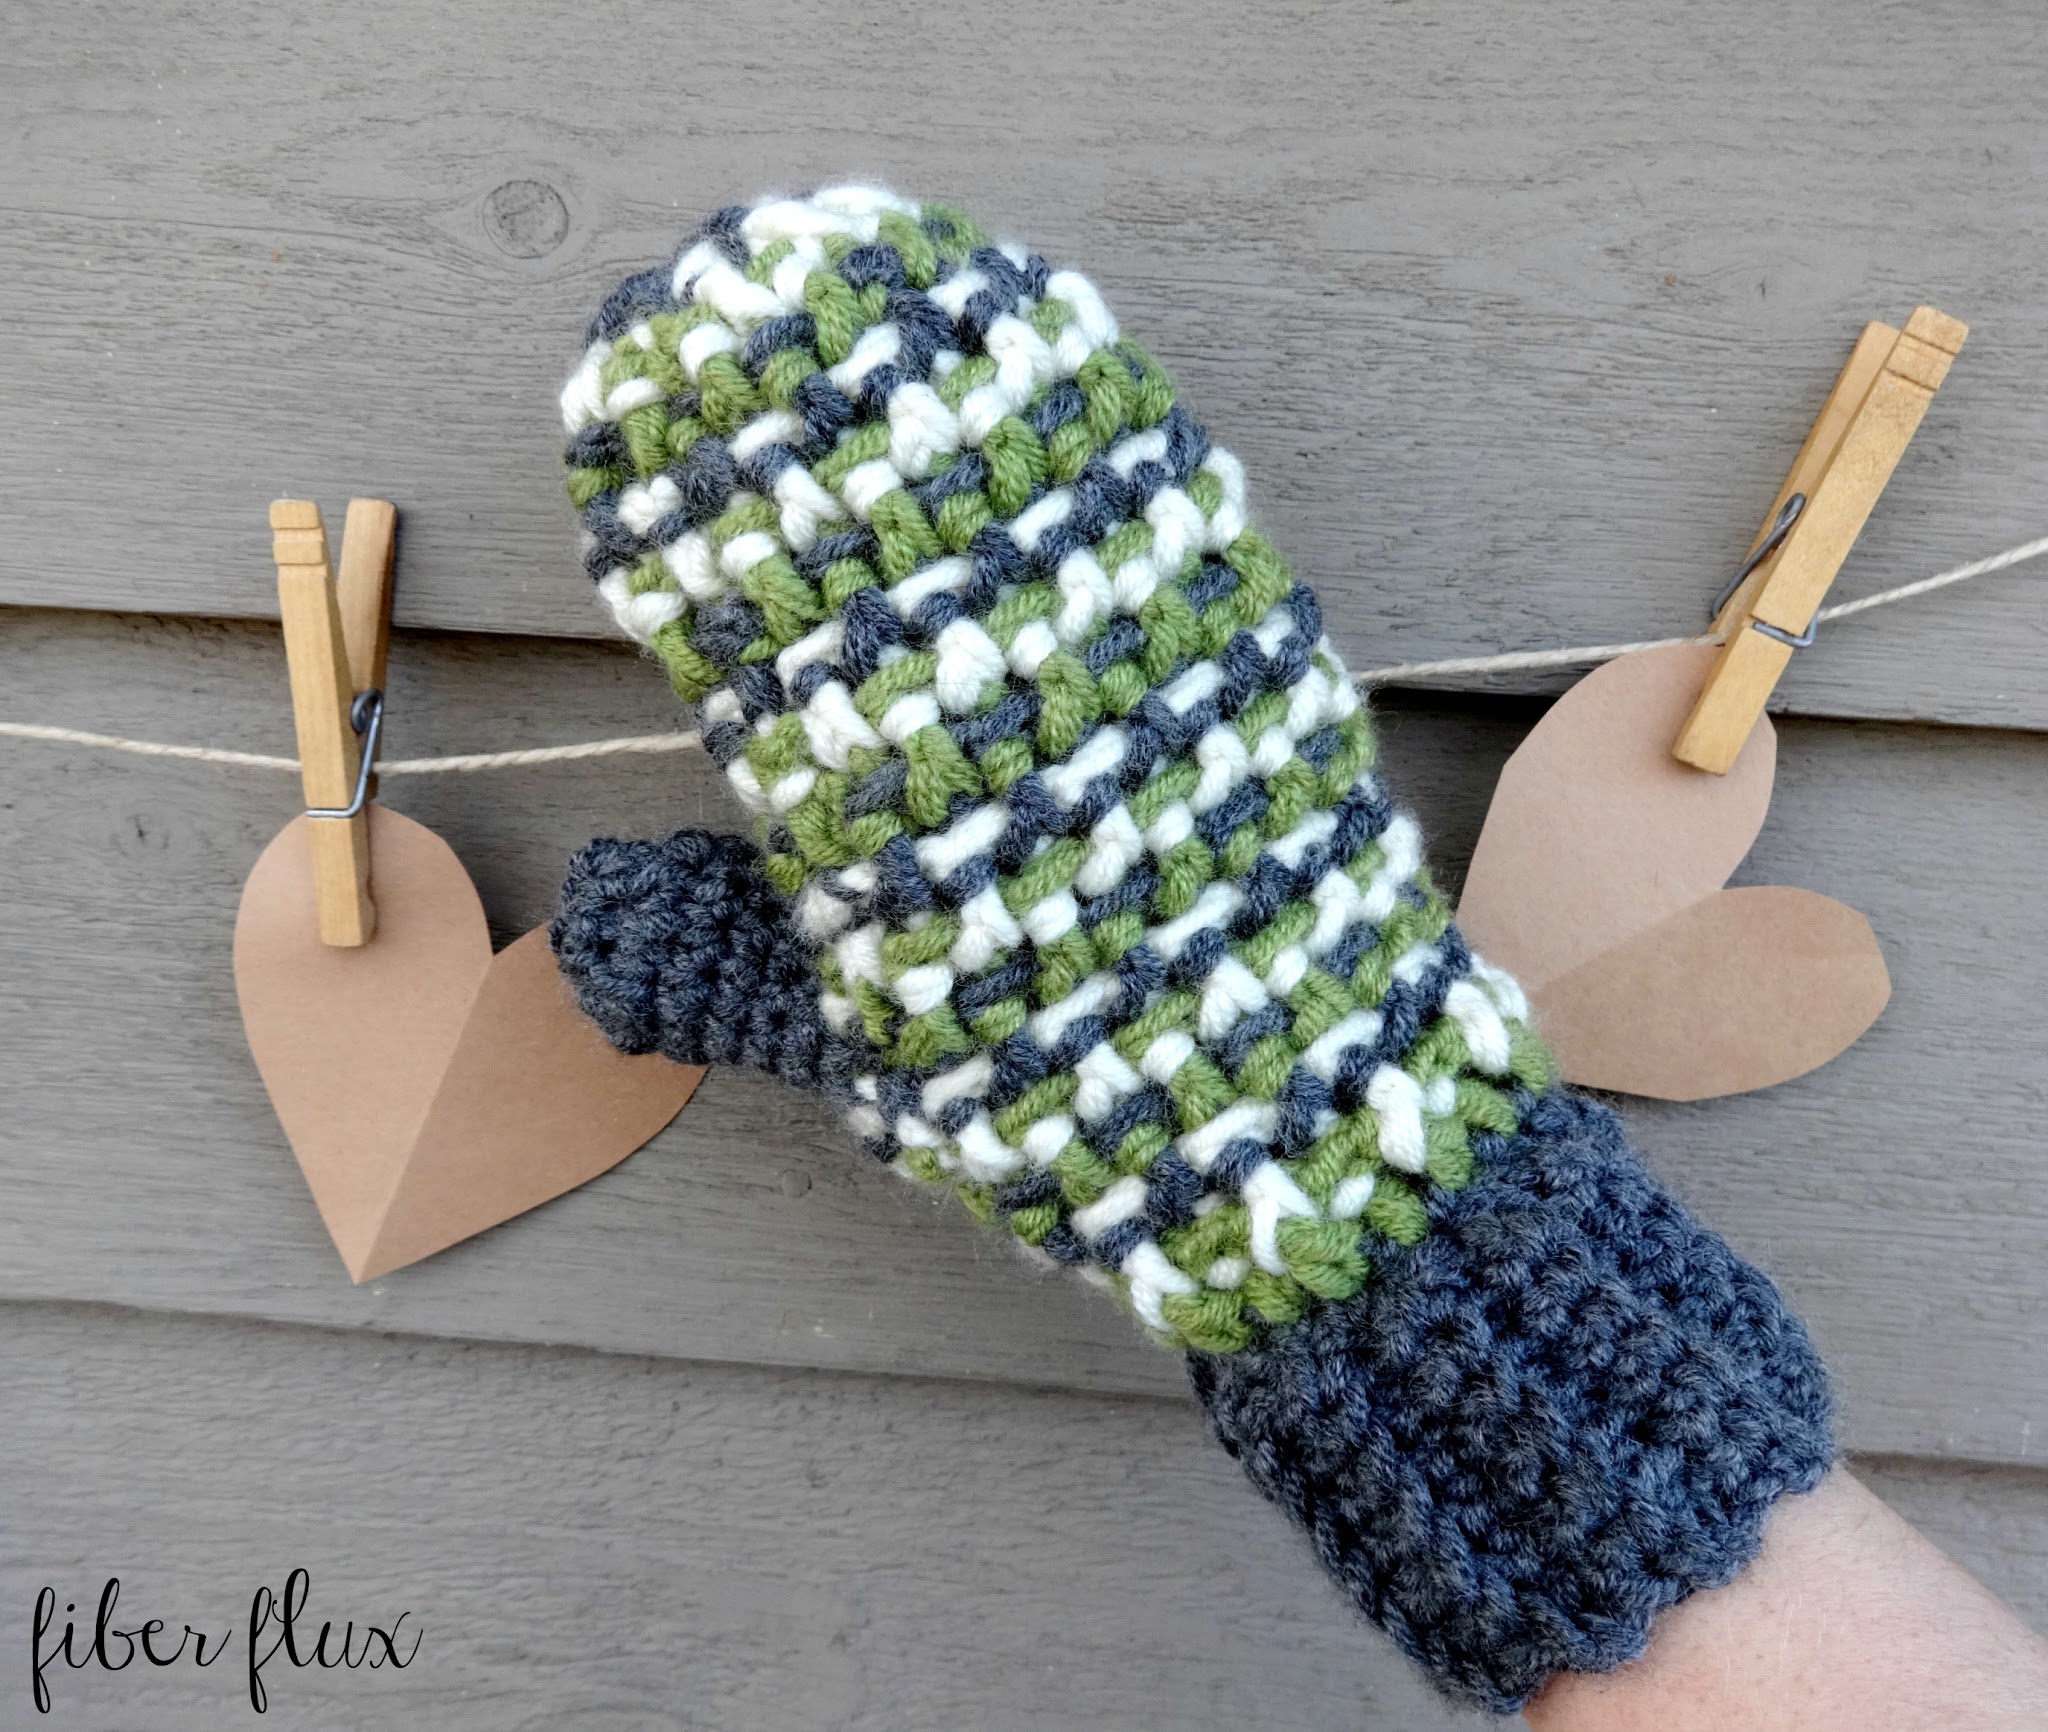
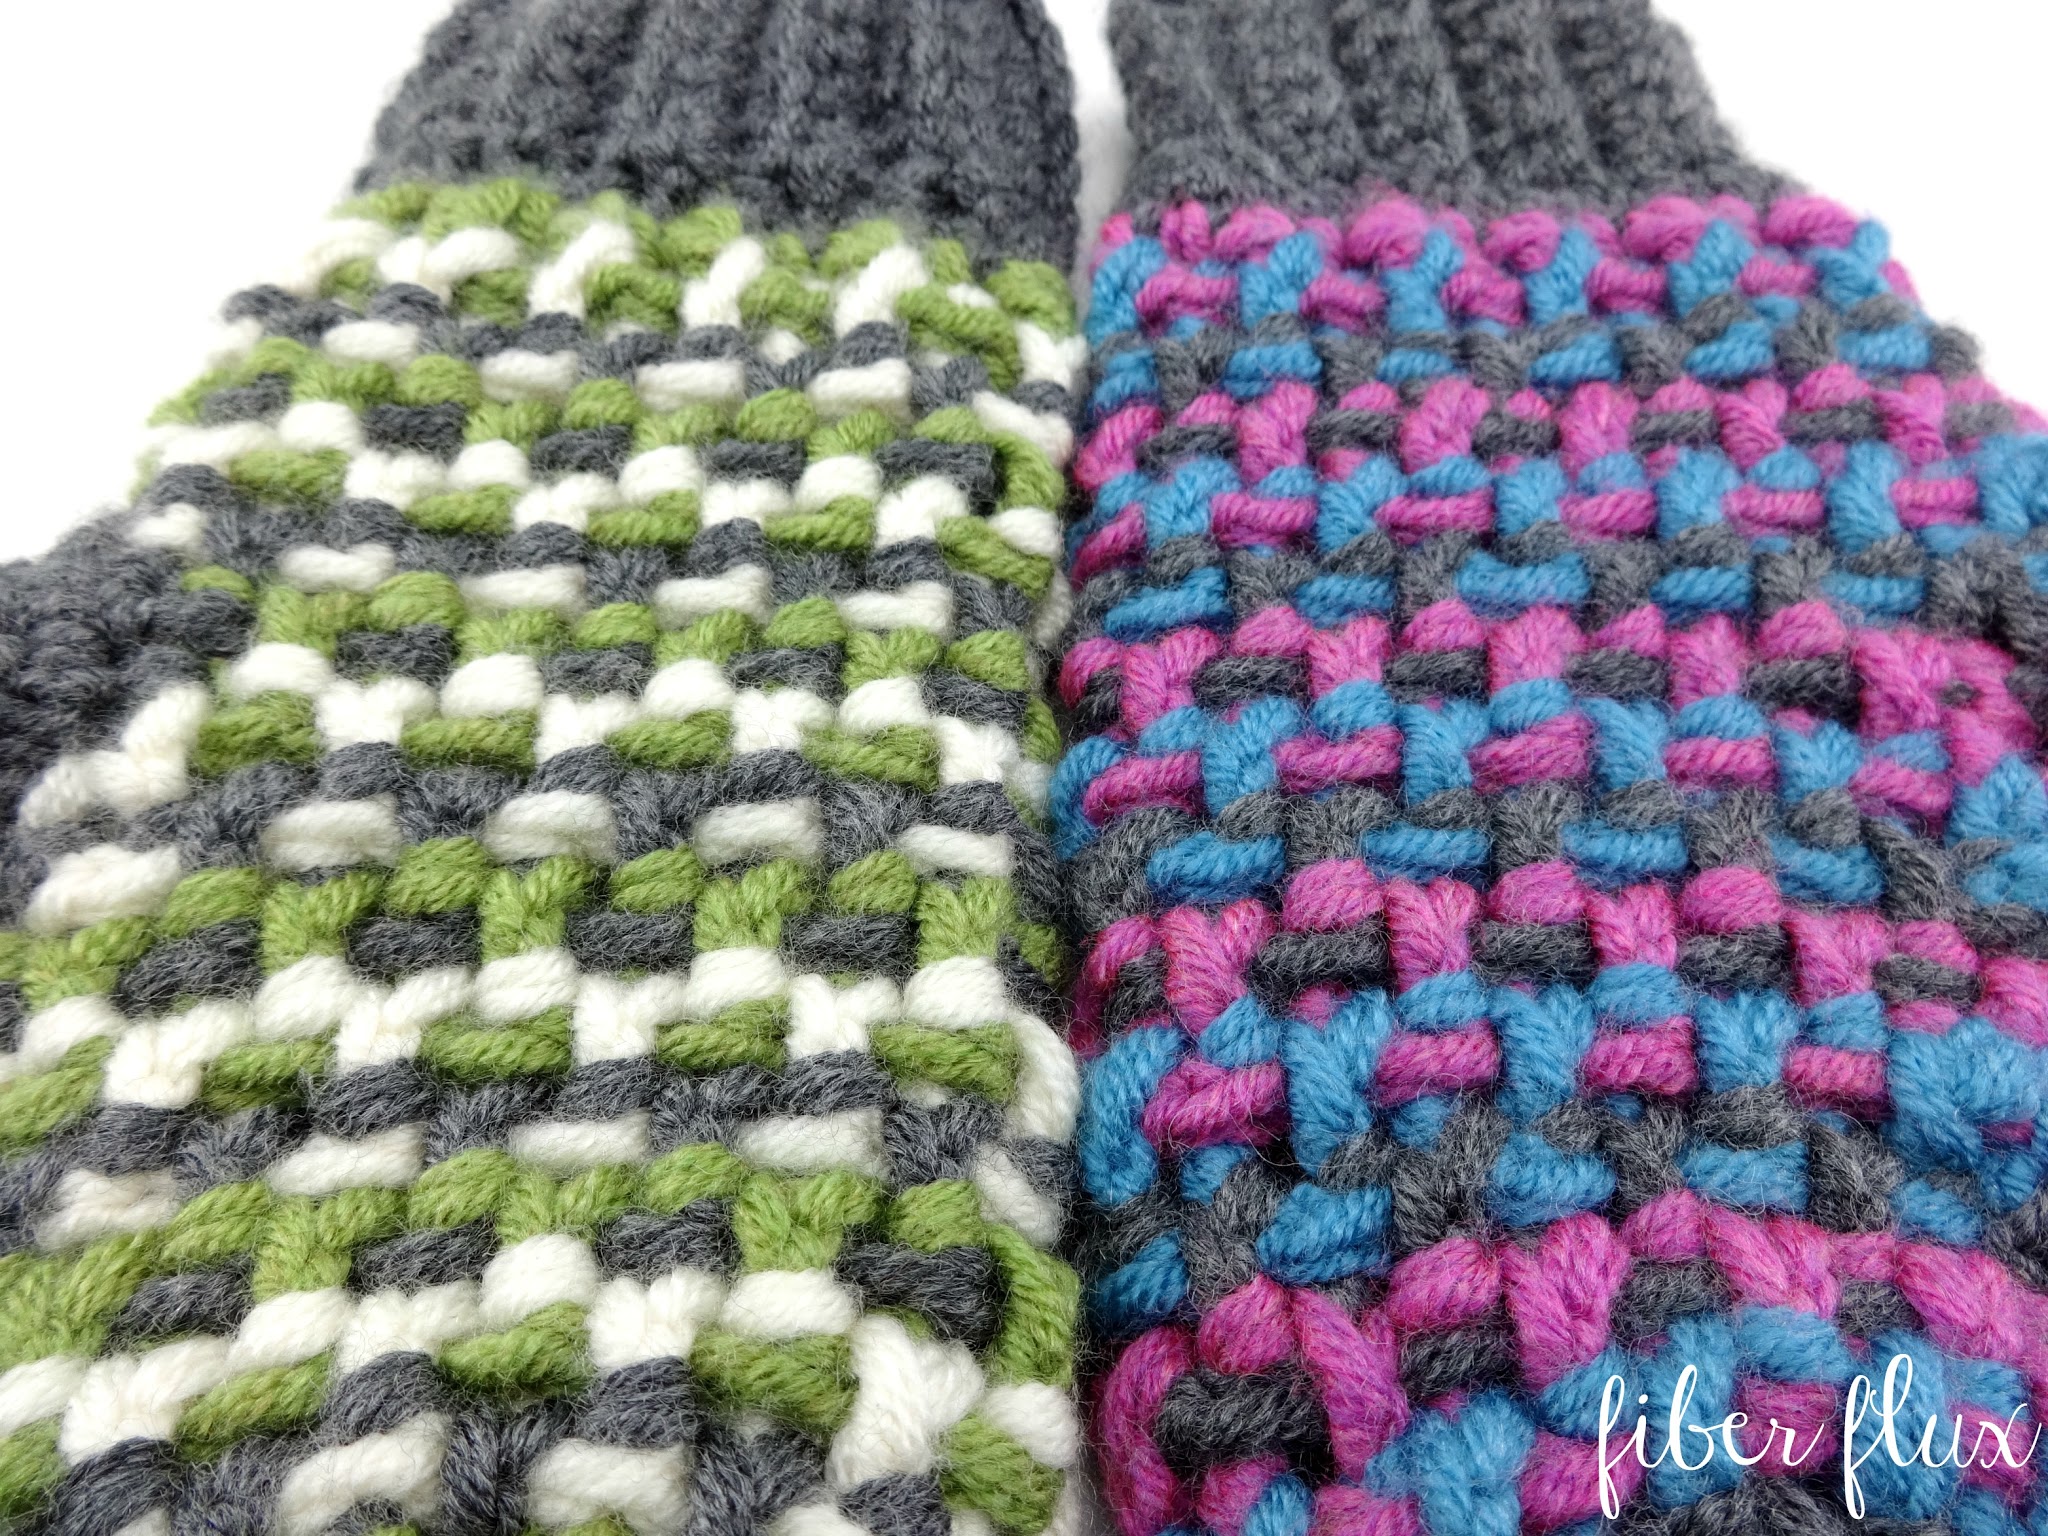
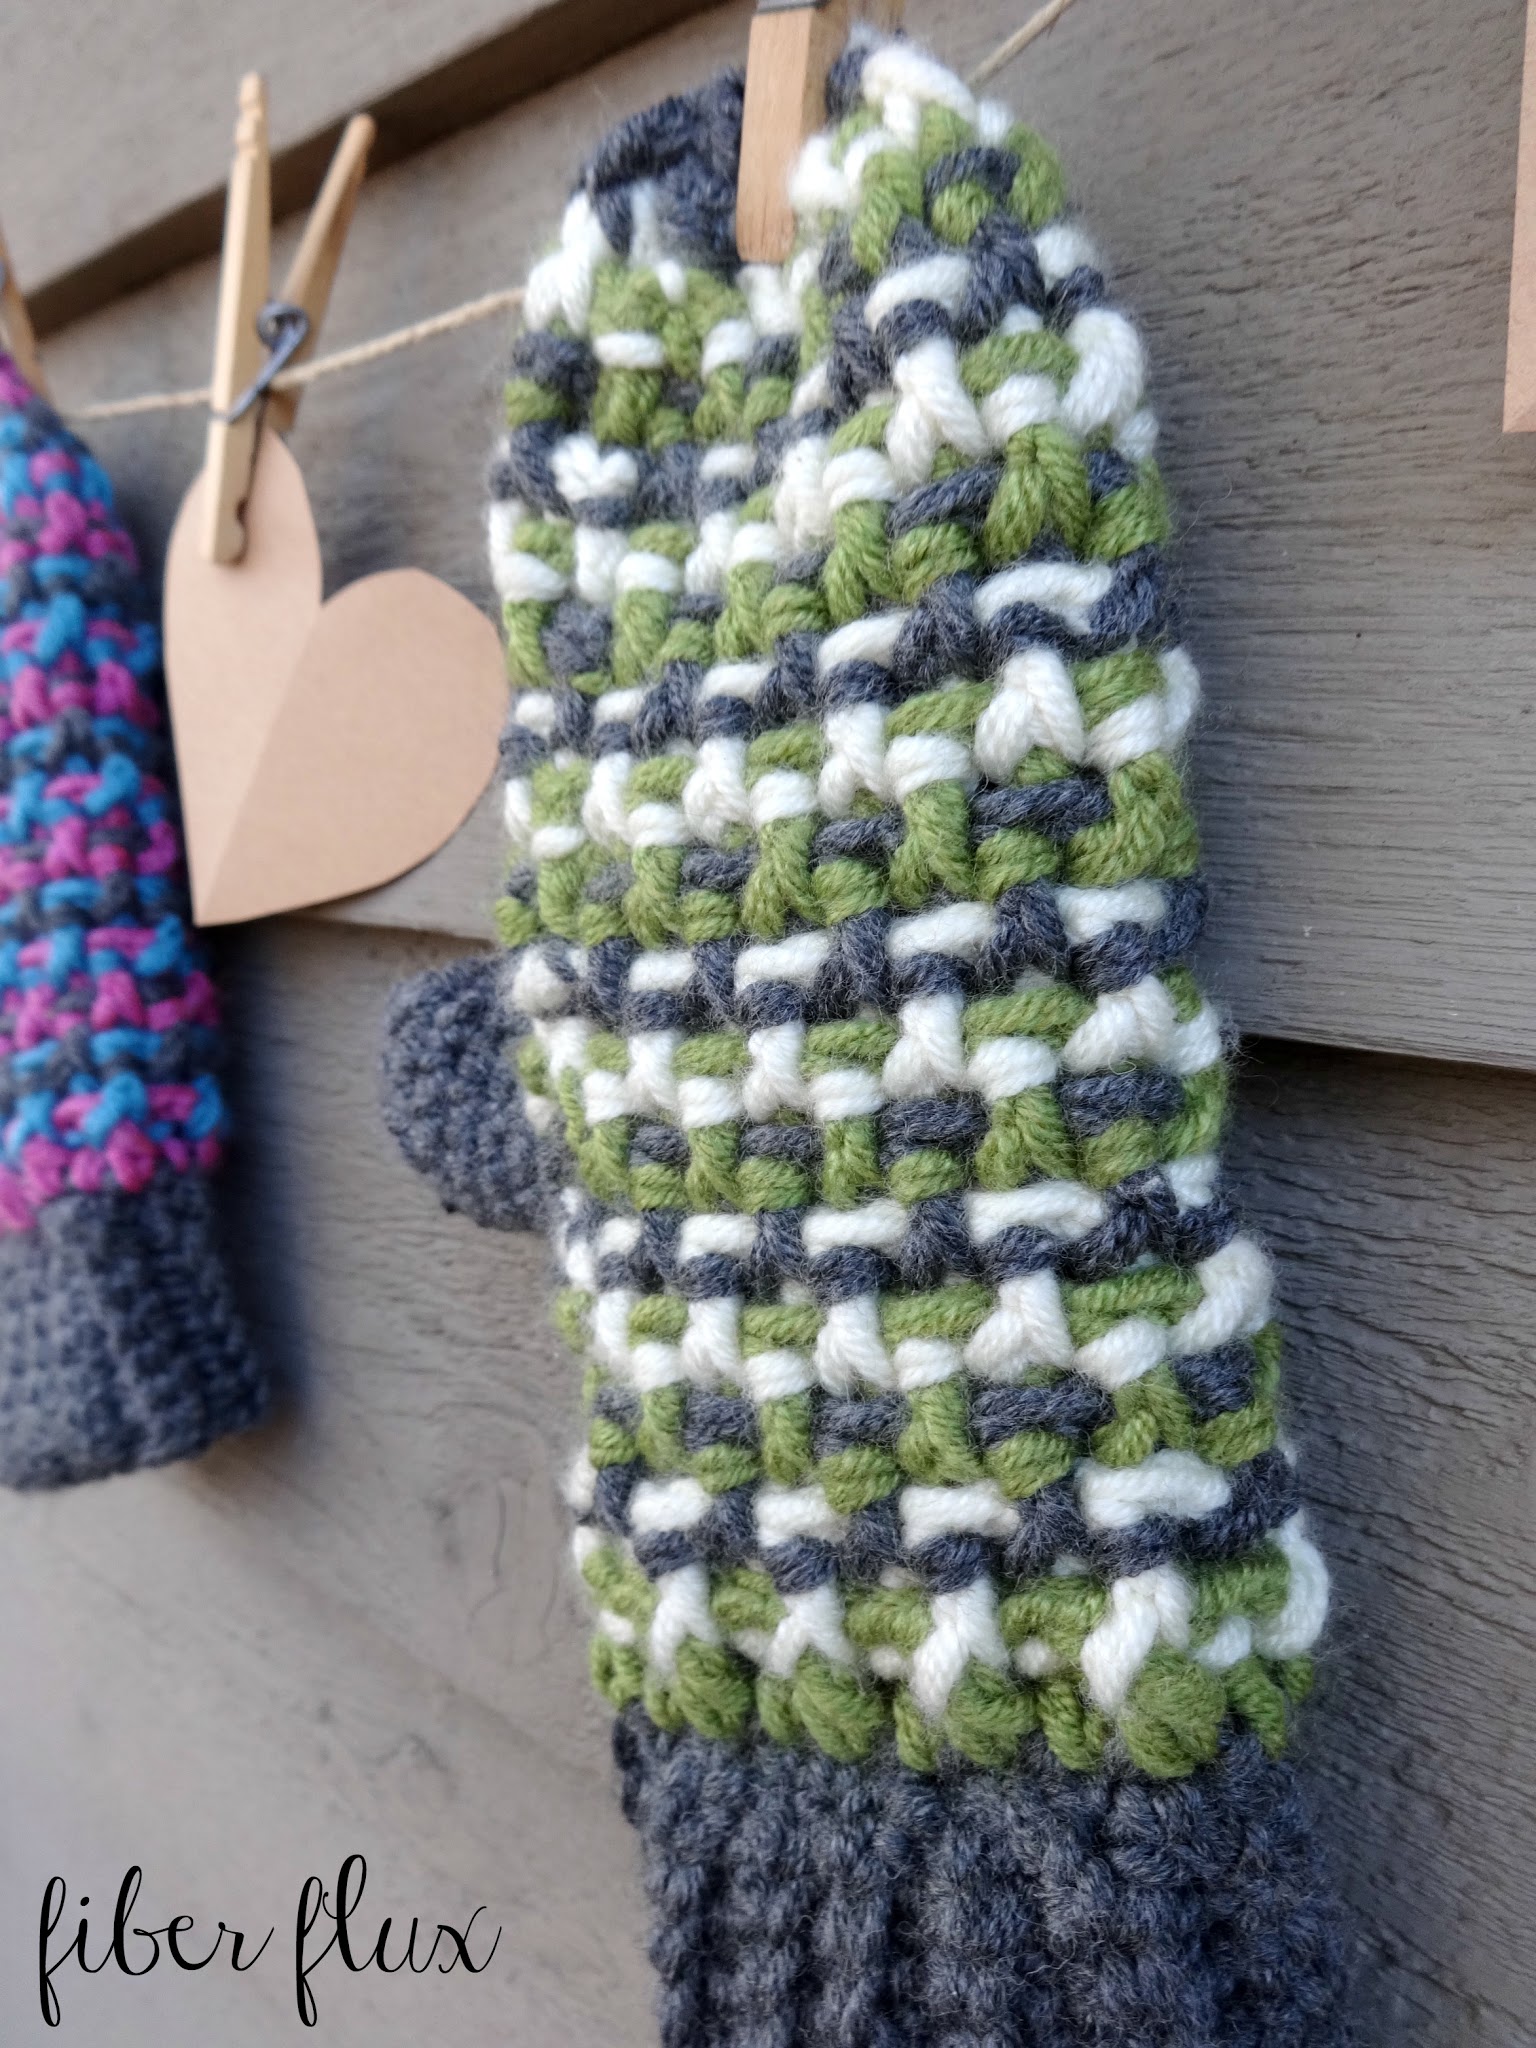
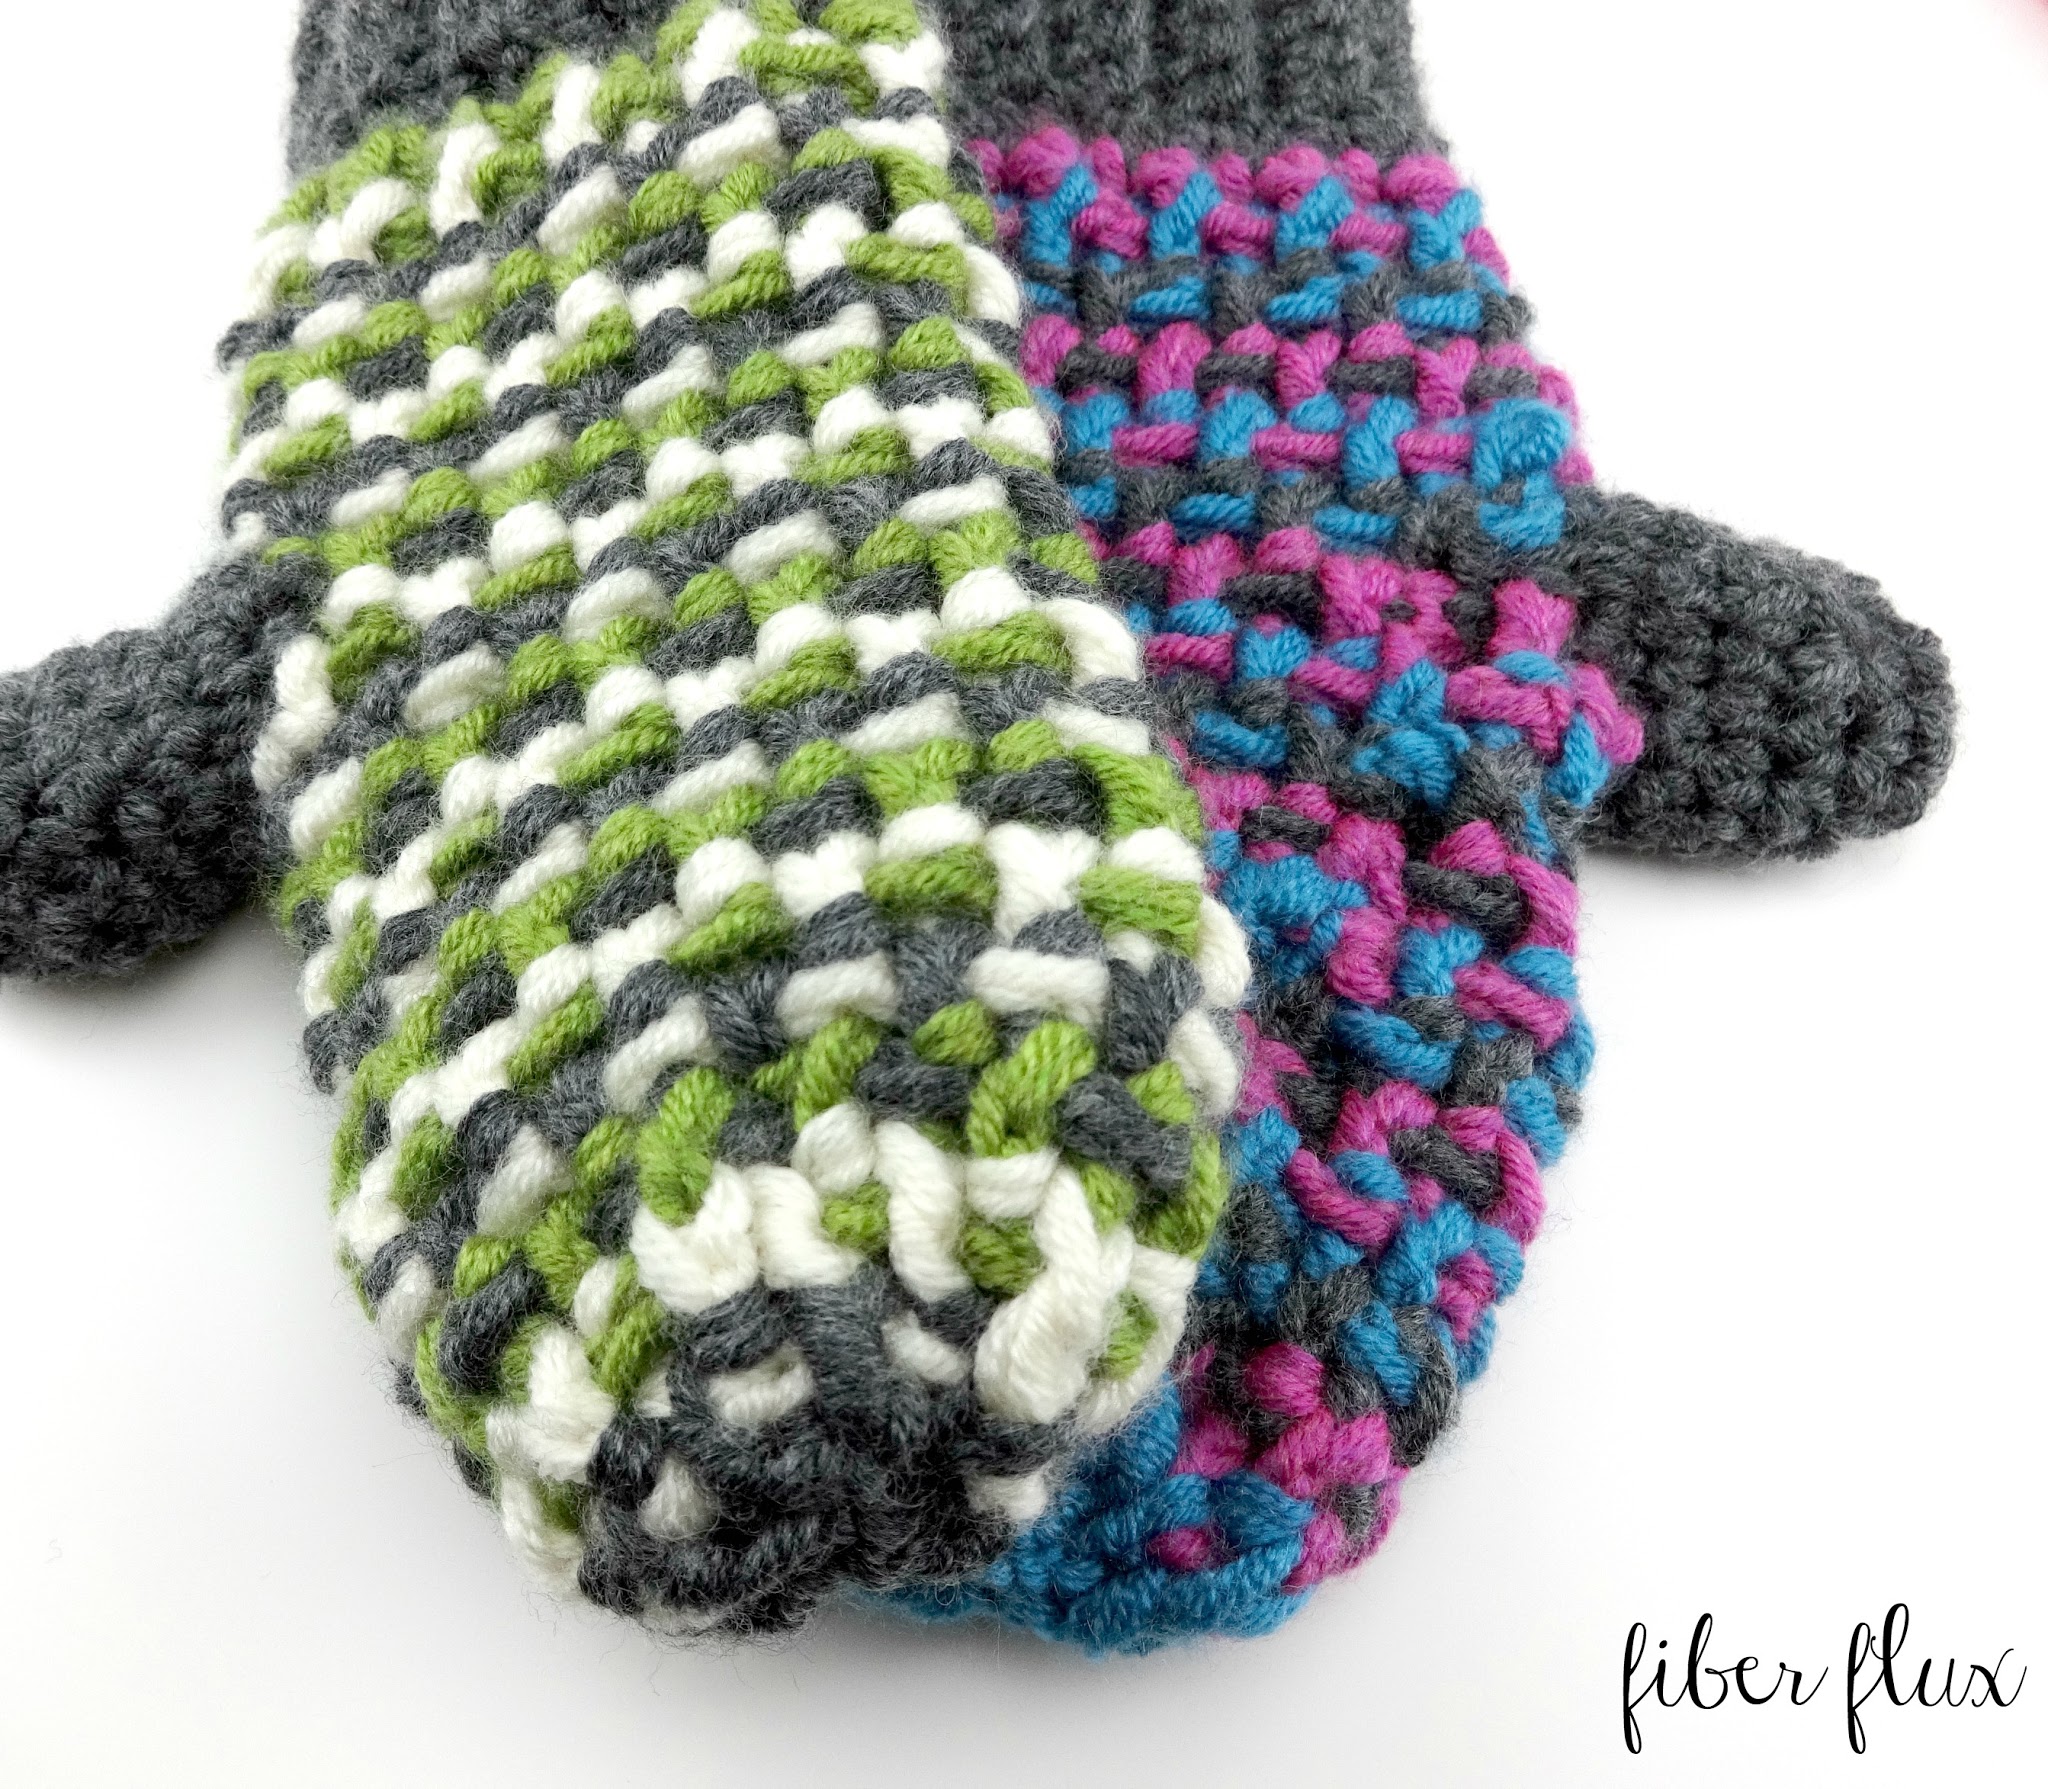
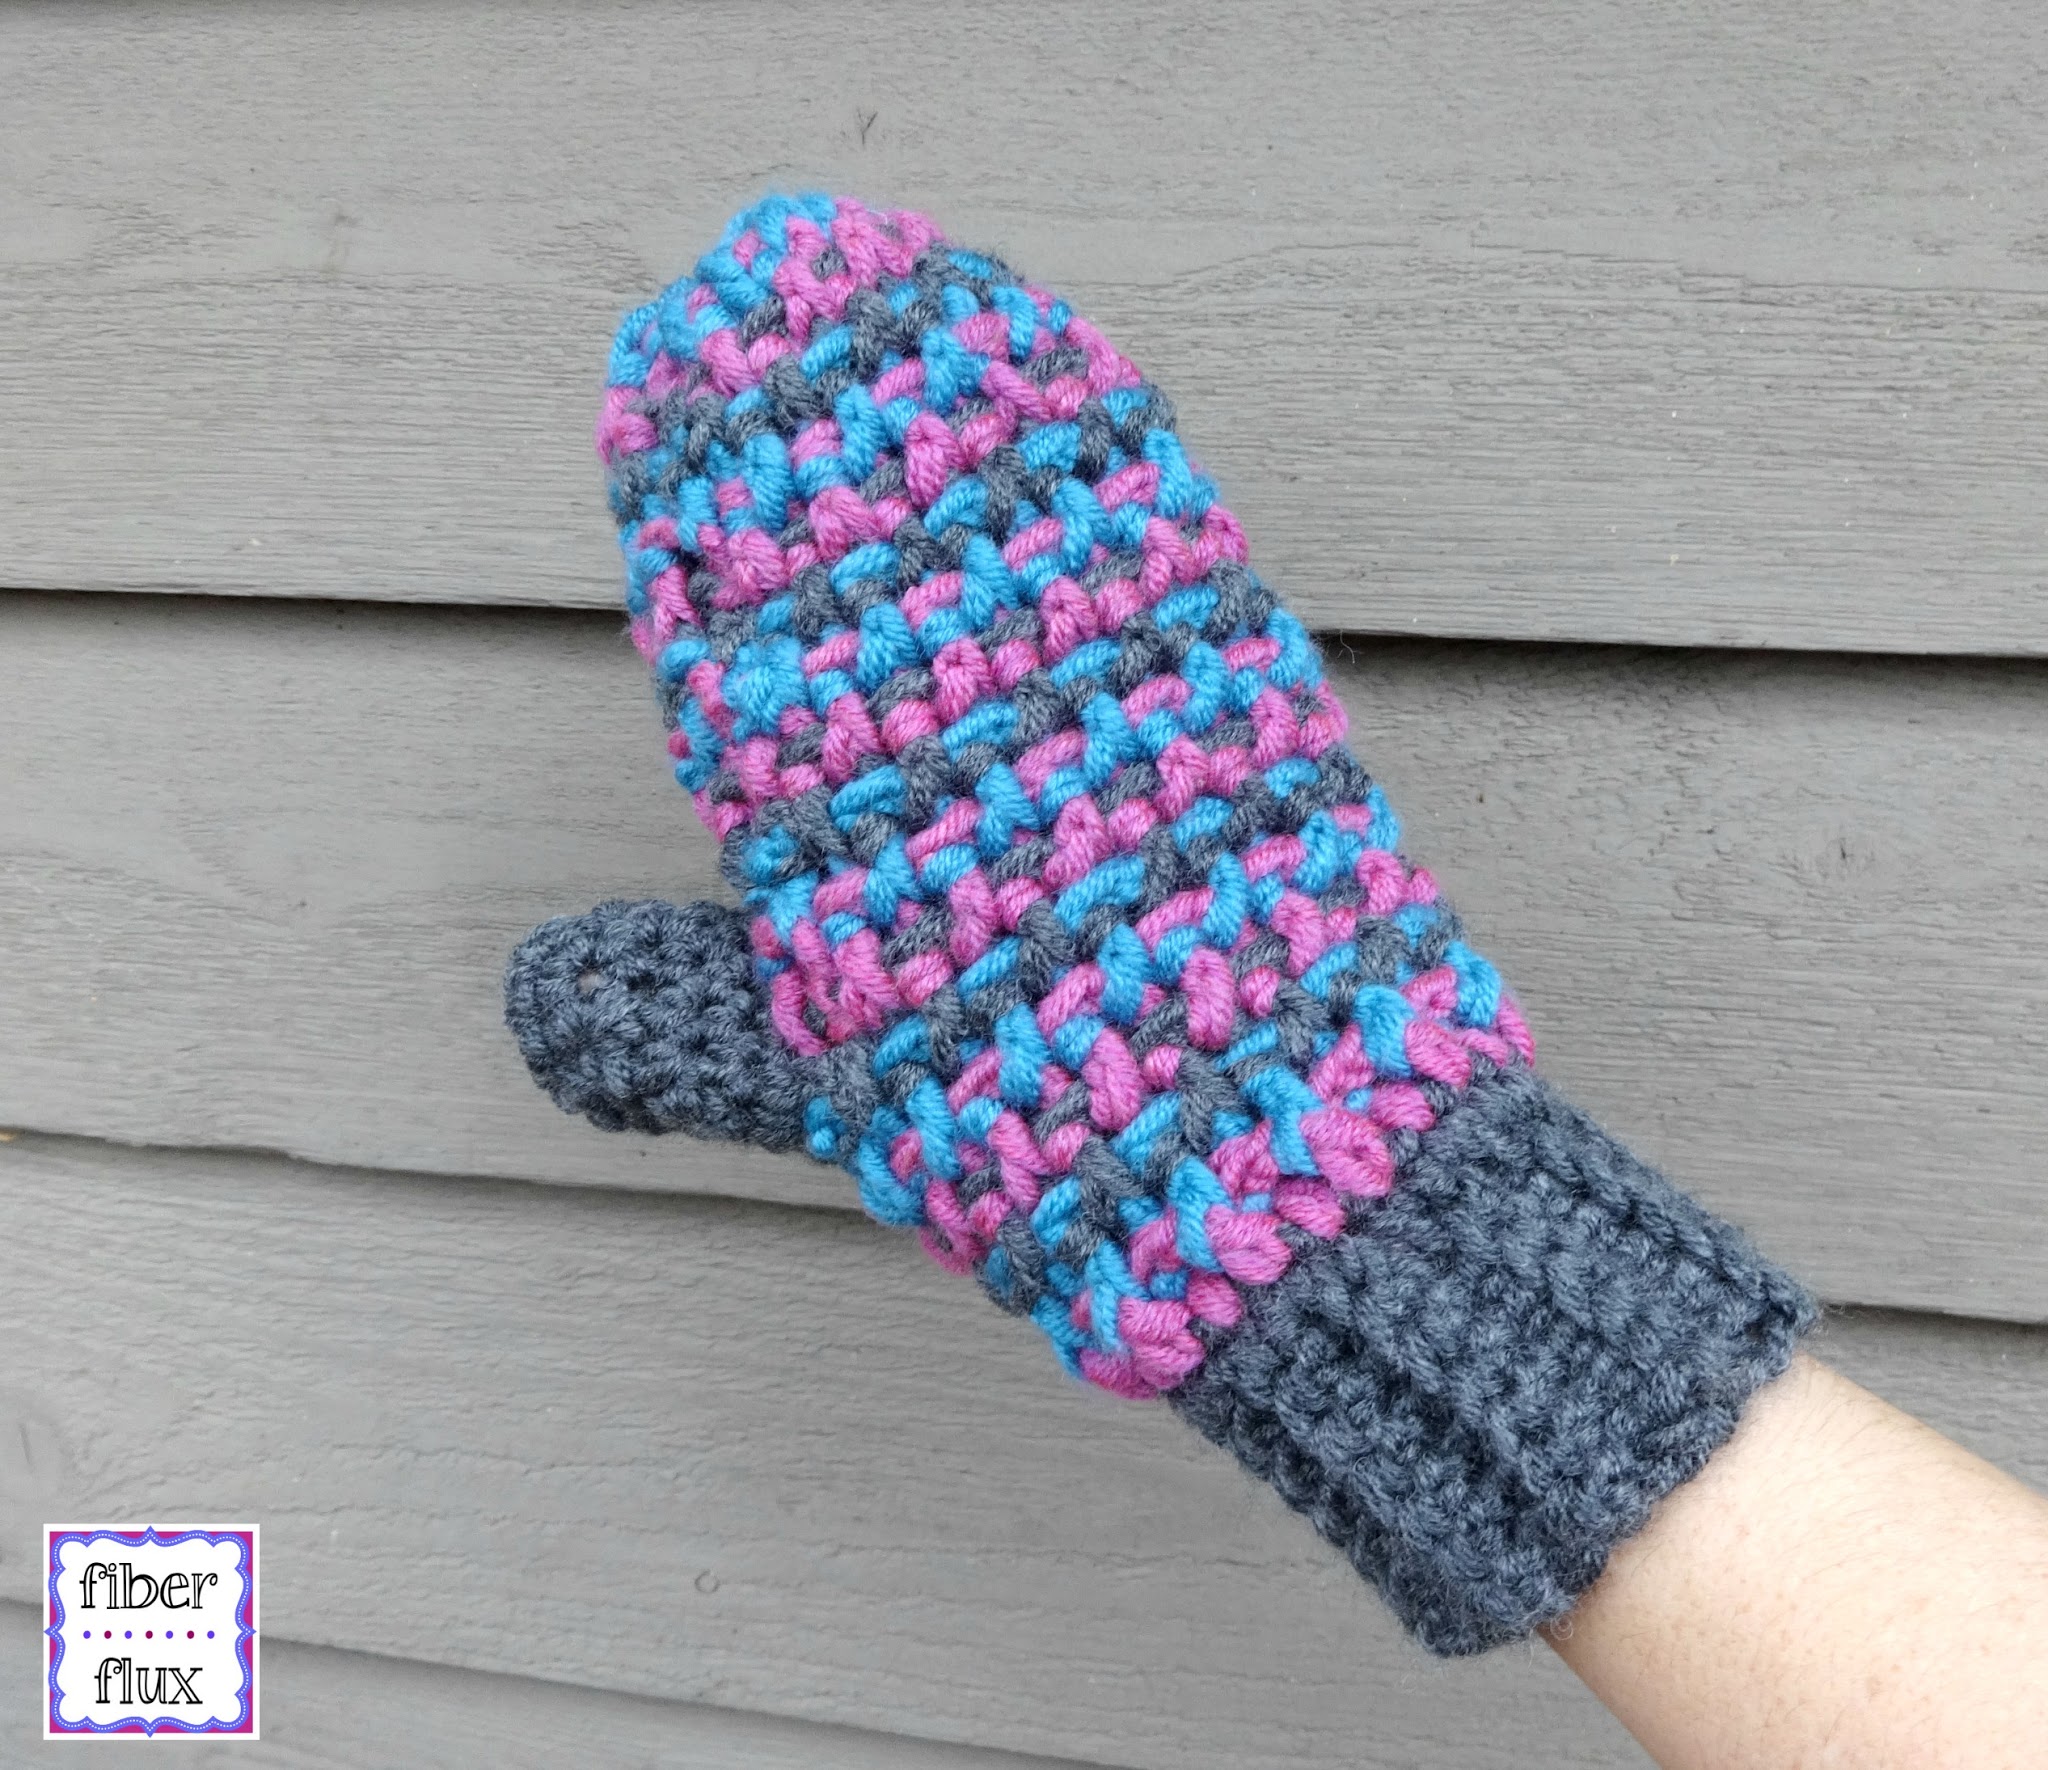
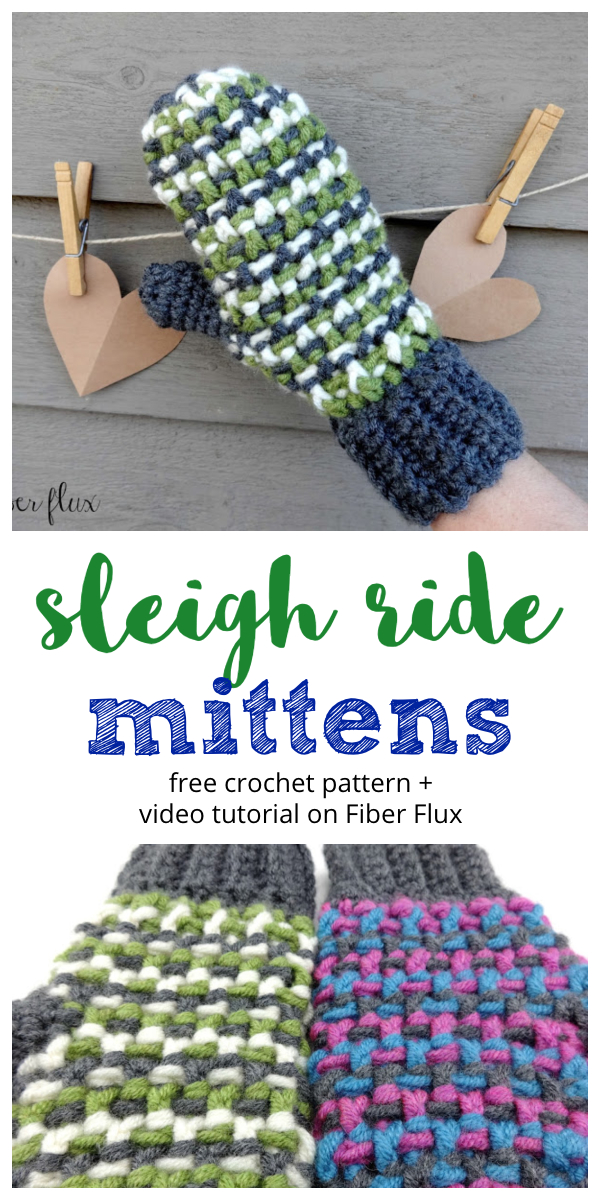
The Sleigh Ride Crochet Mittens are lofty, colorful and quick to work up. Chunky yarn in fun colors makes these mittens super warm too! The cuff is ribbed and the main part of the mitten is worked up in an all-over colorful woven stitch pattern. Part of the fun is selecting the colors! I made the Sleigh Ride Crochet Mittens in two different color palettes (see the pics) try some palettes of your own too!
Get the ad-free crochet pattern PDF from my shop here!
Watch a full video tutorial on how to crochet the Sleigh Ride Crochet Mittens:
Sizing (adult):
- 10 inches tall from bottom of cuff to finger tip
- 7 inches across (including thumb)
- 10 inch circumference around hand
Materials:
- Lion’s Pride Woolspun by Lion Brand Yarn
- 6.5 mm crochet hook
- Tapestry needle
- Scissors
- Measuring tape or ruler (optional)
Tutorial links:
- Slip stitch (sl st)
- Chain (ch)
- Single crochet (sc)
- Back loops only (blo)
- Double crochet (dc)
- Front post double crochet (fpdc)
- Back post double crochet (bpdc)
- Single crochet two together (sc2tog)
- How to decrease a fpdc and a bpdc together
Note: Cuff and thumb is worked in solid color. Main mitten part worked in one round of each color, then repeated. Cuff is worked as a long rectangle strip, seamed, then rest of mitten is built up from the cuff. Thumb is crocheted on last.
Instructions for cuff (crocheted flat then seamed):
Ch 8
Row 1: sc in the second ch from the hook. Work a sc in each ch across.
Row 2: ch 1 and turn. Work a sc in the back loops only (blo) in each st.
Repeat row two until rectangle measures 8 inches from beginning.
Without fastening off, sandwich the two edges together and work a sl st seam across. Fasten off.
Along the top edge of the cuff, work a sc in each st (or hole). Be sure there are 18 sc around the edge of cuff. You may have to double up in a stitch or two to get an accurate count. Working this round in same color as cuff makes it look a little neater but not necessary.
Instructions for main part of mitten:
(Hand part is worked in one color per round…I used three colors, but you can use any color combination you like):
Round 1:
Ch 3, work a dc in the same st. Work 2 dc in the next st. Work 2 dc in the next st. Work a dc in each of the remaining sts. Join with a sl st to close rd.
Round 2:
Ch 3 (positioning your hook as if to fpdc to keep the “woven” look consistent) *bpdc in the next st, fpdc in the next st. Rpt from * to end of rd. Join with a sl st to close rd.
Round 3:
Ch 3 (positioning your hook as if to bpdc to keep the “woven” look consistent) *fpdc in the next st, bpdc in the next st. Rpt from * to end of rd. Join with a sl st to close rd.
Round 4:
Repeat round 2.
Round 5:
Repeat round 3.
Round 6:
Repeat round 2.
Round 7 (thumbhole round):
Ch 3 (positioning your hook as if to bpdc) *fpdc in the next st, then ch 2. Skip the next two sts. *Work a bpdc in the next st, then a fpdc in the next st. Rpt from * to end of rd. Join with a sl st to close rd.
Round 8:
Ch 3 (positioning your hook as if to fpdc) *bpdc in the next st, fpdc in the next st. Work 2 dc in the thumbhole space from the previous round. *Work a bpdc in the next st, then a fpdc in the next st. Rpt from * to end of rd. Join with a sl st to close rd.
Round 9:
Ch 3 (positioning your hook as if to bpdc) *fpdc in the next st, bpdc in the next st. Rpt from * to end of rd. Join with a sl st to close rd.
Round 10:
Ch 3 (positioning your hook as if to fpdc) bpdc in the next st. Work a fpdc/bpdc decrease over the next two sts. Work a fpdc/bpdc decrease over the next two sts. *fpdc in the next st, bpdc in the next st. Rpt from * to end of rd. Join with a sl st to close rd.
Round 11:
Ch 3 (positioning your hook as if to bpdc to keep the “woven” look consistent) *fpdc in the next st, bpdc in the next st. Rpt from * to end of rd. Join with a sl st to close rd.
Round 12:
Ch 3 (positioning your hook as if to fpdc) *bpdc in the next st, fpdc in the next st. Rpt from * to end of rd. Join with a sl st to close rd.
Round 13:
Ch 3 (positioning your hook as if to bpdc to keep the “woven” look consistent) *fpdc in the next st, bpdc in the next st. Rpt from * to end of rd. Join with a sl st to close rd.
Round 14:
(positioning your hook as if to fpdc) *bpdc in the next st, fpdc in the next st. Rpt from * to end of rd. Join with a sl st to close rd.
Round 15:
Ch 3 (positioning your hook as if to fpdc) bpdc in the next st. *Work a fpdc/bpdc decrease over the next two sts. Rpt from * to end of rd. Join with a sl st to close rd.
Round 16-17:
Repeat round 15.
Note: If you have never decreased a fpdc and bpdc together, here is a helpful video to quickly show you how:
Finishing the top of the mitten:
Cut yarn tail to about 8 inches or so and fasten off. Turn mitten inside out and thread the same tail with a tapestry needle. Whip stitch top of mitten closed and pull tightly to close. Secure with a knot. Turn mitten right side out.
Instructions for thumb:
Ch 1
Round 1:
work 12 sc around, join with a sl st to close.
Round 2:
ch 1 then work a sc in each st, join with a sl st to close.
Round 3-5:
repeat round 2
Round 6:
ch 1, *sc, then sc2tog over the next two sts, rpt from * to end of rd.
Round 7:
repeat rd 6
Cut yarn tail to about 8 inches or so and fasten off. Turn mitten inside out and thread the same tail with a tapestry needle. Whip stitch top of thumb closed and pull tightly to close. Secure with a knot. Turn mitten right side out.
Finishing:
Weave in all ends and you’re finished!


These are spectacular!
Thank you! It was so exciting to make these! 🙂
Thank you for the lovely pattern!
Hi, I appreciate this pattern, and would like to make some for homeless folks, but between all the ads and the pictures, I can't print this efficiently. Would you consider putting up a .pdf of this file for those of use with older computers so we can print them easier pretty please! 🙂 Thanks, Jamie
The color work and texture are so cool! Love these!
Has anyone tried this in a solid color?
This is a beautiful pattern. Can't wait to get started on it. Did you use just one skein of each color? I'm planning on making two pairs, so I'm trying to determine how much to buy.
Hey there! Lovely pattern! I'm making a pair for my baby bro for Christmas!But I think there's a mistake on round 8 of the main mitten pattern that affects the rest of it. You start with ch3, then a bpdc followed by a fpdc (and then crocheting above the thumbhole of the previous round), But there's only one stitch to be made (bpdc) which makes the directions for the rest of the pattern all wrong. Correct me if i'm wrong. Still genious pattern, thanks 🙂