
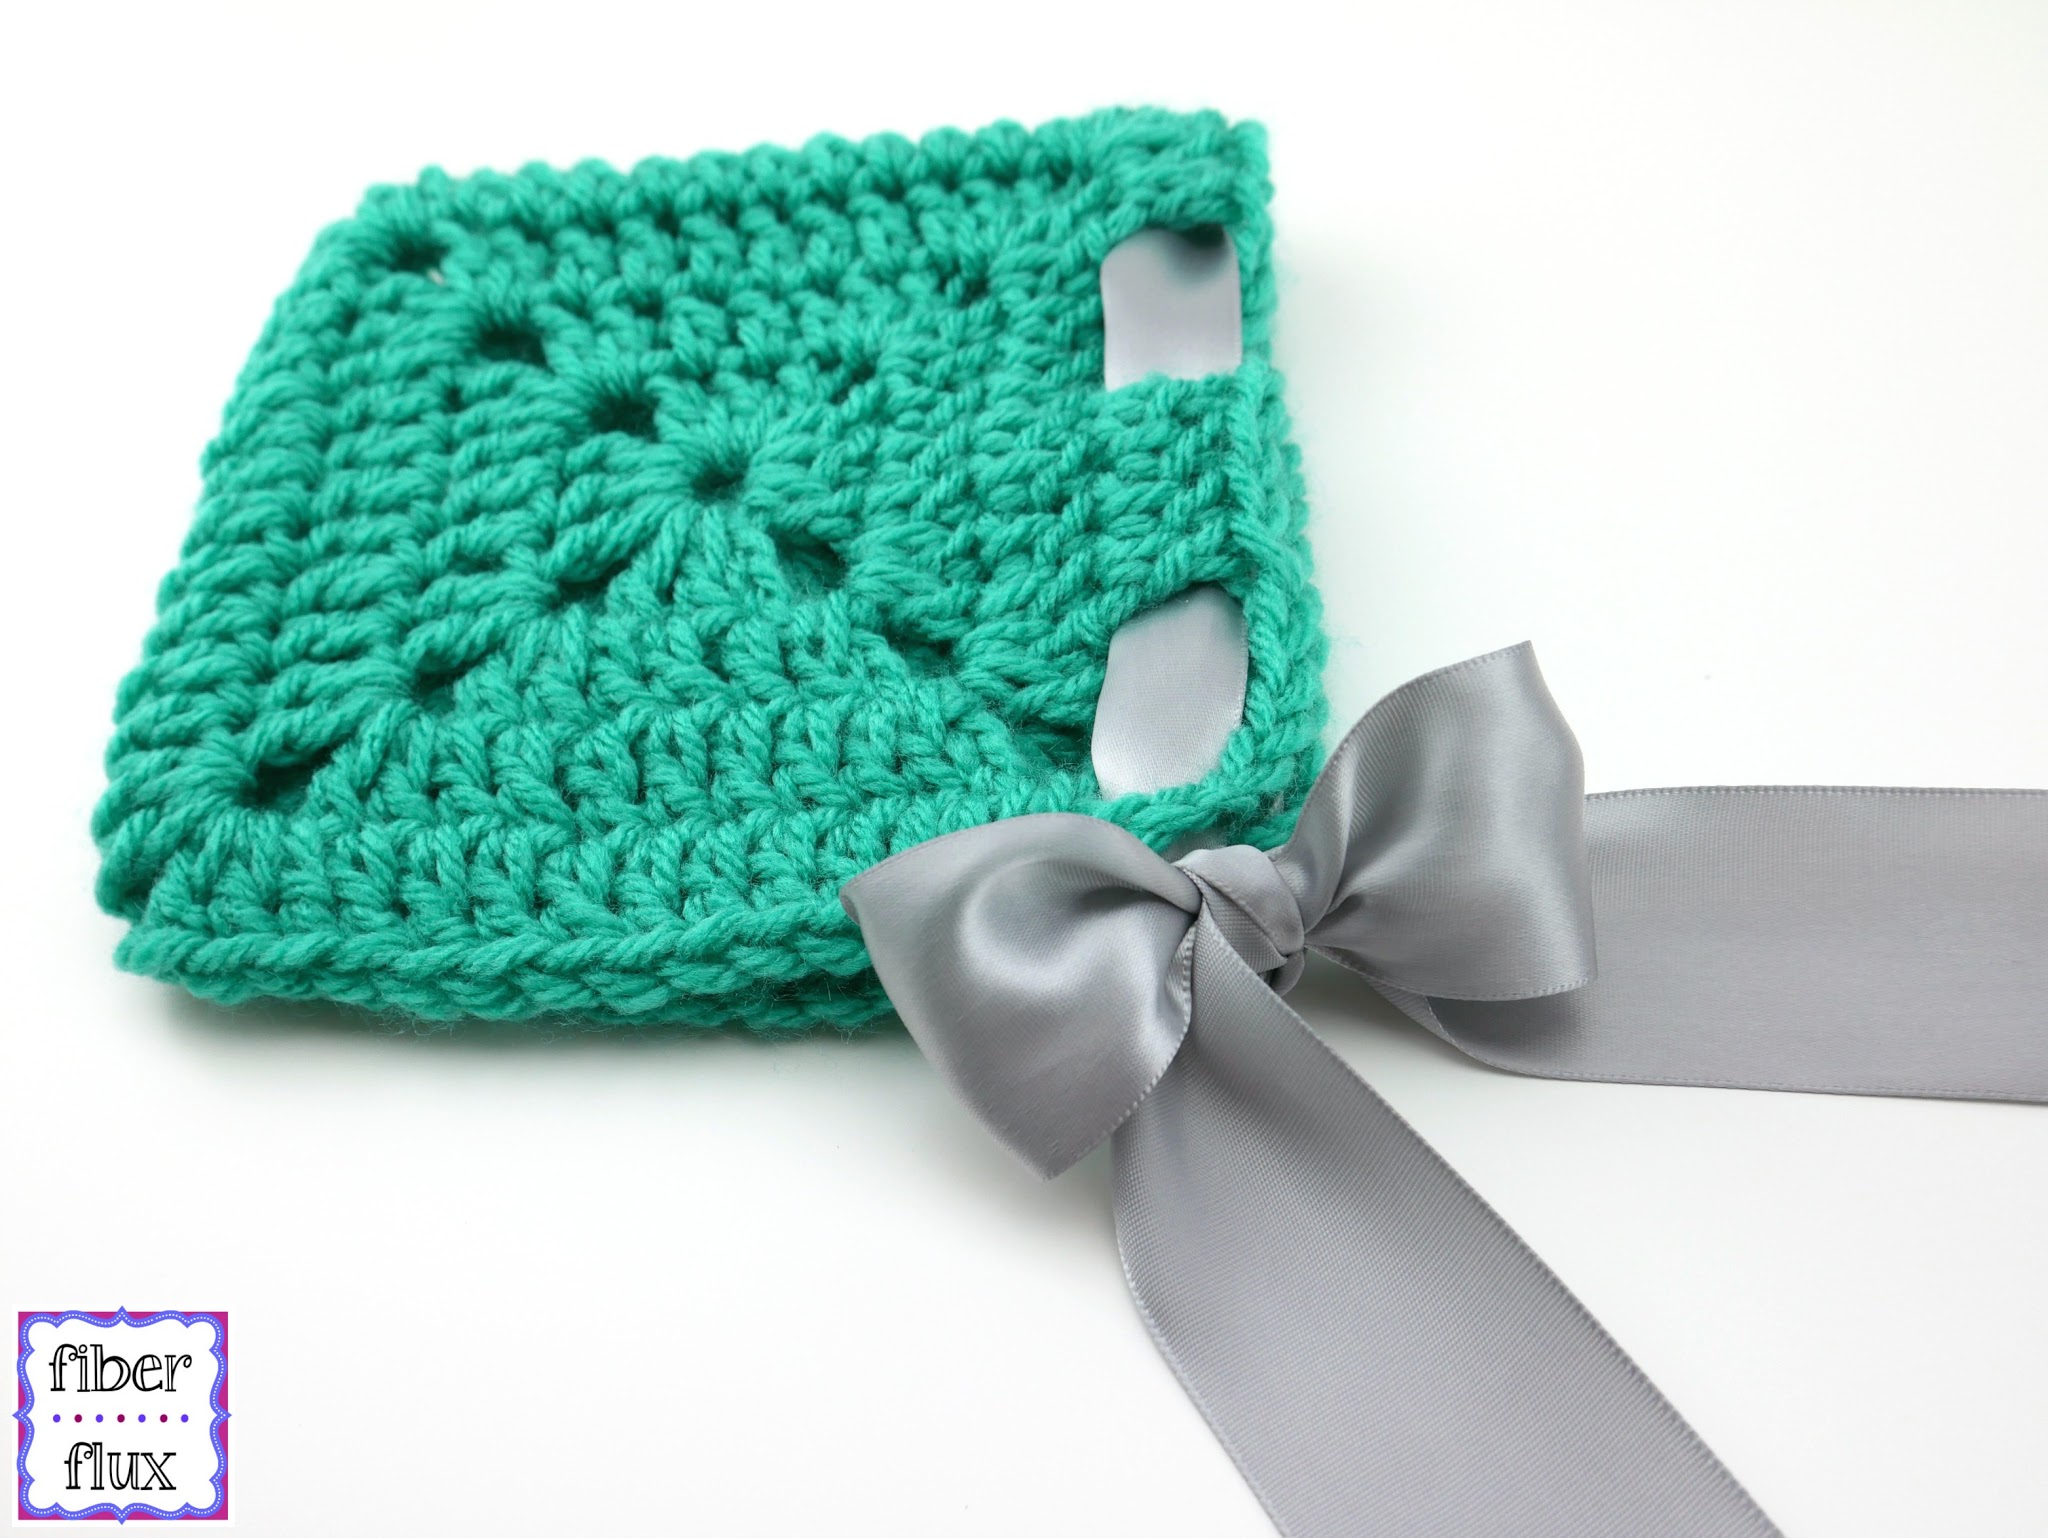
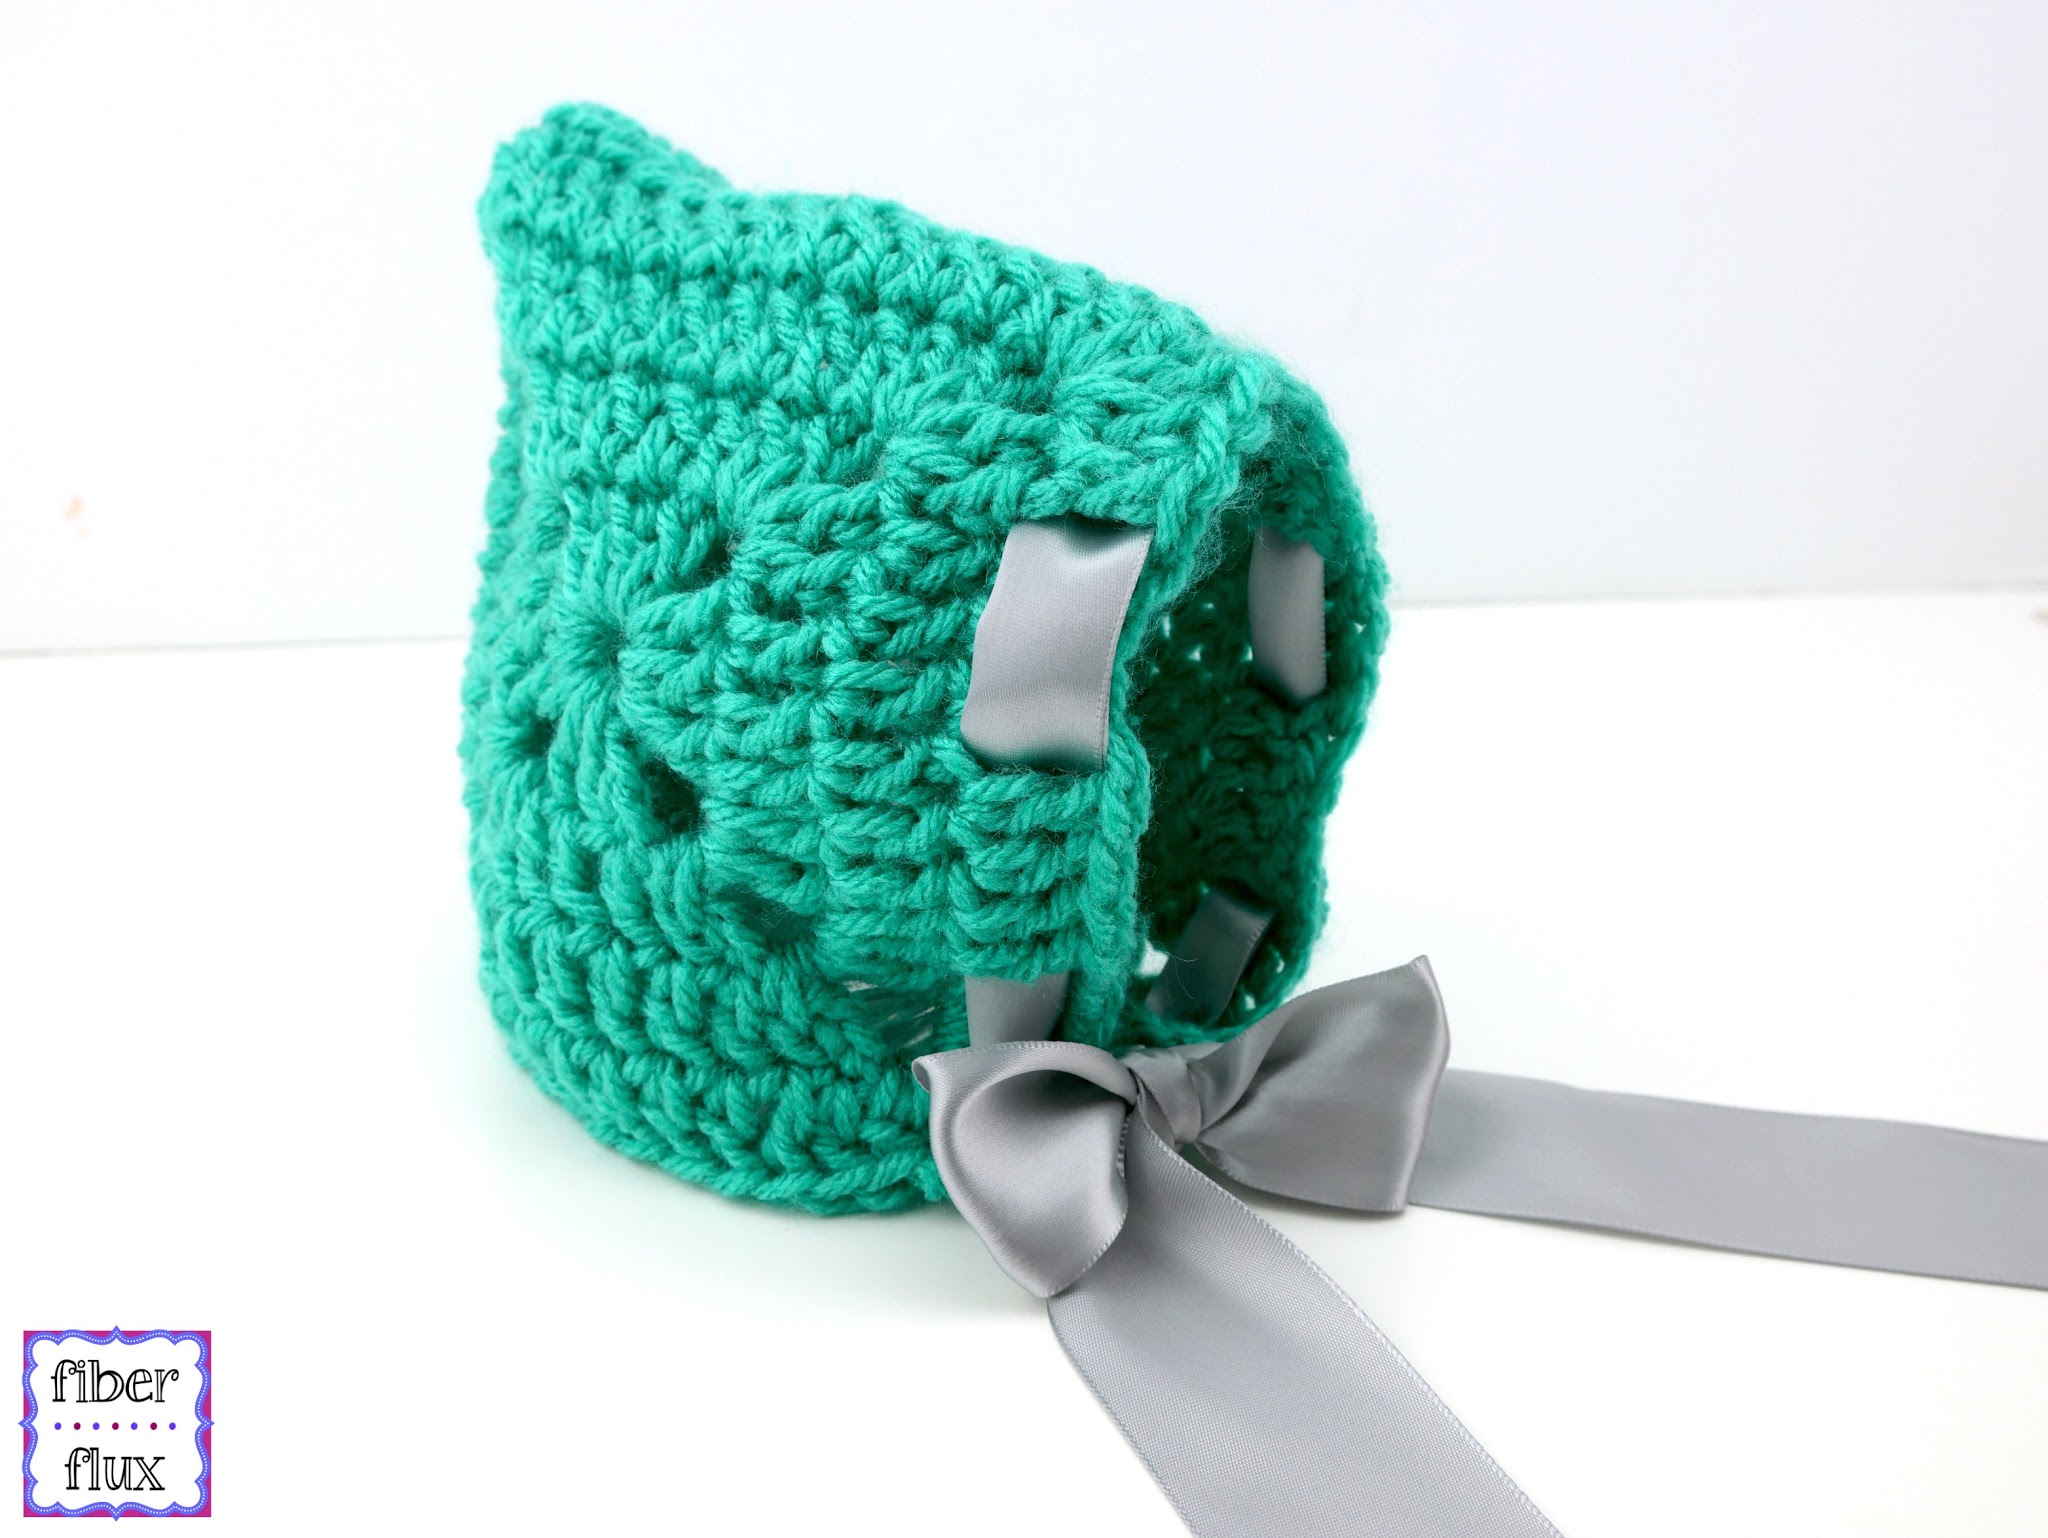
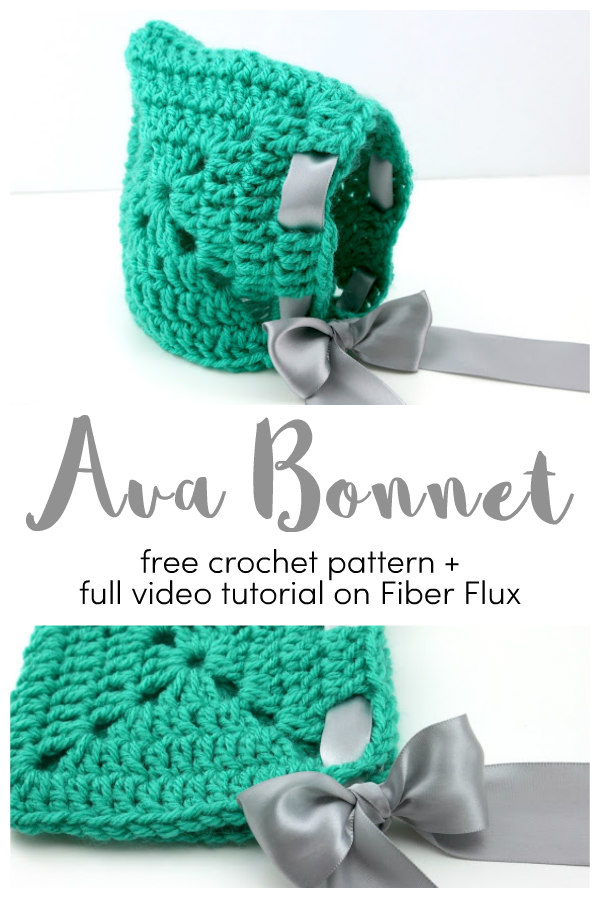
The Ava Crochet Baby Bonnet is a luxurious but super easy bonnet that is made with two solid granny squares. A fabulous wide satin ribbon keeps things in place and super soft yarn keeps baby’s head cozy too!
Watch the full video tutorial on how to make the Ava Crochet Baby Bonnet:
Materials:
- 1 ball of Baby Hugs Medium by Red Heart in the “Aloe” colorway
- K (6.5 mm) crochet hook
- Tapestry needle
- Wide satin ribbon (ribbon shown is 1.5 inches wide)
- Scissors
Sizing:
- Each granny square is about 6 inches across.
*Note: You can make this bonnet any size you like, simply by working more or less rounds of the granny squares. Make each square roughly half the child’s head circumference.
Tutorial Links:
- How to Put a Slip Knot on Your Hook
- Chain (ch)
- Double Crochet (dc)
- Single Crochet (sc)
- Slip Stitch (sl st)
Instructions:
Ch 4 and join with a slip stitch to form a ring.
Round 1: Chain 5, then work 3 dc into the center of the ring, then ch 2. Work the (3 dc, ch 2) two more times into the center of the ring. Work 2 more dc into the center of the ring, and join with a sl st to close.
Round 2: In any corner, tie on a new color then ch 5. Work two dc into the center of the ring. Work a dc in each of the next three stitches. To work the corner, work two dc, ch two, then two more dc in the ch 2 space from the previous round. Work the next side the same way, working a dc in the next three stitches, then work the next corner by working 2 dc, ch 2, 2 dc all in the same space. Keep working in this manner all the way around the square. At the corner where the round began, work one more dc in the corner space, Join with a sl st to close round.
Round 3: In any corner, tie on a new color then ch 5. Work 2 dc in the same space. Work a dc in each stitch across the top (there will be seven this time), Work the corner the same way as the previous round (2 dc, ch 2, 2 dc) Keep going in this manner all the way around, working the corners and the sides as before. When reaching the last corner, work one more dc, and join with a slip stitch to close.
Repeat round 3 once more for bonnet sizing as shown or repeat round 3 as many times as needed for desired sizing (see “sizing” section above).
Assembly & Finishing:
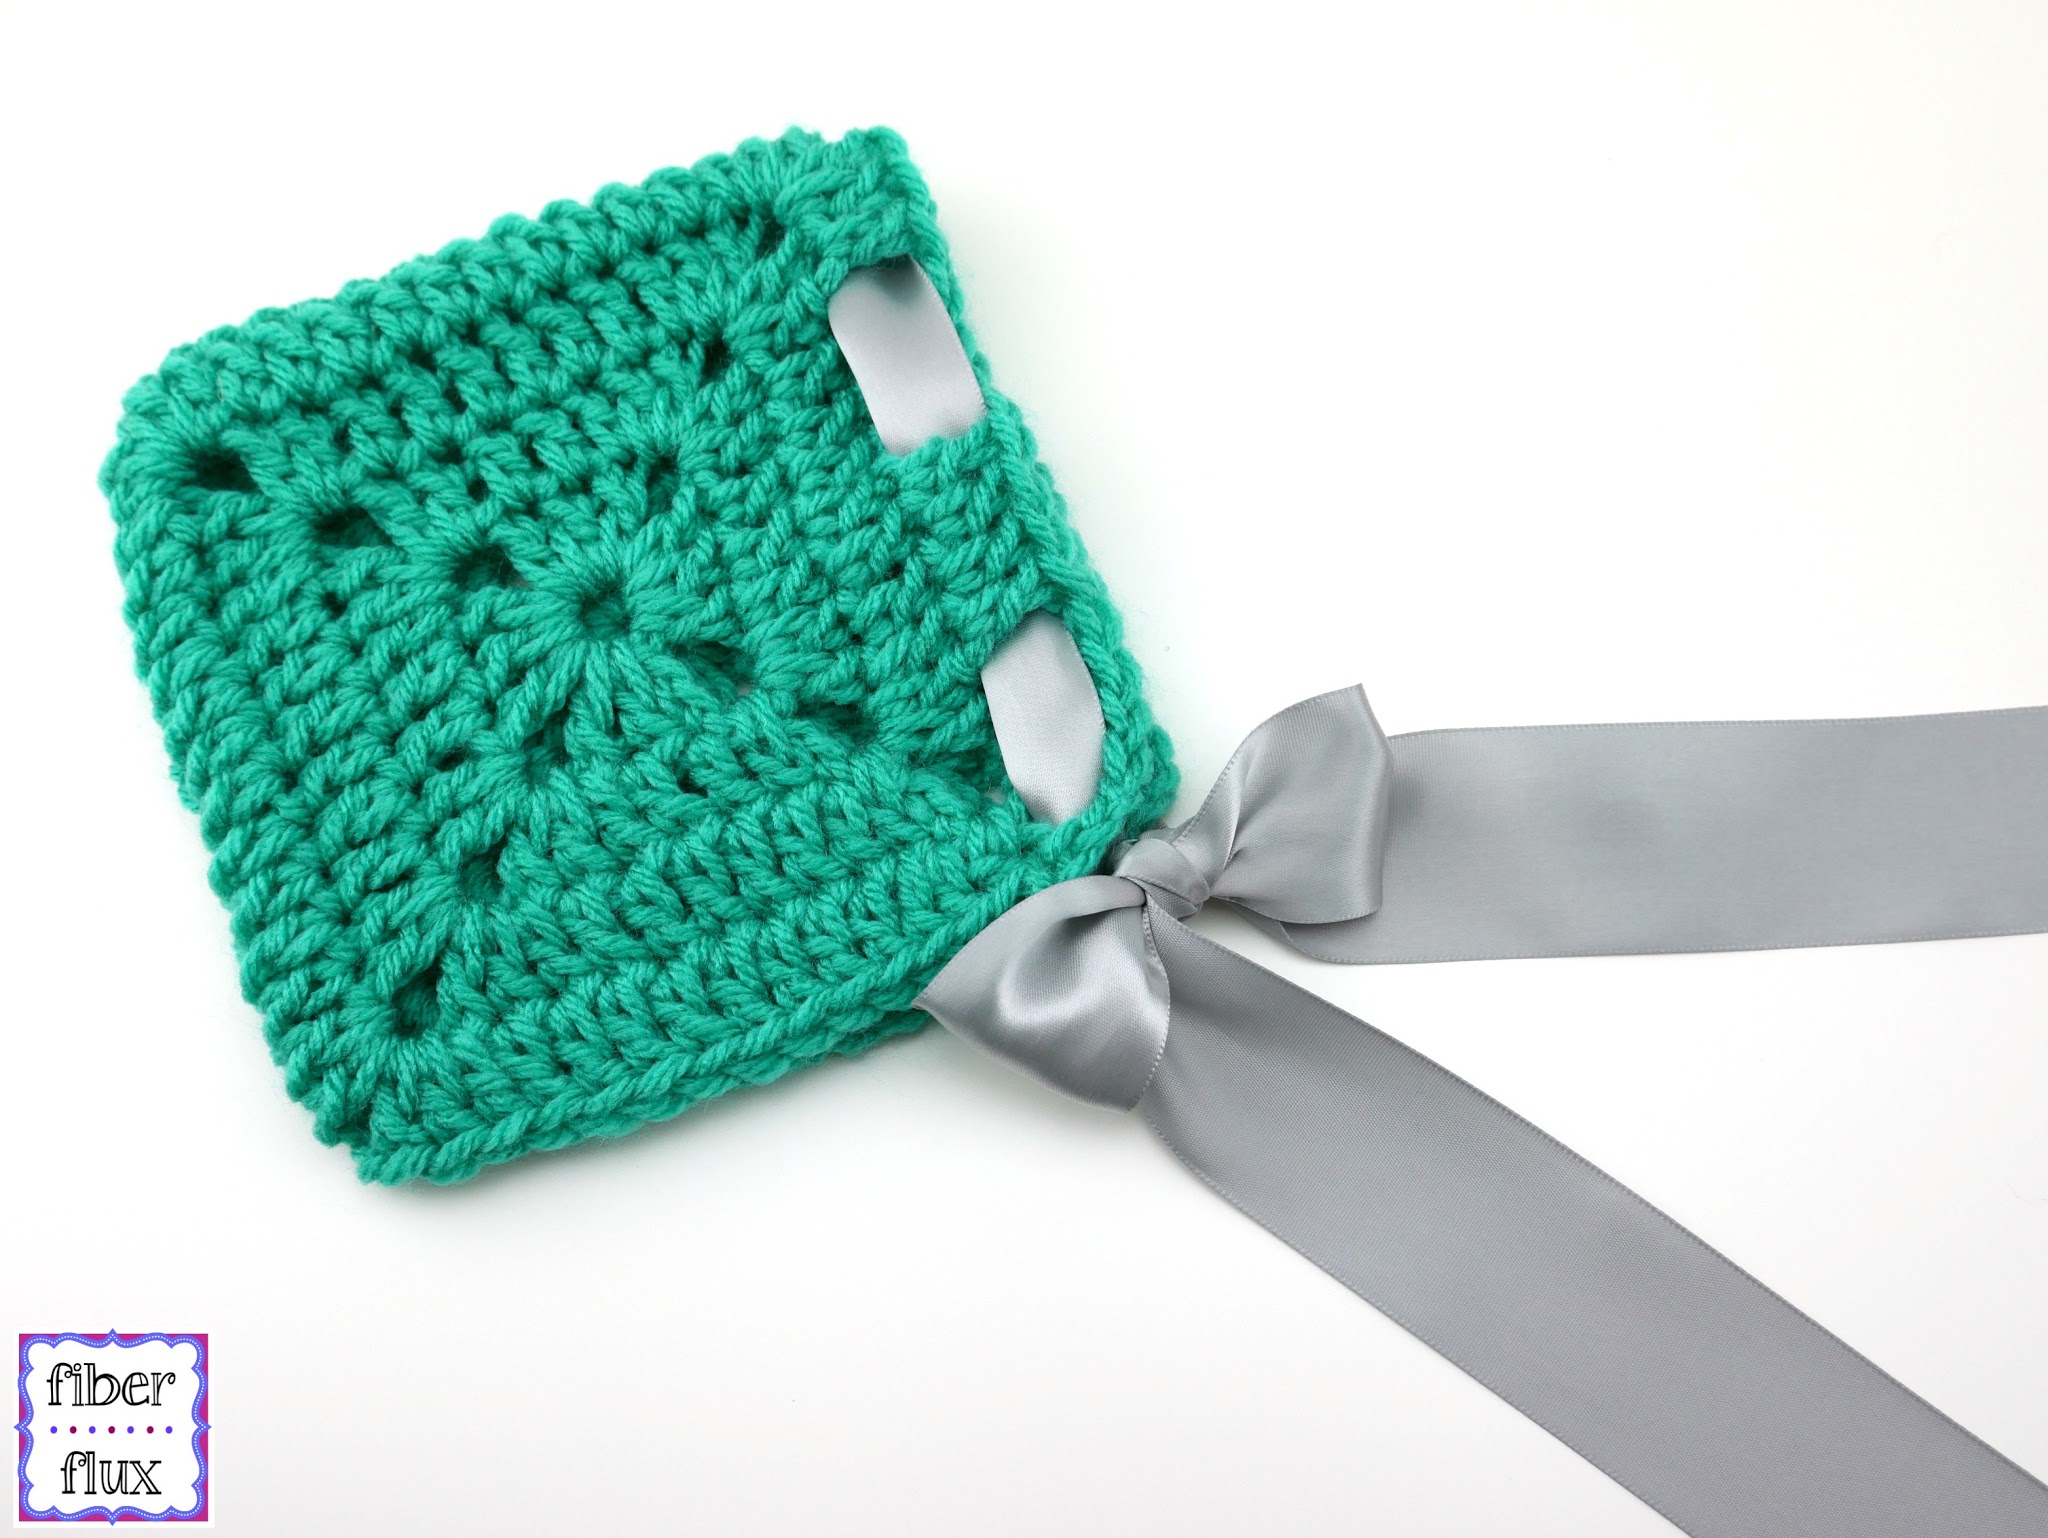
Fasten off and sandwich squares together so right sides are facing outward. Beginning at the top left corner, whip stitch over to top right corner, then down to bottom right corner. Fasten off and weave in ends.
Weave ribbon in and out of the front part of bonnet as shown to later be tied at chin. Trim ribbon ends at an angle for a finished look.
Note: Please supervise child at all times while wearing tie on hats of any kind. Happy crocheting lovelies!


It says there is some button for Ravelry but I do not see one. I want to print this somehow and cannot make it work either,