
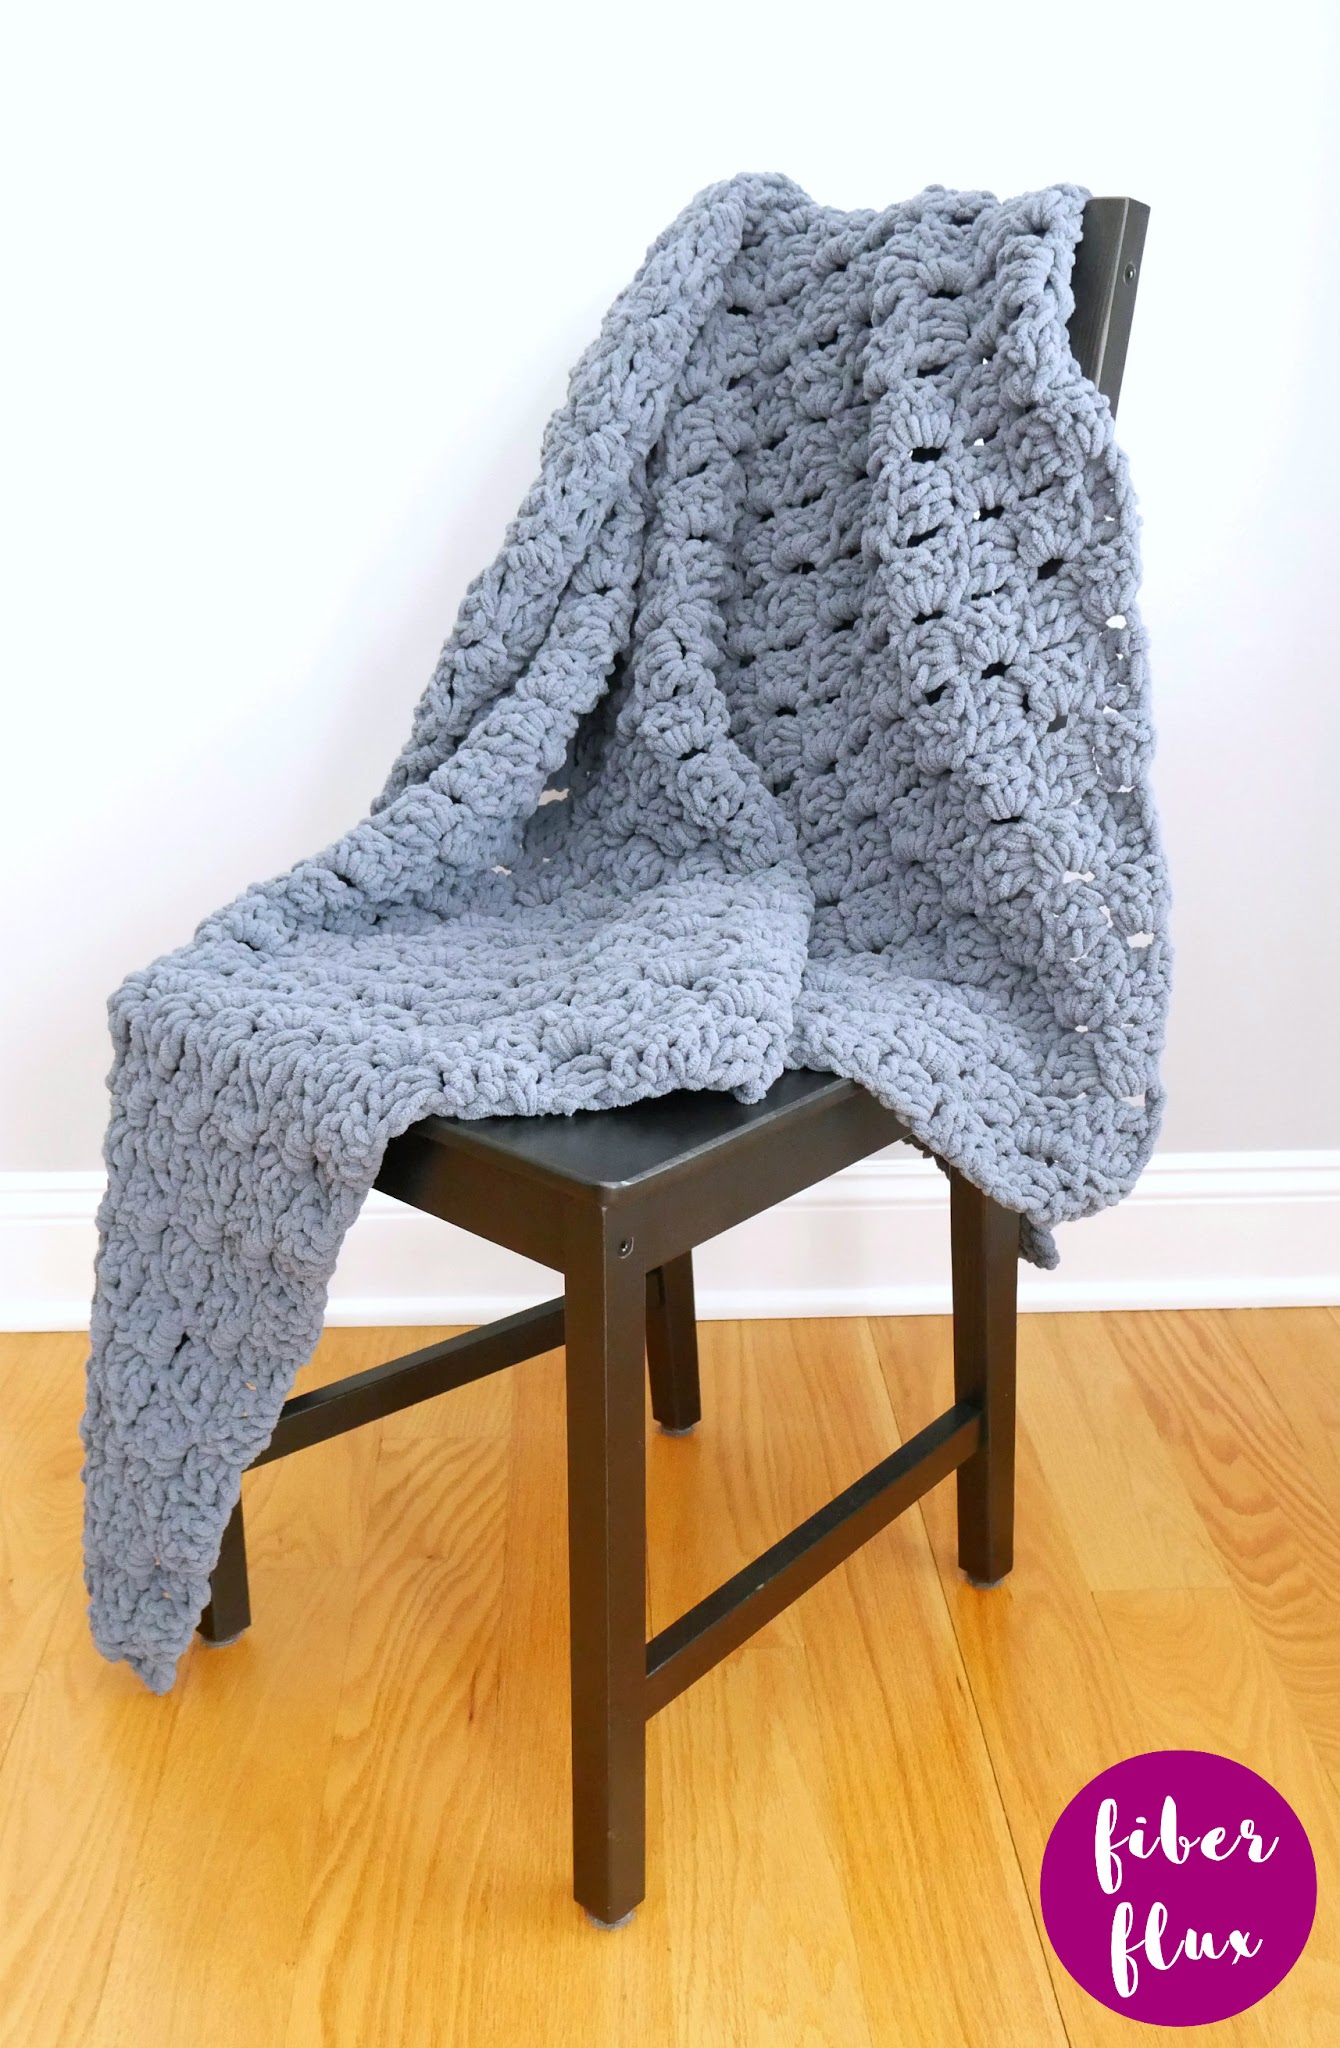
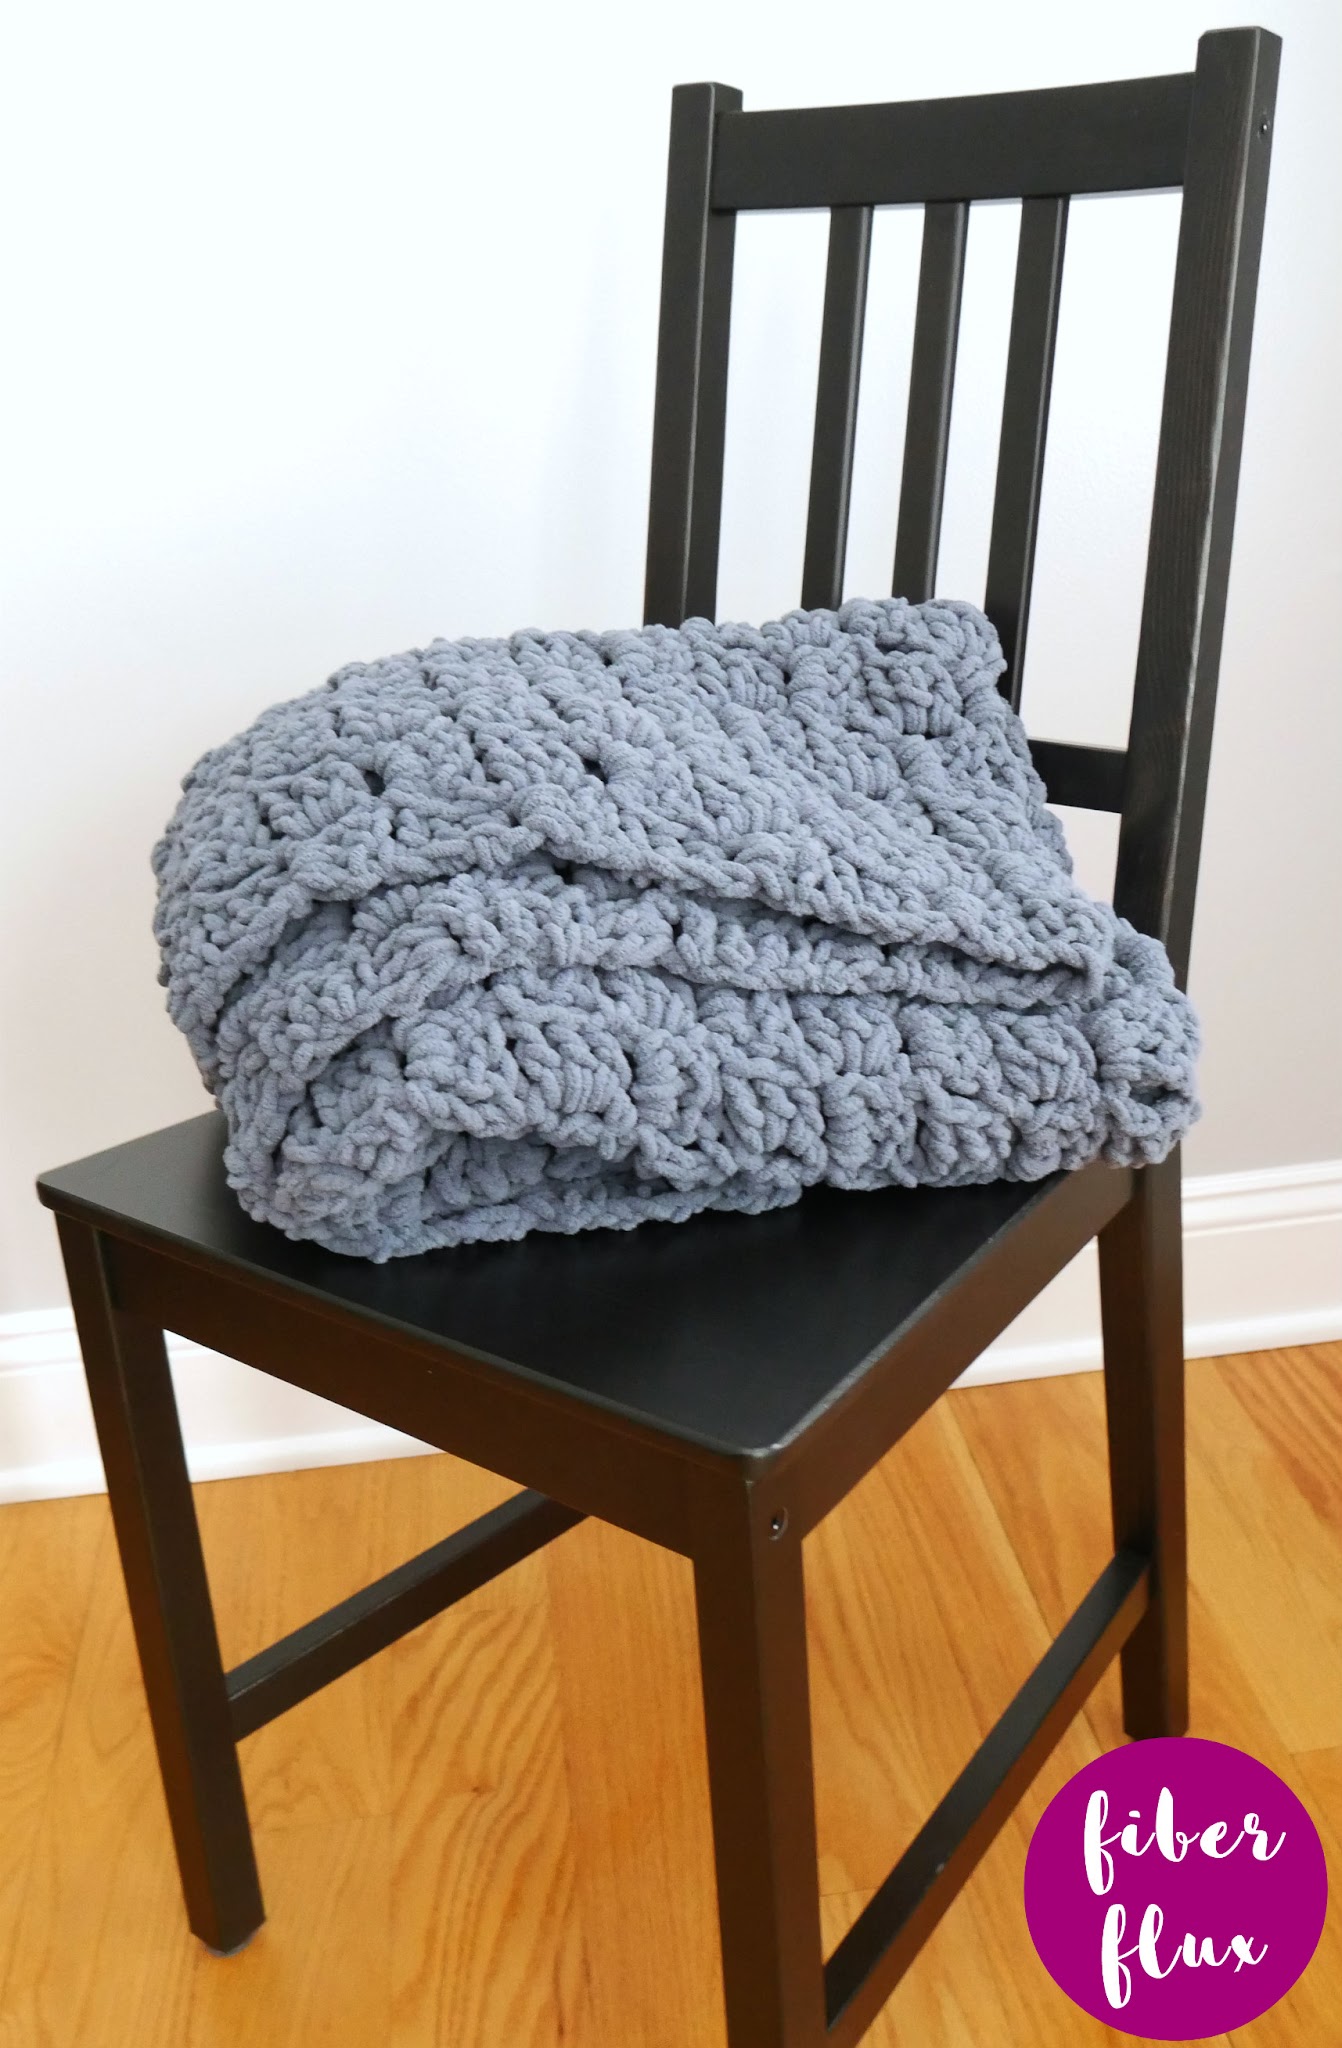
The Silver Linings Blanket is a beautiful, modern blanket that is fun and easy to stitch up with the ever popular c2c technique. Using an extra comfy, plushy yarn, this throw is a dream to wrap around you and a perfect curl up on the sofa blanket!
Need a little help? There’s a full video tutorial below too!
![]()
Silver Linings C2C Blanket
By Jennifer Dickerson
👉Get the ad-free crochet pattern PDF from my shop here👈
Click below to watch a full video tutorial on how to make this project:
(Can’t see the video? Get it here!)
Love video tutorials? Click here to subscribe to the Fiber Flux YouTube channel for more stitchy fun!
Materials:
- 10.0 mm crochet hook
- 4 Balls of Sweet Home by Red Heart ( I used the “Steel” colorway for all four balls) Note: If you need to substitute yarn, use a Super Bulky/6 on the yarn weight scale.
- Tapestry Needle
- Scissors
- Tape measure or ruler
Sizing:
- 60 inches tall
- 60 inches wide
Abbreviations and Tutorial Links:
*Note: I broke down the rows into more detailed steps in case you have never tried this technique.
Increase portion of the blanket (Use 1/2 of your yarn):
Step 1: Ch 6
Step 2: dc into the 4th ch from the hook.
Step 3: Work a dc into the next 2 ch.
Step 4: Ch 6
Step 5: Work a dc into the 4th ch from the hook and in each of the next 2 ch.
Step 6: Slip stitch into the 3rd dc stitch to join the two blocks together OR some people prefer to slip stitch into the turning chain or turning chain space to join. It really is a preference, do what you like best…each way of joining will look very similar. Just be sure as you’re doing all of this the tail (from where you began) is facing downward. You might have to turn it a bit to get it in the right spot.
Step 7: Ch 3
Step 8: Work 3 dc into the turning chain space.
Repeat steps 4 through 8 to complete the first half of your blanket, using roughly half of your yarn. If you need to see more rows, I work a few more in the video.
Decrease portion of the blanket (use remaining 1/2 of the yarn):
Step 1: When finished working the row, turn your work.
Step 2: Work a slip stitch in each of the next three dc. (see tip below for changing colors on a new row)
Step 3: Work a slip stitch into the turning chain space.
Step 4: Ch 3
Step 5: Work 3 dc into the turning chain space.
Step 6: Slip stitch into the 3rd dc stitch to join the two blocks together OR some people prefer to slip stitch into the turning chain or turning chain space to join. It really is a preference, do what you like best…each way of joining will look very similar. Just be sure as you’re doing all of this the tail (from where you began) is facing downward. You might have to turn it a bit to get it in the right spot.
Step 7: Ch 3
Step 8: Work 3 dc into the turning chain space.
Repeat steps 4 through 8 to complete the remainder of your row. When you begin a new row, begin at step one again. As you decrease, you will eliminate a block from each row.
Weave in any ends that remain.
![]()
© Jennifer Dickerson 2019
For more fun projects and pretty patterns, be sure to follow Fiber Flux on Facebook, Instagram, Twitter, and Pinterest for the latest updates!

© Jennifer Dickerson 2019
For more fun projects and pretty patterns, be sure to follow Fiber Flux on Facebook, Instagram, Twitter, and Pinterest for the latest updates!


This comment has been removed by a blog administrator.
This comment has been removed by a blog administrator.
Is it possible to make this as a rectangle or does it have to be square? If so, how would I do it?
Thanks.
I love the look of this blanket! I'm just not good with c2c, for some reason they seem to come out wonky. Is there a pattern for this in rows?