
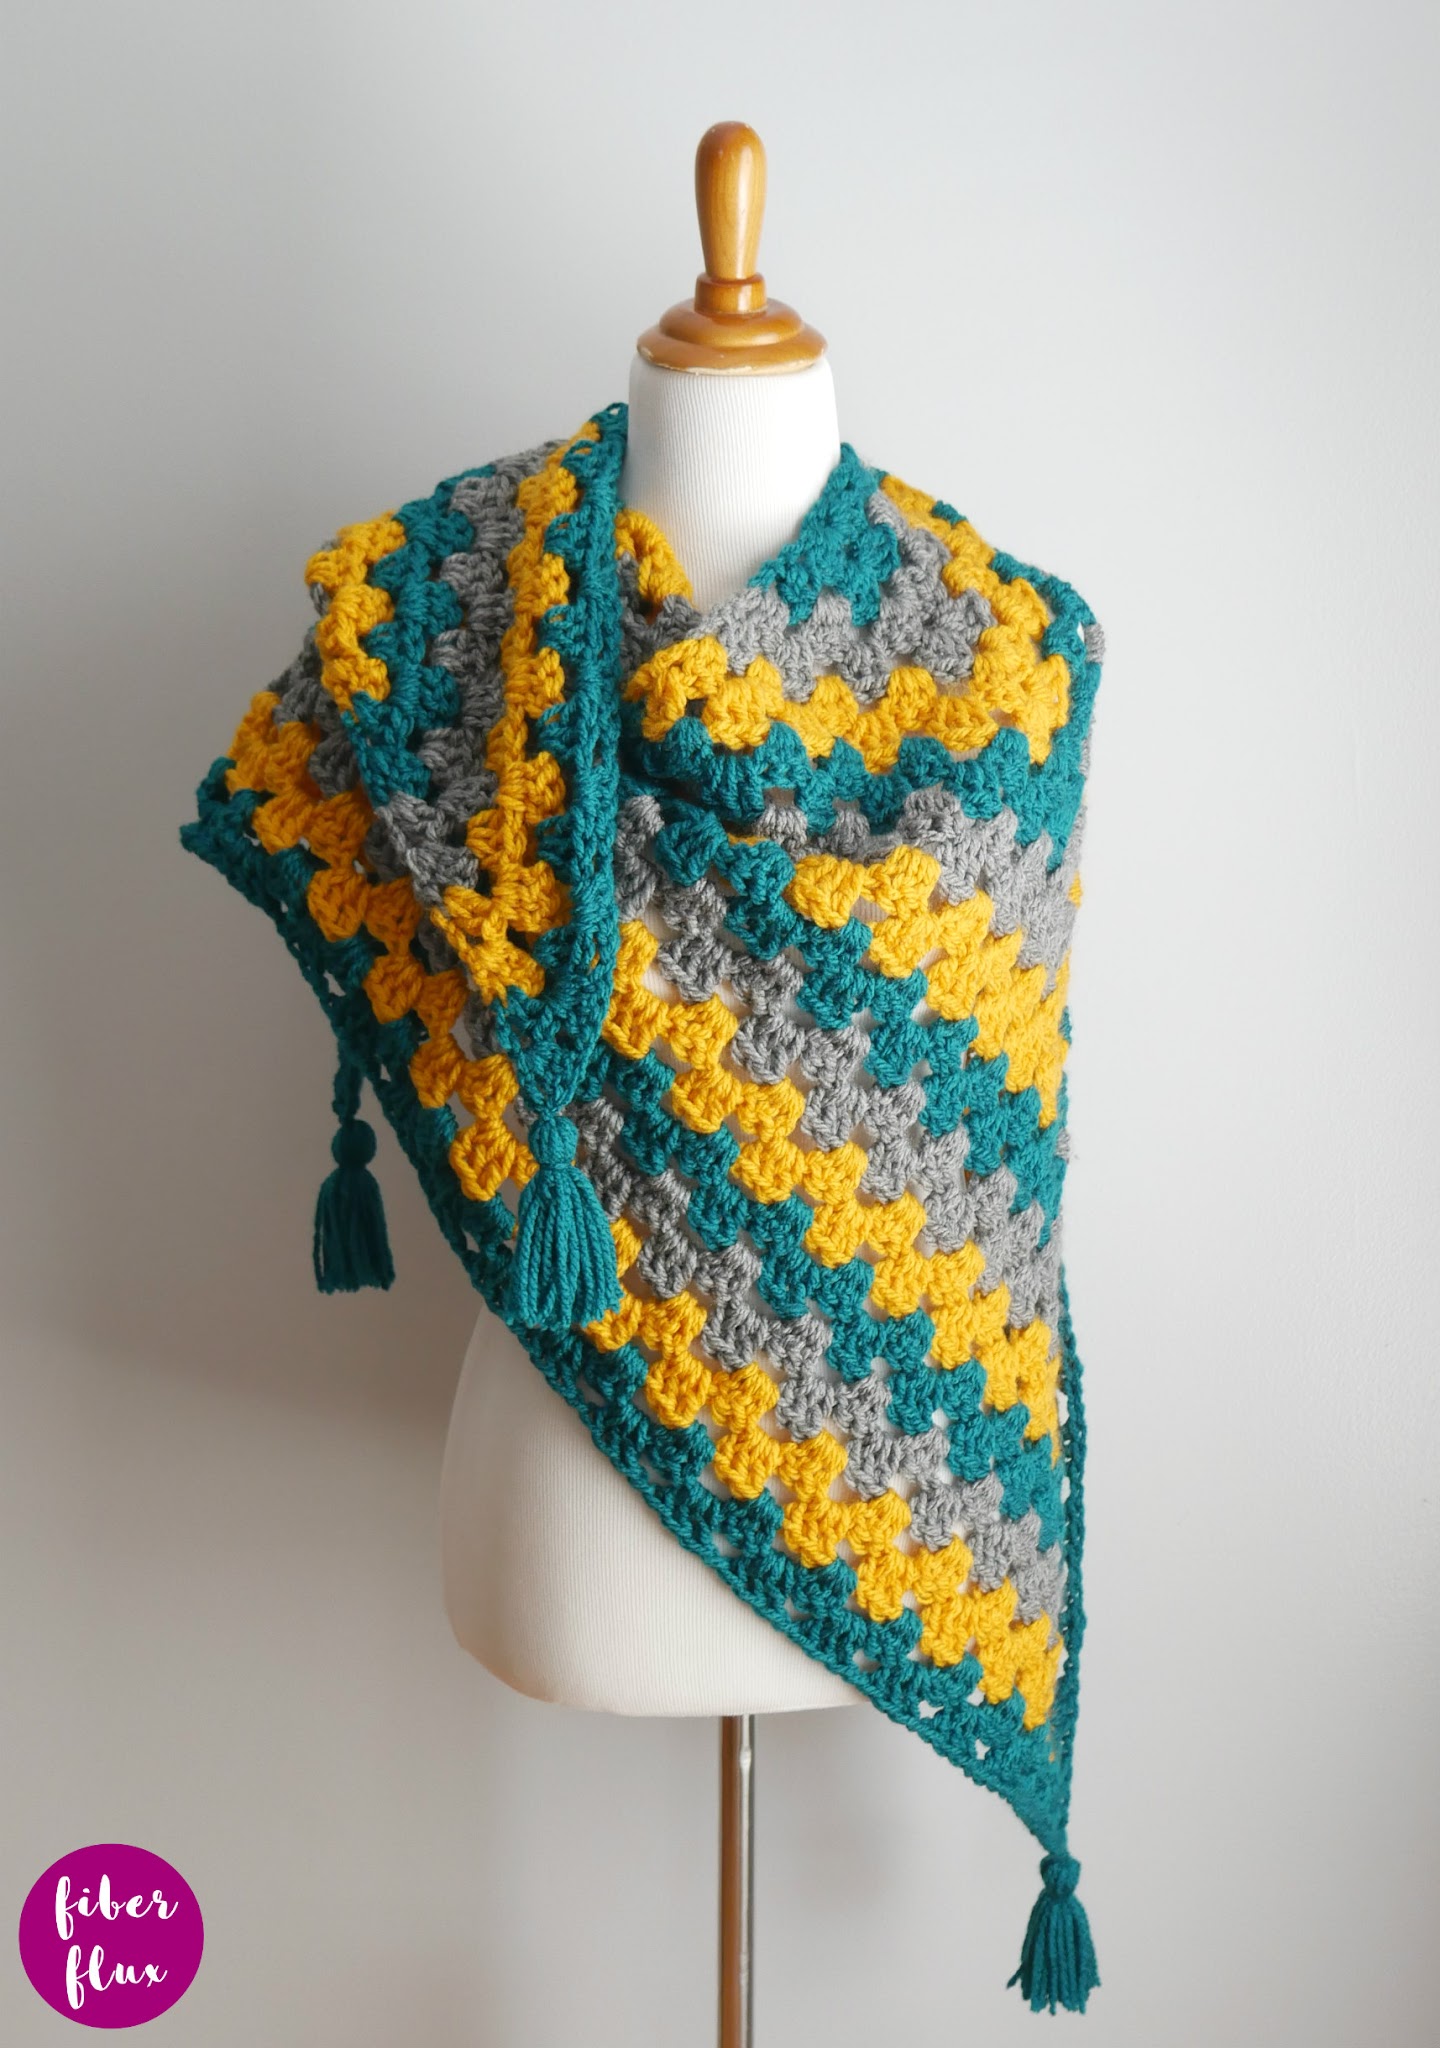
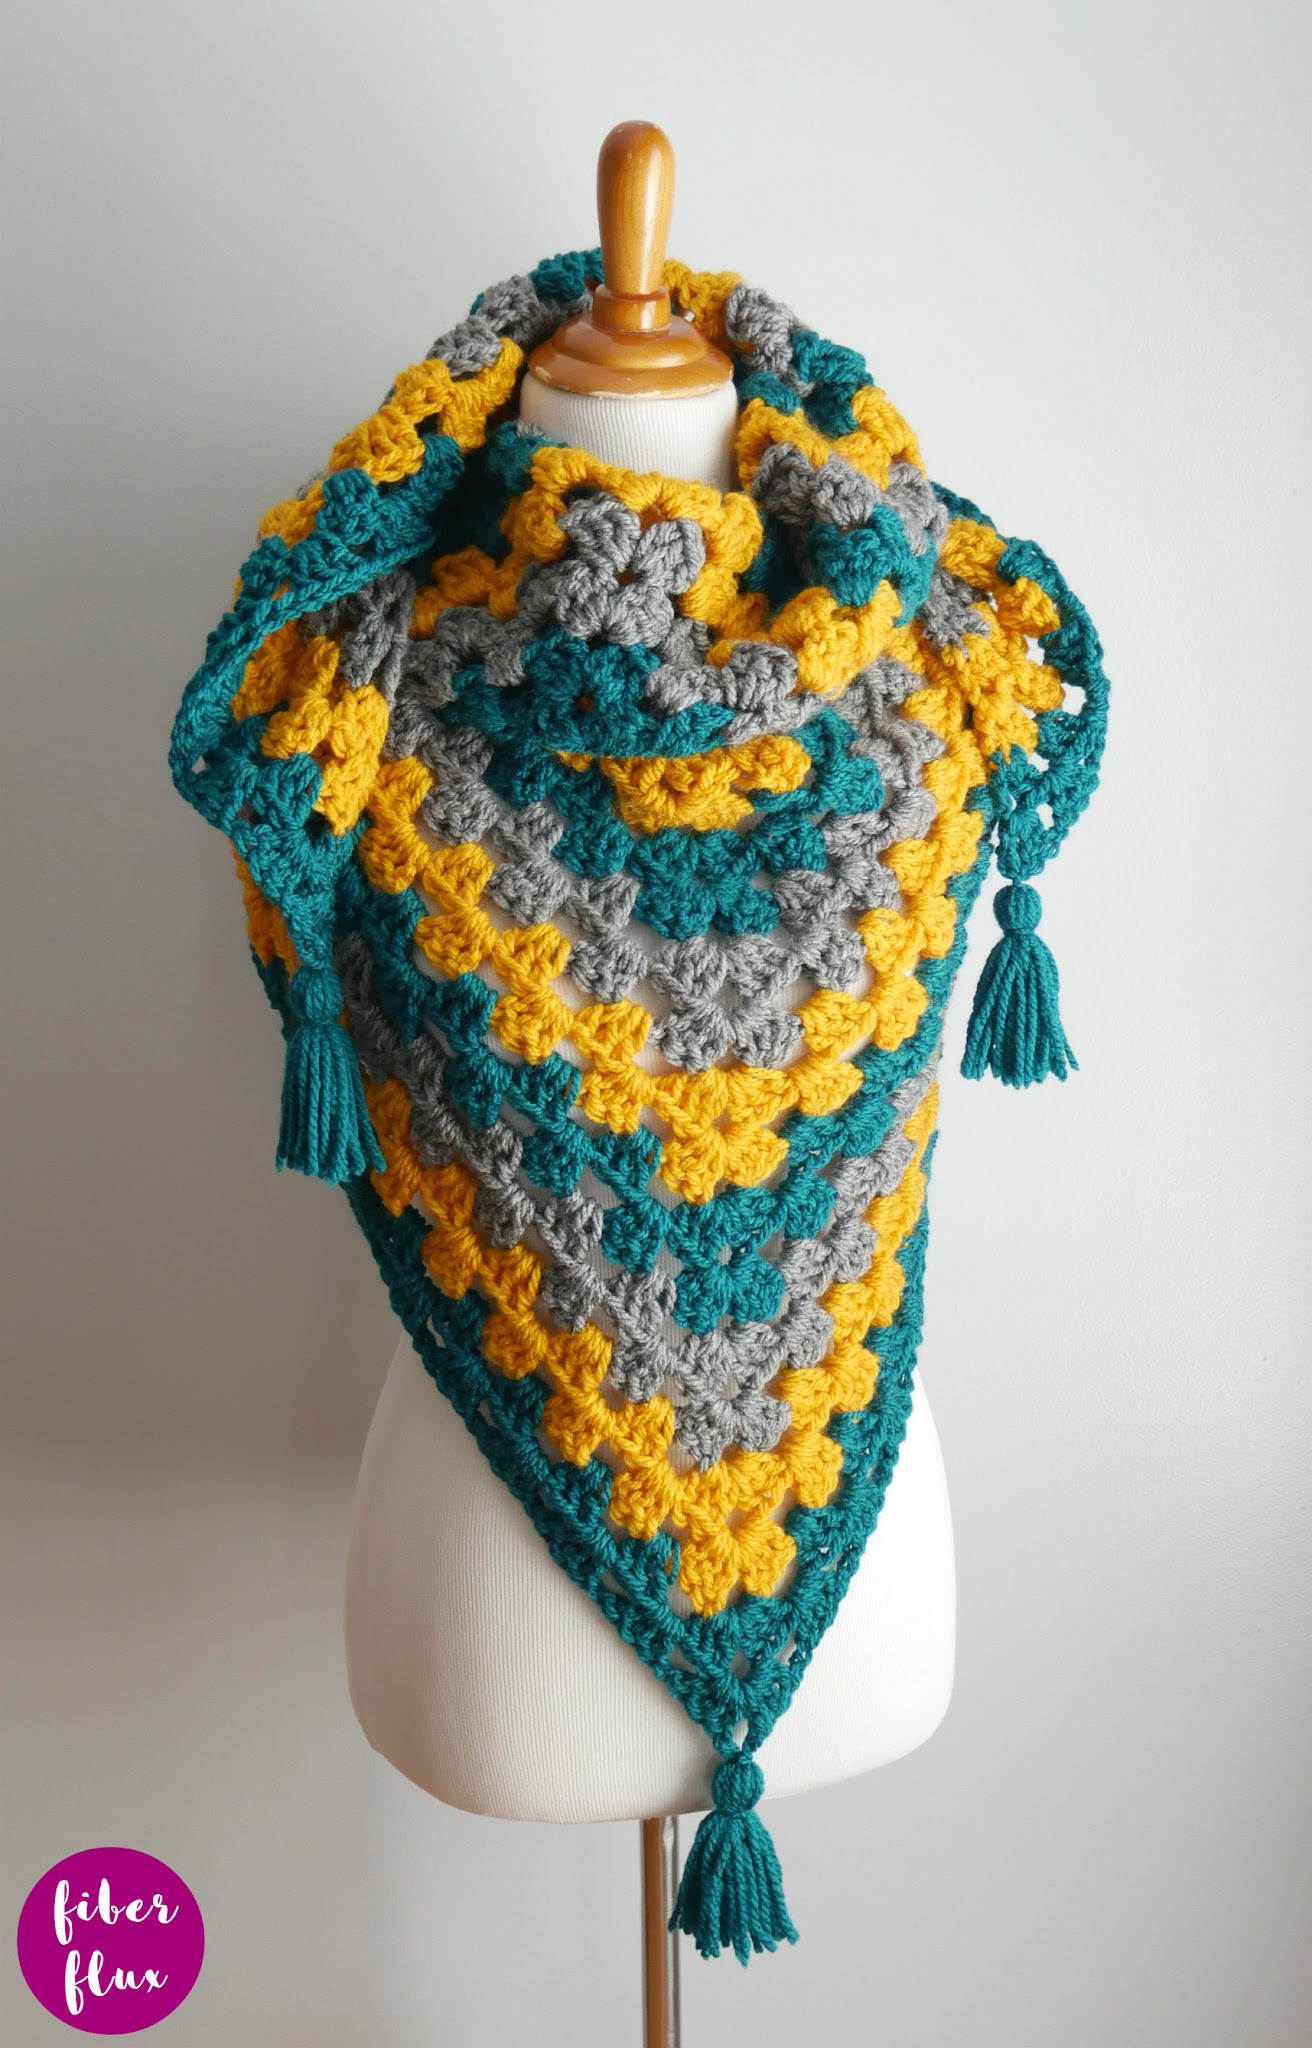
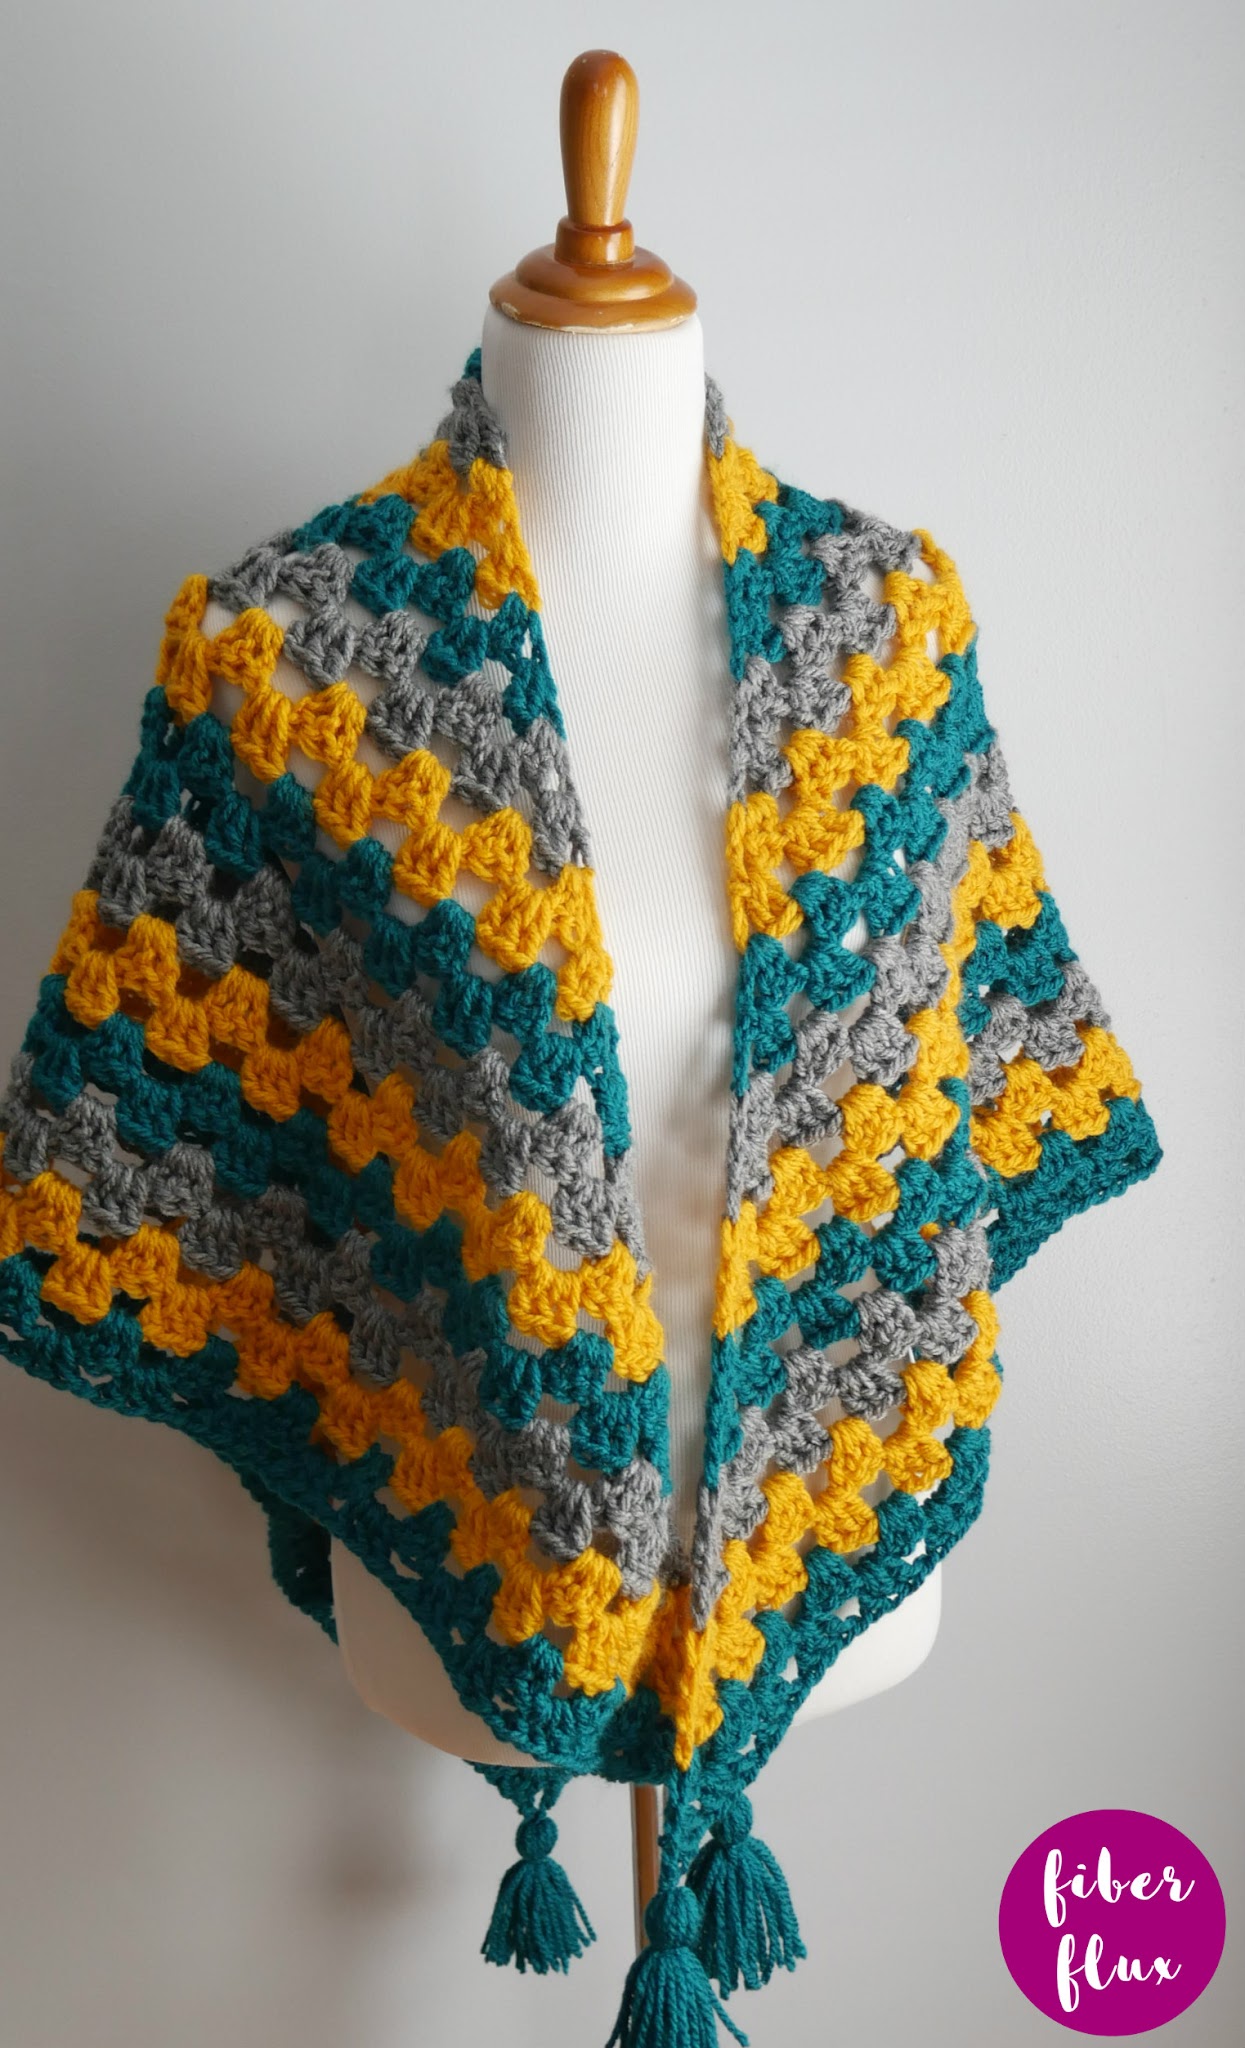
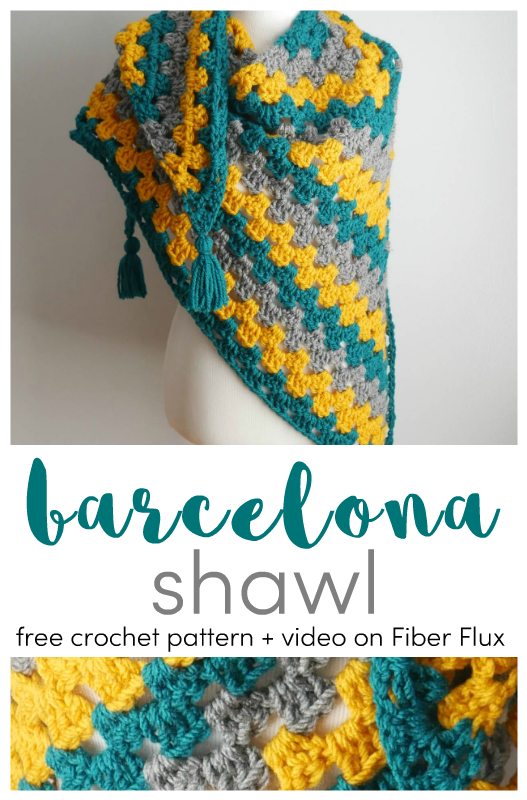
The Barcelona Crochet Shawl is a lovely shawl that welcomes fall and winter. Stitched up in an easy granny stitch, this is as relaxing to make as it is beautiful! Add the optional tassels for a lovely finish.
Watch a full video tutorial on how to make the Barcelona Crochet Shawl:
Love video tutorials? Click here to subscribe to the Fiber Flux YouTube channel for more stitchy fun!
Materials:
- 9.0 mm crochet hook
- 3 Skeins of Super Saver Chunky from Red Heart (I used the “Gray Heather” “Real Teal” and “Goldenrod” colorways) Solid skeins (teal and gold) are each 173 yards, Heather skeins (gray) is 168 yards.
- Tapestry Needle
- Scissors
Looking for awesome yarn and hooks for this project? Get them all (and lots more) here!
Sizing:
- 56 inches from bottom point to upper left or upper right or left point
- 65 inches across top edge
- Each tassel is about 3.5 inches tall
Abbreviations and Tutorial Links:
Instructions for shawl:
Note: I worked each color for two rows. If you are unfamiliar with switching colors, check out the video!
- Ch 4, then in the ch furthest from the hook sl st to form ring.
- Row 1: Ch 4 (counts as a dc, ch 1), the work (3 dc, ch 2, 3 dc) in center of ring, the work (ch 1, dc) in the ring.
- Row 2: Ch 4 (counts as a dc, ch 1), the work 2 dc in the ch 1 space from the previous row, then ch 1. Work (3 dc, ch 2, 3 dc) in the ch 2 space (top corner peak) from the previous row, then ch 1. Work 2 dc, ch 1 in the ch 1 space from the previous row, then a dc in the third ch of the turning chain.
- Row 3: Ch 4 (counts as a dc, ch 1), then work 2 dc, ch 1 in the ch 1 space. Work 3 dc, ch 1 in the chain 1 space. Work (3 dc, ch 2, 3 dc) in the chain 2 space (top corner peak). Ch 1, then 3 dc in the ch 1 space, then ch 1, then 2 dc in the ch 1 space, then ch 1, then a dc in the last dc.
- Row 4: Ch 4 (counts as a dc, ch 1). Work 2 dc in the ch 1 space, then work (3 dc, ch 1) in each of the the next ch 1 spaces, then ch 1. Work (3 dc, ch 2, 3 dc) in the ch 2 space (top corner peak), then work (ch 1, 3 dc) in each of the next ch spaces, then ch 1. Work 2 dc in the last ch space, ch 1, then a dc in the last dc.
To keep going and add length…
- Repeat row 4, adding a (3-dc in a ch- 1 sp) on each side for each row until triangle is about 65 inches across top edge, or desired size. Please note I used every bit of the three skeins including tassels. You can add more repeats of row 4 if you’d like a larger shawl or less rows for a smaller shawlette.
Instructions for tassels:
- Tassels (Make 3:): Using matching yarn, cut two strands of yarn per tassel roughly 9-12 inches long. Set aside. With the same yarn, wrap yarn around all four of your fingers 20 times. Tie the first strand to the top loops of the bundle. Tie second strand around the bundle to the upper third of the tassel. Cut any loops on the bottom of the tassel and trim bottom straight. Tie one to each corner of the triangle.
Finishing:
- Weave in ends and your shawl is finished!
Looking for more free crochet shawl patterns? Check out my crochet shawl pattern library!


What a great fall project. Thanks for sharing.
This is absolutely beautiful! Thank you for the pattern and for the video instruction. I love watching instructions!
Blessings – Julie