

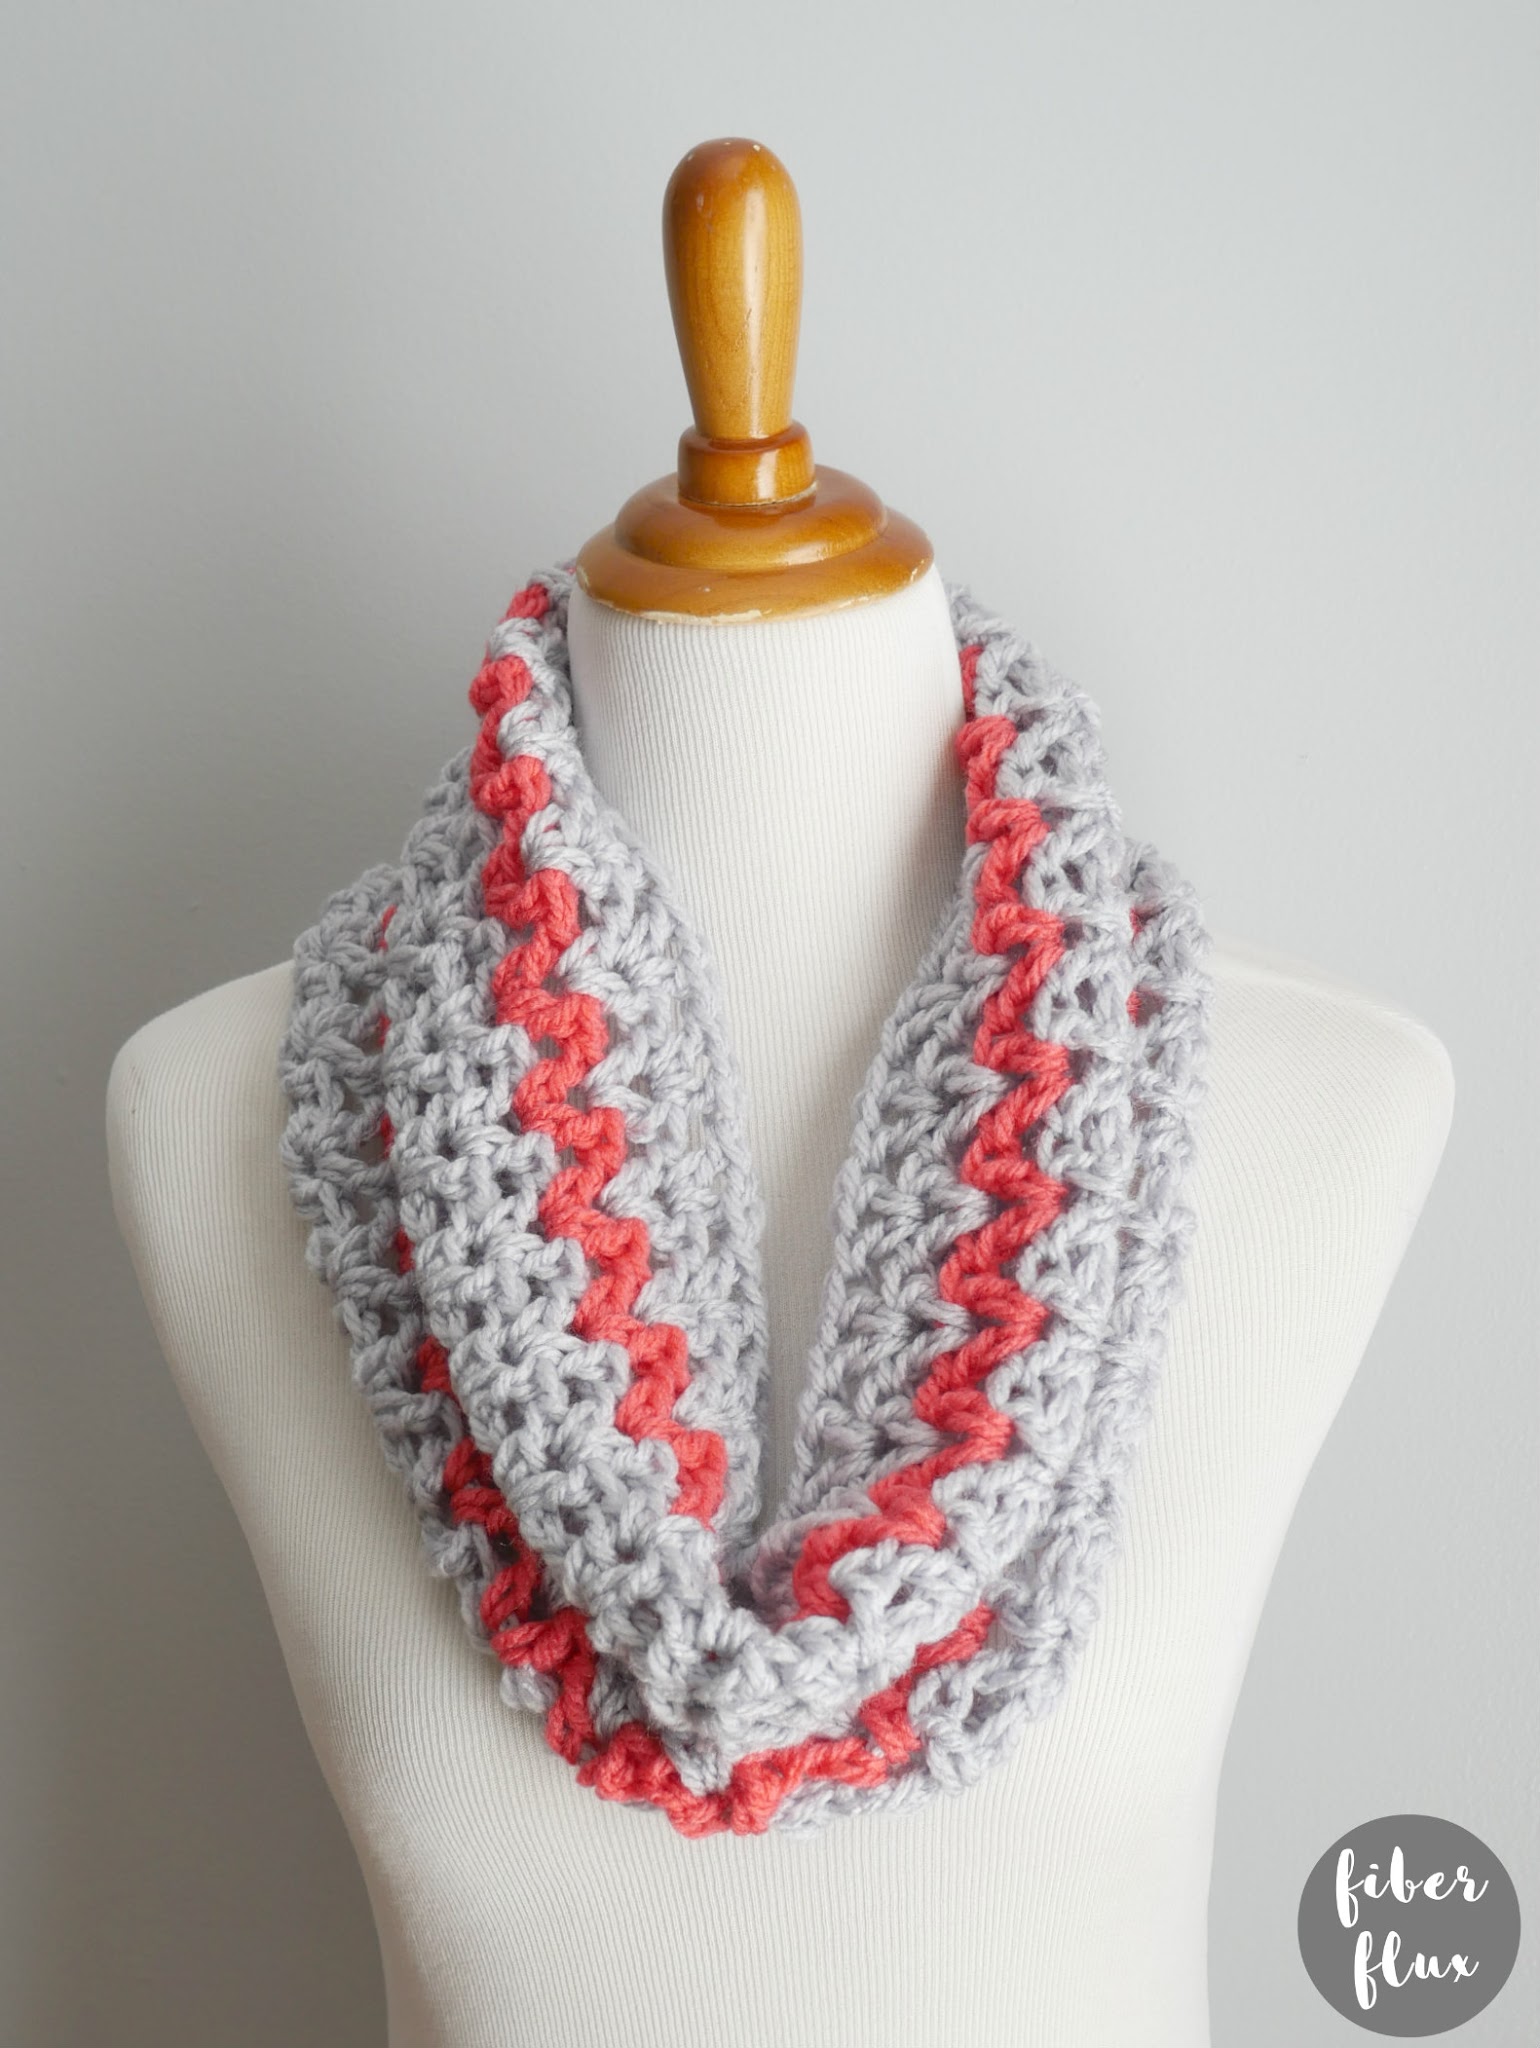
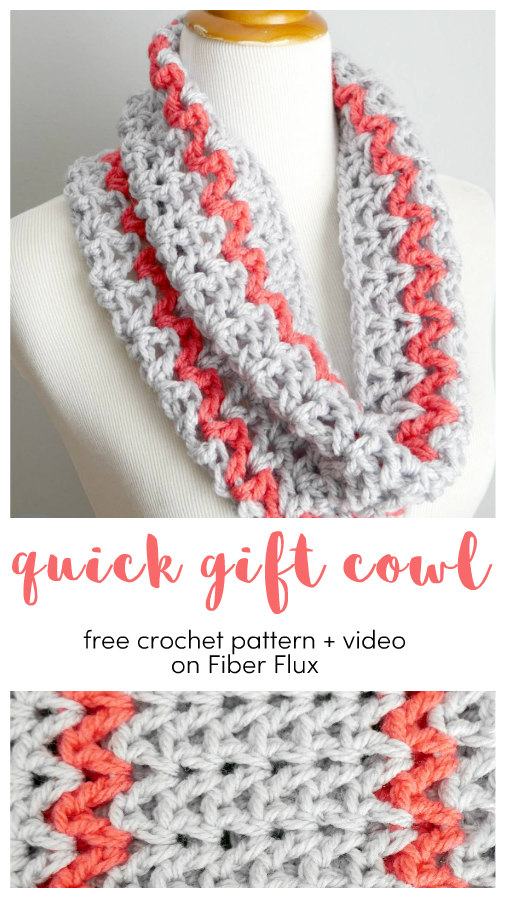
The Quick Gift Crochet Cowl, a beautiful v-stitch cowl in the round that can be done in a very short amount of time with enough yarn leftovers from the skeins to make another! Cowls make great gifts because they fit just about everyone and are quick to stitch too!
This project is part of the 12 Weeks of Gifting Series! Each week from NOW to the end of December, I’ll be sharing a new pattern for something that is super easy and super quick to whip up. We’ll be using the same yarn and same hook size for every single project, just switching up the colors a bit. Many of these projects can be made in just one sitting too!
With the holiday season fast approaching, sometimes it’s hard to squeeze in the time needed to make handmade gifts for everyone on your list! No worries, our 12 Weeks of Gifting Series to the rescue! Click the link below for the full directory of projects:
Need a little help? There’s a full video tutorial below for the Quick Gift Crochet Cowl too!
Watch a full video tutorial on how to make this project:
Love video tutorials? Click here to subscribe to the Fiber Flux YouTube channel for more stitchy fun!
Materials:
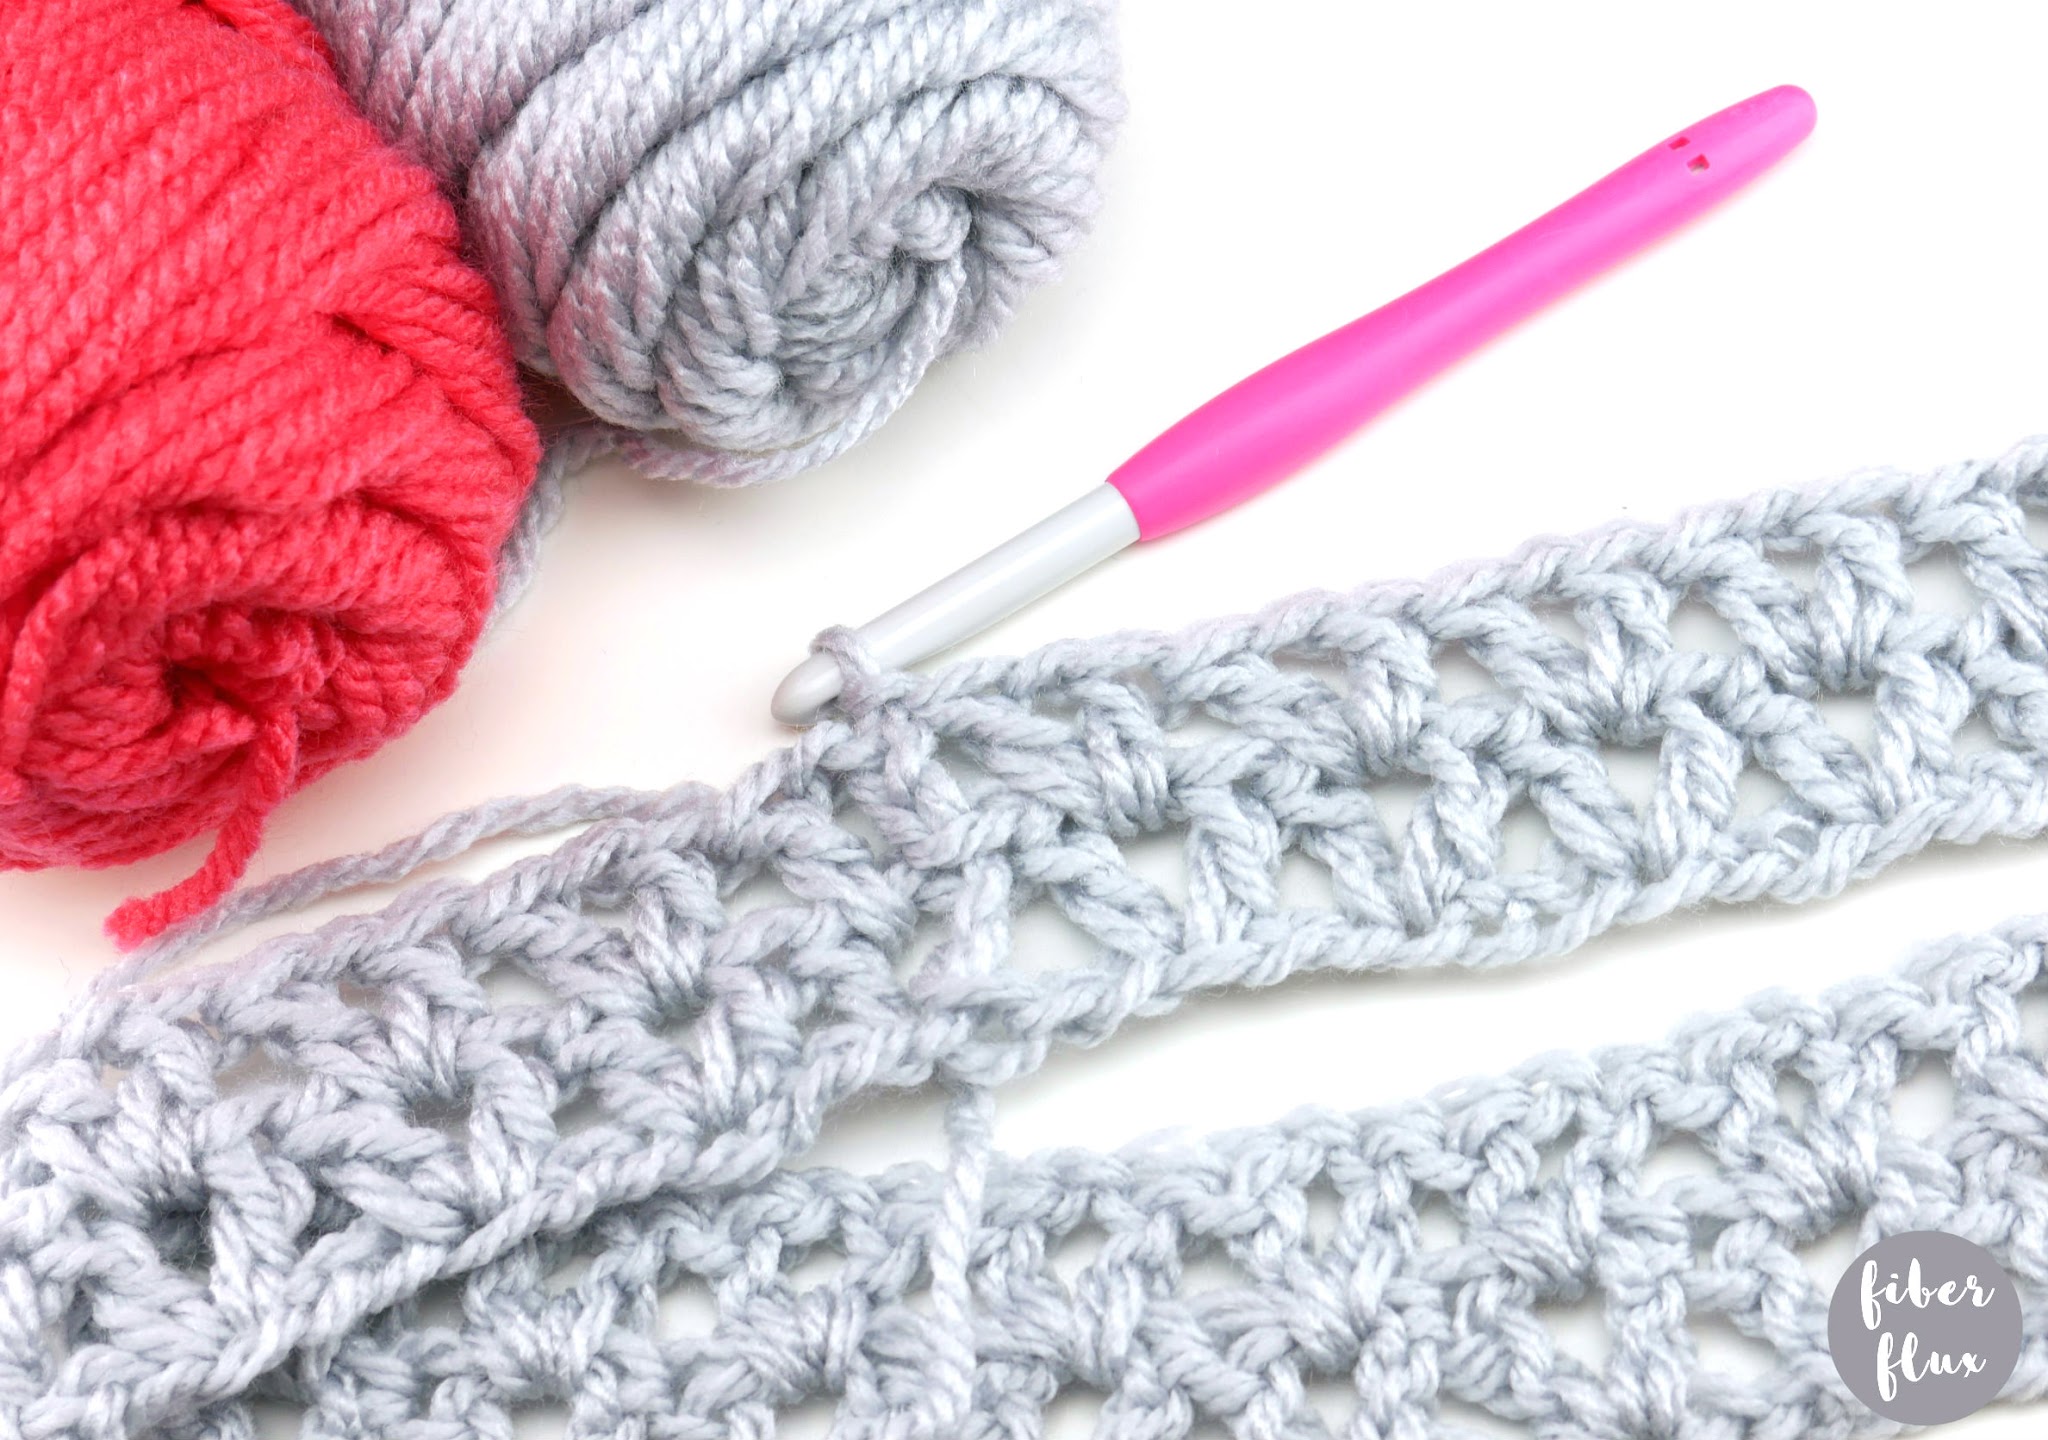
- L (8.0 mm) crochet hook
- 2 Skeins of Red Heart Super Saver Chunky (I used the “Light Gray” and “Flamingo” colorways)
- Tapestry Needle
- Scissors
- Tape Measure
Sizing:
- 30 inch circumference
- 10 inches tall
Abbreviations and Tutorial Links:
Instructions:
The color sequence I used was in this order:
- 2 Rounds Light Gray
- 1 Round Flamingo
- 6 Rounds Light Gray
- 1 Round Flamingo
- 2 Rounds Light Gray
Ch 75, then join in the furthest chain from the hook with a slip stitch, being careful not to twist.
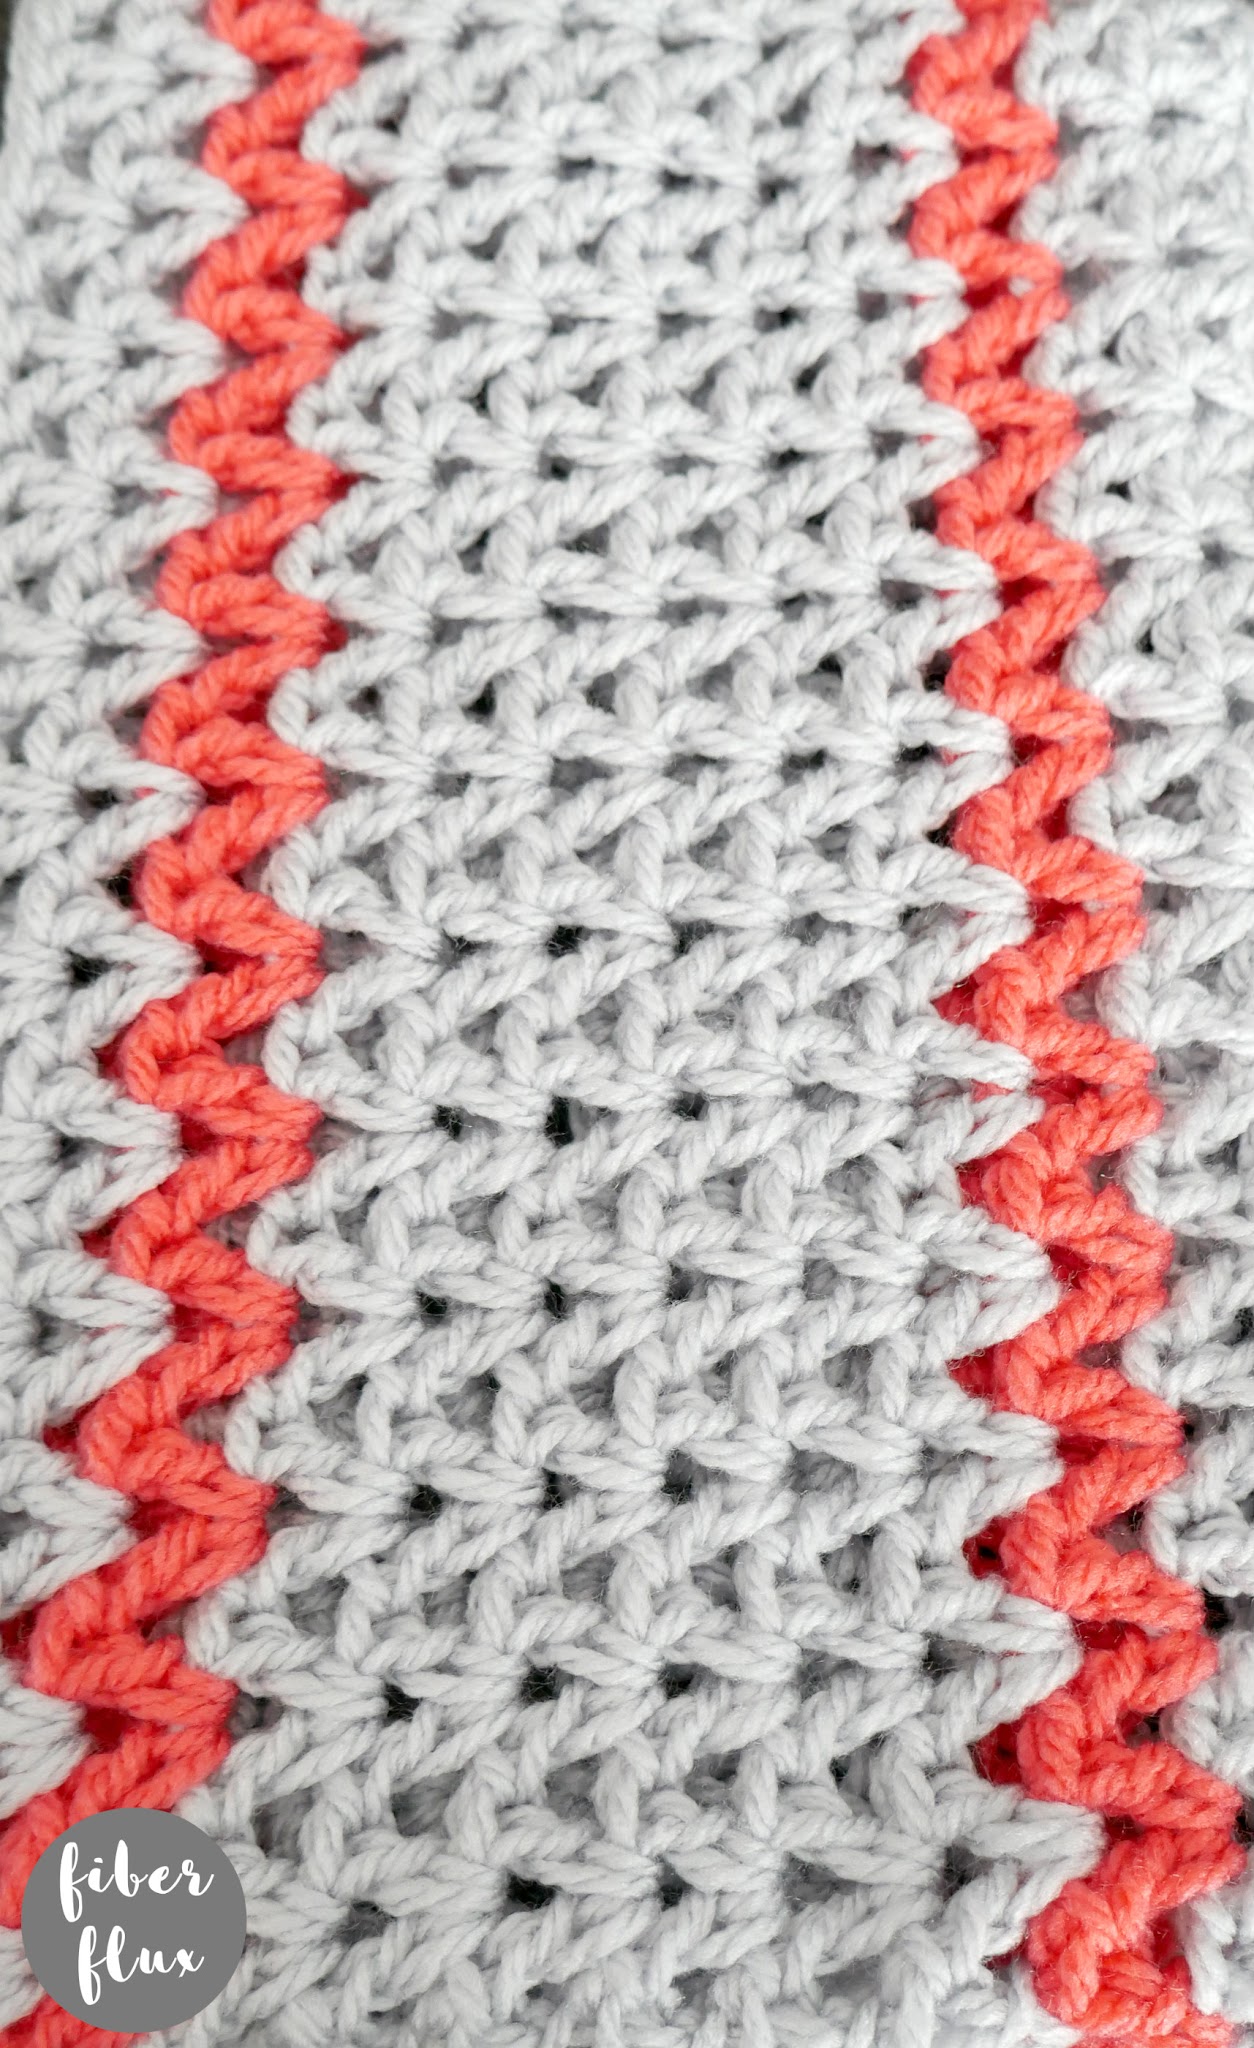
Round 1: Ch 4 (counts as a (dc, ch 1), then work a dc into the first chain. *Skip 2 chains, then work a (dc, ch 1, dc) into the next chain. Repeat from * around, then join with a slip stitch into the third ch up on the starting chain at the beginning of the round.
Round 2: Ch 4 (counts as a (dc, ch 1), then work a dc into the first ch 1 space. *Work a (dc, ch 1, dc) into each ch 1 space from the previous round. Repeat from * around, then join with a slip stitch into the third ch up on the starting chain at the beginning of the round.
Repeat round 2 until the cowl is as tall as you’d like it to be.
Weave in any ends that remain and you’re finished!
Love crochet cowls? Check out my Crochet Cowl pattern library!
Also we have two special communities for our CAL makers! Each has a welcome area/thread, so please hop on and introduce yourself. You can get info, ask questions, help each other, see what everyone is doing, and show off your work too!
Click HERE to join the Facebook group!

Click HERE to visit and join the Ravelry group!
Also, don’t forget to use the hashtag, #fiberfluxcal to share your work on social media!


Being from Ohio mine will be 2 gray, 1 red, 1 white 4 gray, 1 white, and 1 red. I am so excited for this cal. ty vm
This pattern does not make any sense! Do you repeat rows 1 and 2 until you finish or just row 2? What is the gauge for your stitches?
It says to repeat row 2 to it measures 10 inches.