

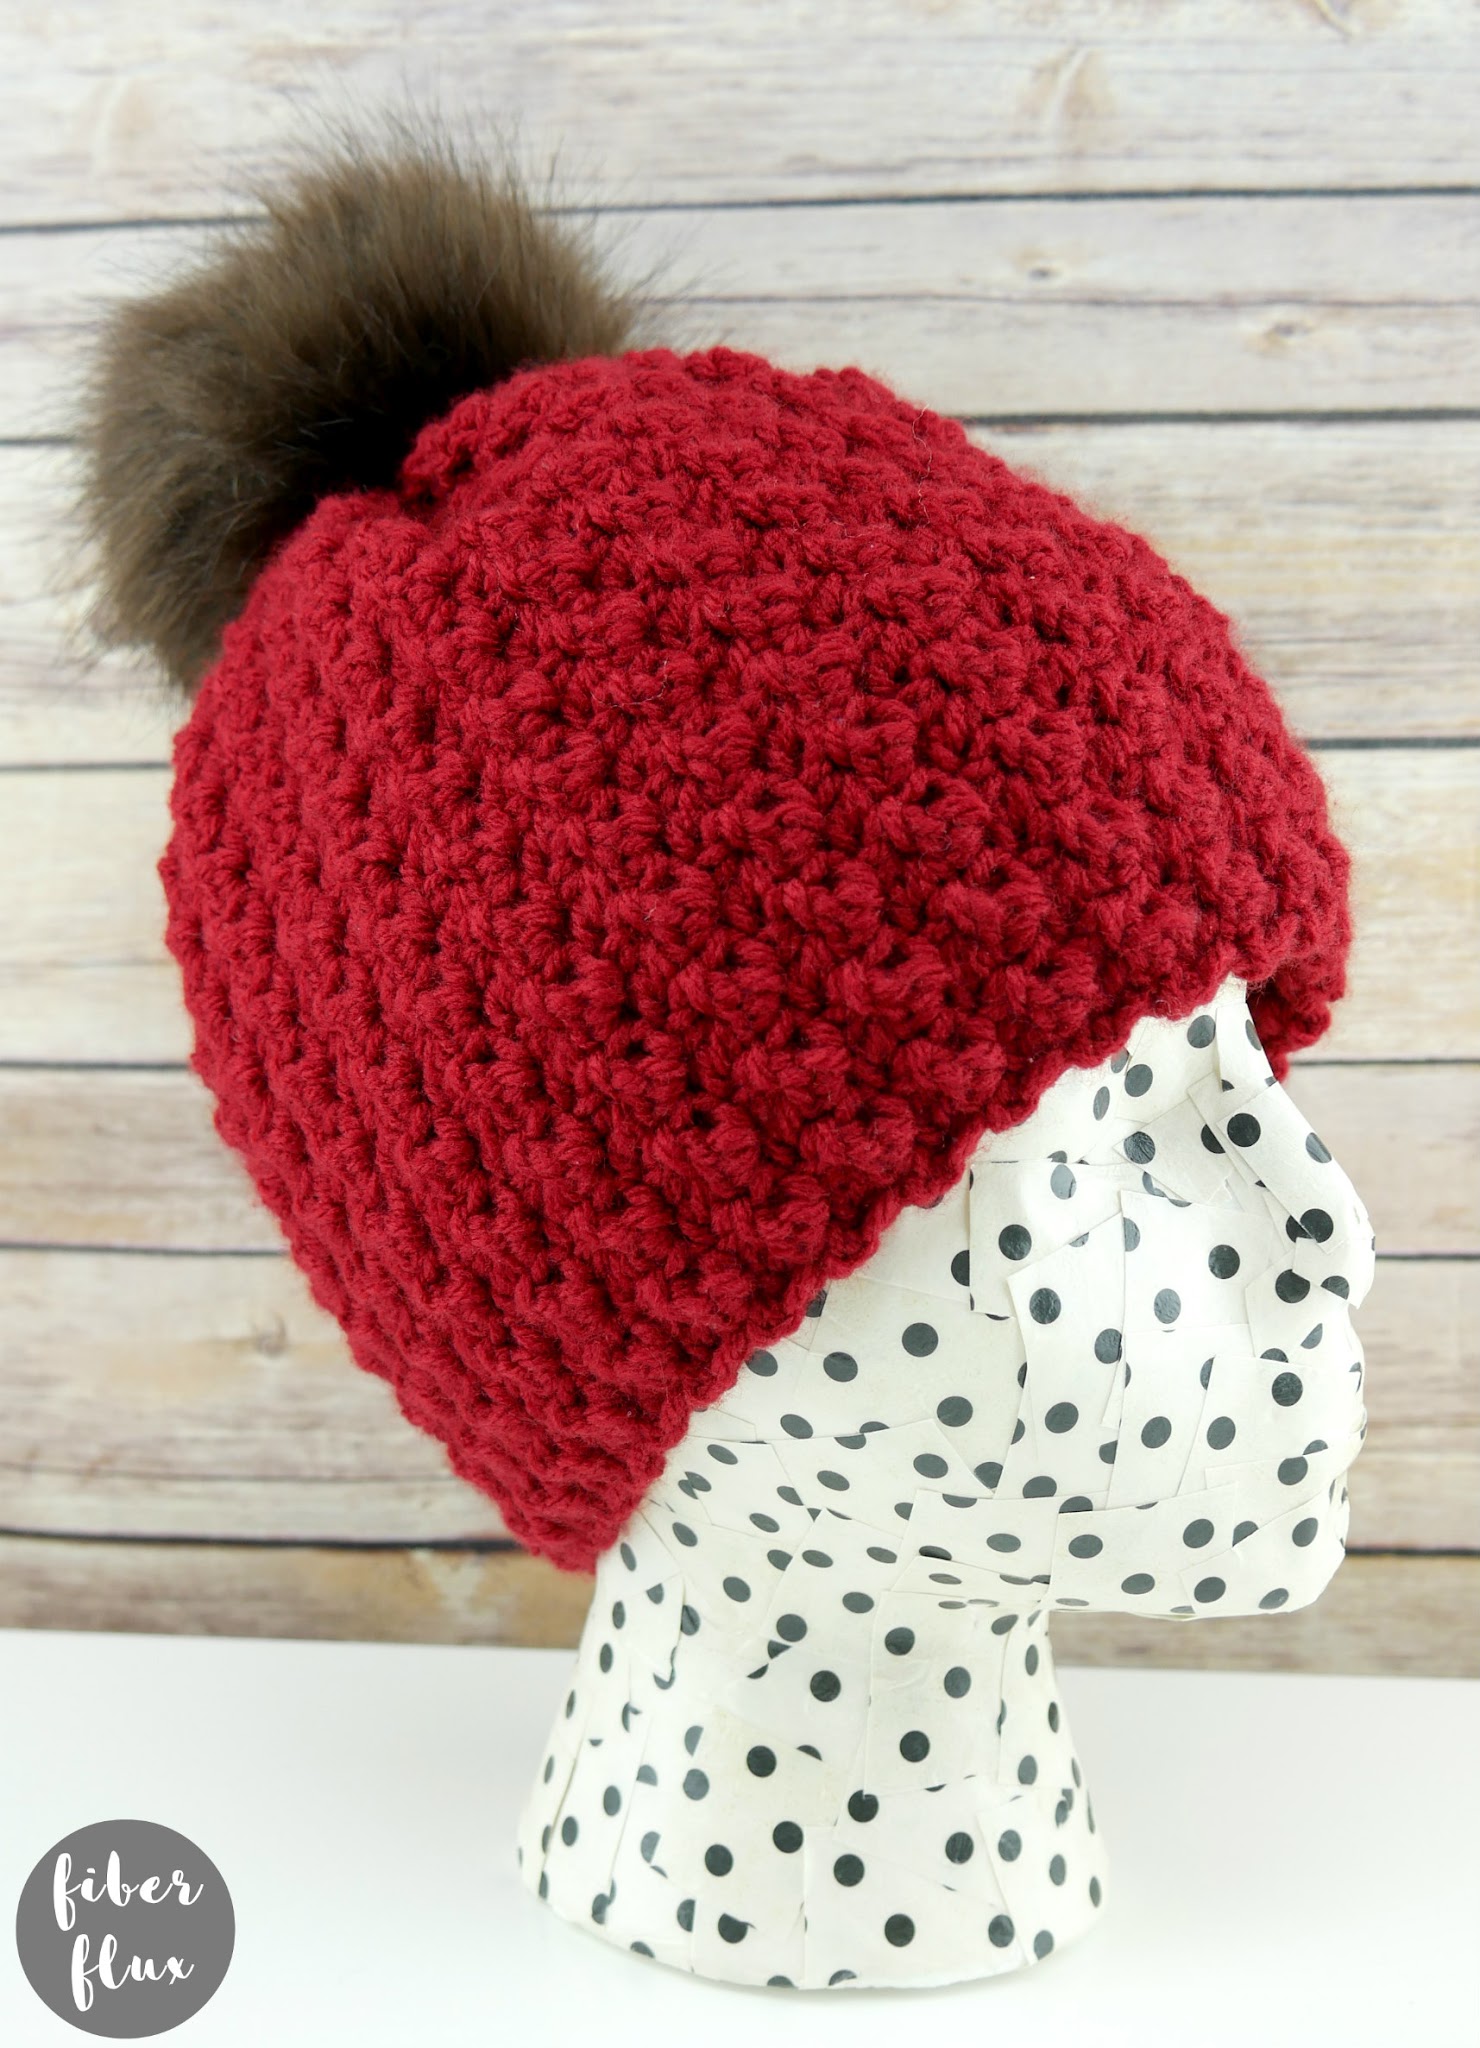
The Northern Exposure Crochet Hat is a lovely and easy to whip up hat that is full of gorgeous texture! This hat is a perfect accessory that will take you from the early days of fall all the way into spring! The hat is also topped with a (removable!) faux fur pom pom that gives it a luxurious and on trend look as well!
👉Get the ad free pattern PDF from my shop here!👈

Watch a full video tutorial on how to make the Northern Exposure Crochet Hat:
Queue up on Ravelry by clicking the button below:

Love video tutorials? Click here to subscribe to the Fiber Flux YouTube channel for more stitchy fun!
Materials:
- 6.0 mm “J” crochet hook
- 1 ball of Red Heart With Love (I used the “Berry Red” colorway)
- 1 Faux Fur Pom Pom
- 1 Button (The one I used is about an inch wide)
- Tapestry Needle
- Scissors
- Tape Measure
Sizing:
- 9 inches tall
- 21 inch circumference
- 12 inches total height of hat with pom pom
Instructions:
Ch 30 (to change the height of your hat, any even multiple will work)
Row 1: Work (1 sc, 1 dc) in the second chain from the hook. *Skip a chain, then work (1 sc, 1 dc) into the next chain. Repeat from * across until two chains remain. Skip the next chain, then work a sc into the last chain.
Row 2: Ch 1 and turn. *Work (1 sc, 1 dc) into the first stitch (located in the center of the little “cluster” of stitches from the previous row). Repeat from * across into each stitch. Work a sc into the last stitch of the row.
Repeat row 2 until your rectangle measures about 18 inches long from starting edge. If you need a different circumference for your hat, simply work more or less rows.
Fasten off leaving a long tail for closing the top of the hat later. Turn inside out, then sandwich the two edges together and whip stitch together. Using the long tail, work a running stitch along the top edge of the hat, then draw tightly to close shut. Secure with a strong knot. Weave in any ends then turn right side out.
If you’d like to add the faux fur pom pom, sew a button with a matching piece of yarn to the inside top of the hat. Place pom pom at the top and run the elastic loop into the top of the hat. Loop the elastic around the button to hold it in place. You can remove it later if need be when you’re ready to launder the hat.
Prefer a yarn pom pom? Check out my tutorial below!
Weave in any ends that remain and you’re finished!


I really love the video…I will make for myself and then enjoy my winter
Beautiful pattern, I can't wait to give it a try as soon as some wips are finished. Thank you for sharing your talents and patterns! ☕️💜🧶❤️🌹🙏🏻
Hi, love the texture of this hat and can't wait to get started on it! It looks like something is missing from the Row 2 written instructions. Hopefully the video provides the missing info.
What kind of hook are you using to make this? I know you said it in the beginning of the video but I can not find a link. Thank you!! Beautiful work and finally a hat I can easily make!!
What kind of hook are you using to make this? I know you said it in the beginning of the video but I can not find a link. Thank you!! Beautiful work and finally a hat I can easily make!!
bonjour j'adore ce bonnet j'en suis folle il est magnifique le seul problème c'est que je n'arrive pas à ce le tuto alors est-ce que quelqu'un peut m'aider et me traduire le tutoriel où est-ce que quelqu'un peut expliquer en
bonjour j'adore le tuto du bonnet rouge j'ai regardé mille fois le tuto je n'arrive pas à bien voir le point commun alors y a 10 ans j'aimerais savoir est-ce que quelqu'un serait susceptible de m'aider à expliquer comment faire le point comment il s'appelle est-ce que il peut y avoir un tuto pour pouvoir le réaliser est-ce que il peut y avoir un tuto pour pouvoir le réaliser est-ce que il peut y avoir un tuto pour pouvoir le réaliser milles merci à vous gros bisous à bientôt
When you have completed row 2 from an original chain 30 how many stitches should you have?
This awesome hat will be my next project! I watched the YouTube video and I love that you can choose either side to show, and I learned how to attach a removable faux pompom!❤
Will your hat stretch to a size 23" head?
This comment has been removed by a blog administrator.
Add more rows. 18 rows = 21".
This comment has been removed by a blog administrator.