
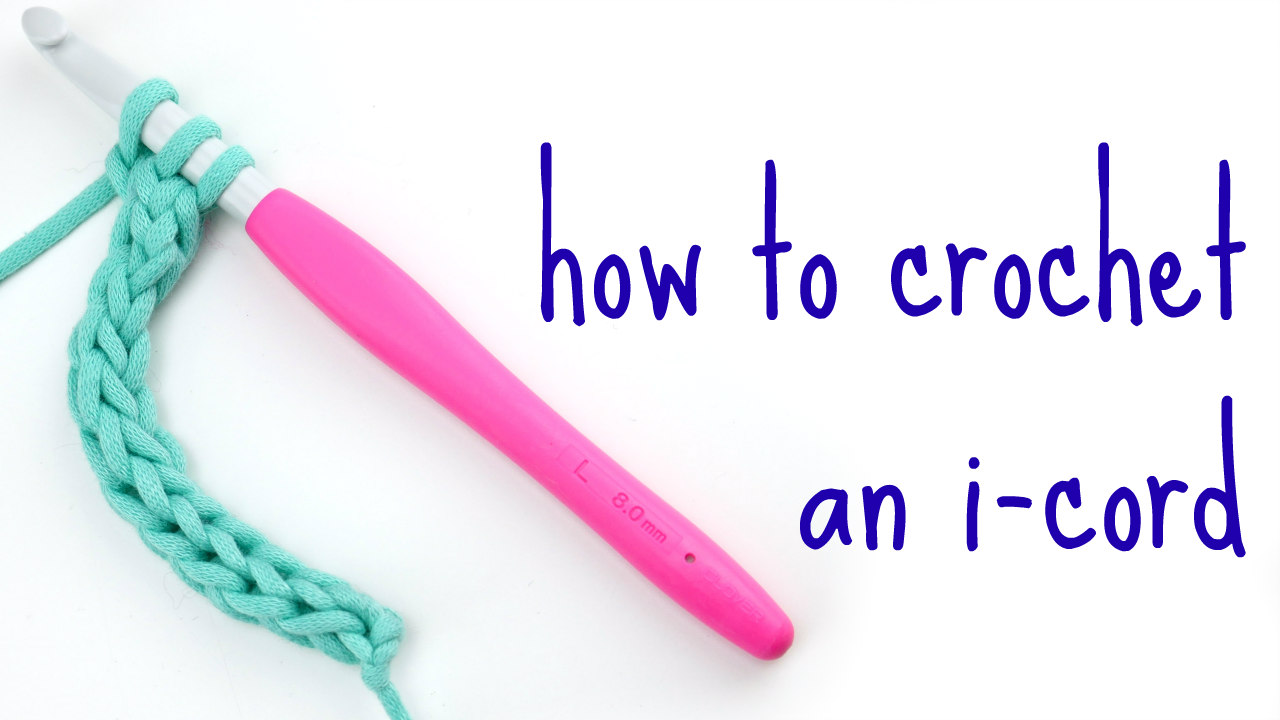
The crochet i-cord is a super handy skill for crocheters to have in their skill set. If you need to add some sturdiness to a clothing strap, drawstring, tote handle or just need something more rope-like, the crochet i-cord may be just what you need! Stitched up to look like a series of chains, its easy to do with just a bit of practice!
Want more crochet stitch tutorials? Check out my crochet stitch library here!
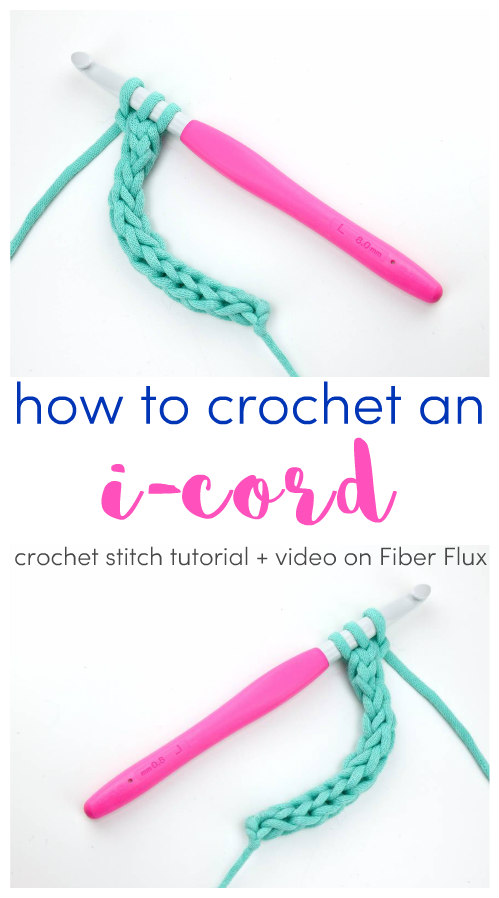
Check out my easy video tutorial that walks you through step by step!
For this tutorial all you’ll need is a smooth strand yarn (easier to learn on than the more textured/novelty stuff) and the yarn’s recommended hook size (check the label if you are not sure).
How To Crochet an I-Cord
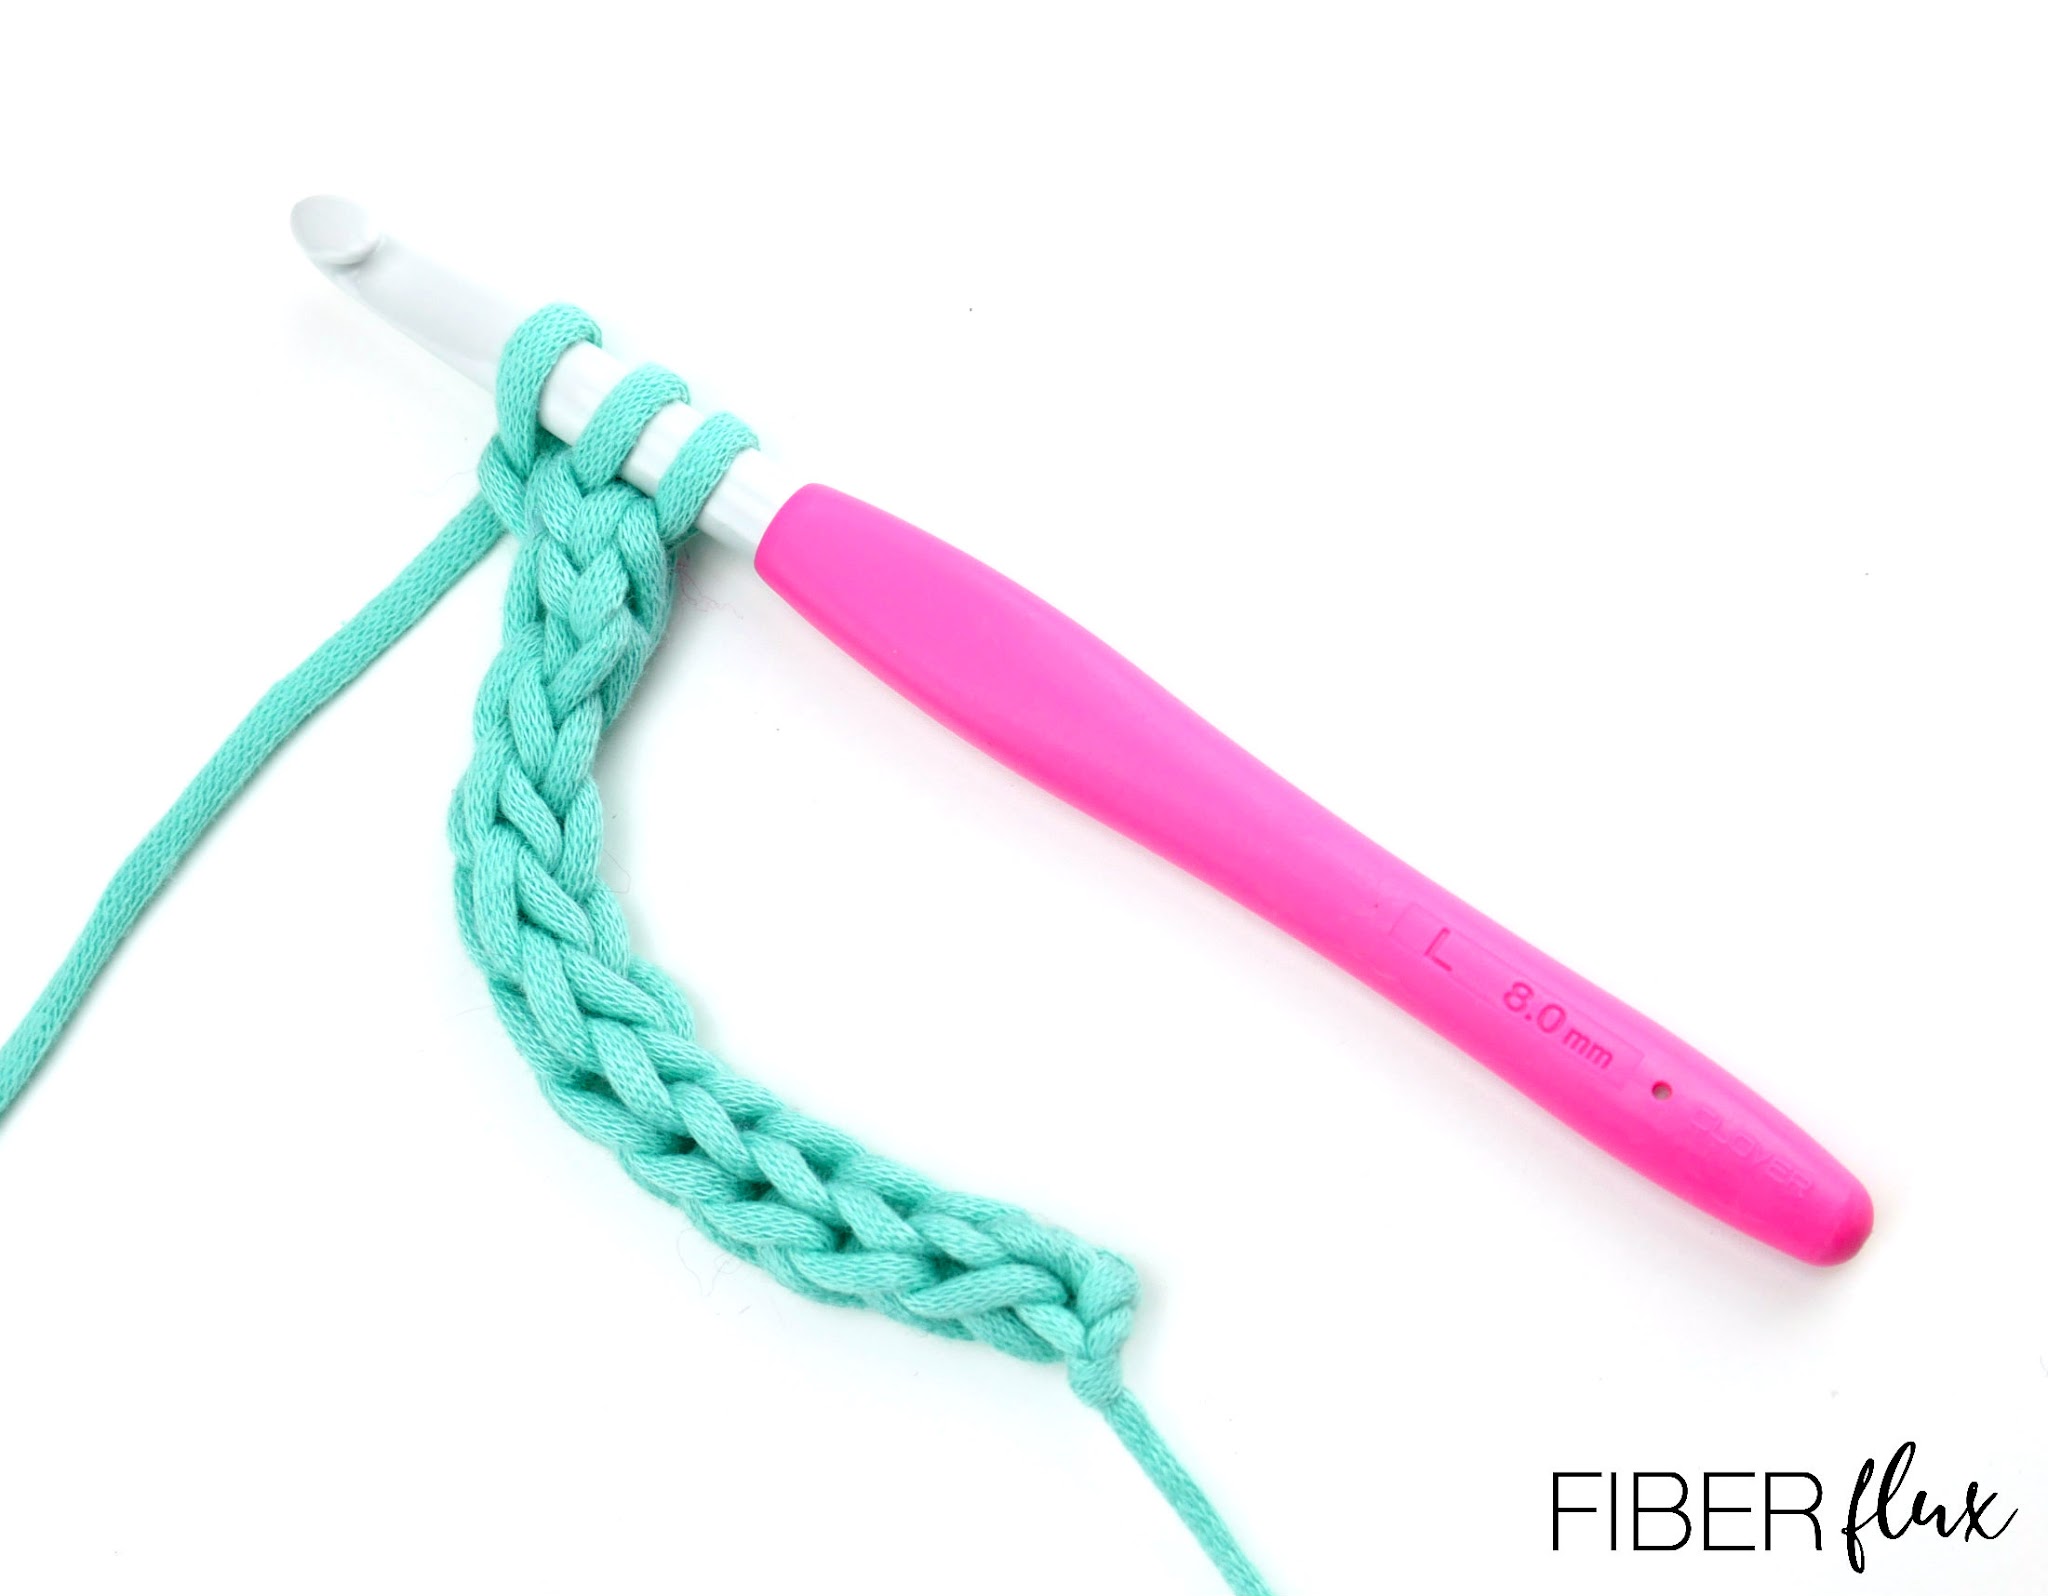
- Begin by placing a slip knot on your hook.
- Next, chain 3.
- Insert hook into the middle chain and bring up a loop.
- Insert hook into the last chain and bring up a loop.
- Remove two loops from the hook and hold tight.
- Wrap yarn around hook and bring through the loop.
- Put loop closest to you back on the hook, then wrap yarn around the hook and bring it through the loop.
- Put that last loop back on the hook, wrap yarn around hook and bring it through the hook (three loops are on the hook at this point).
- Repeat steps 5-8 until the i-cord is as long as you would like it to be.
- To finish off your i-cord, wrap yarn through all three loops on the hook, cut the yarn, wrap the yarn around hook and pull it through firmly.
- Use the tails to tie it onto other items or weave in ends.
Curious about how to knit an i-cord? Click here!


I recently crocheted my version of an i-cord by chaining the length I needed, then turning the chain around so the bottom loop (not the V-loops) was on top. I then crocheted a second chain through each bottom loop, from end back to beginning of the original chain. The appearance was very similar to your i-cord.