
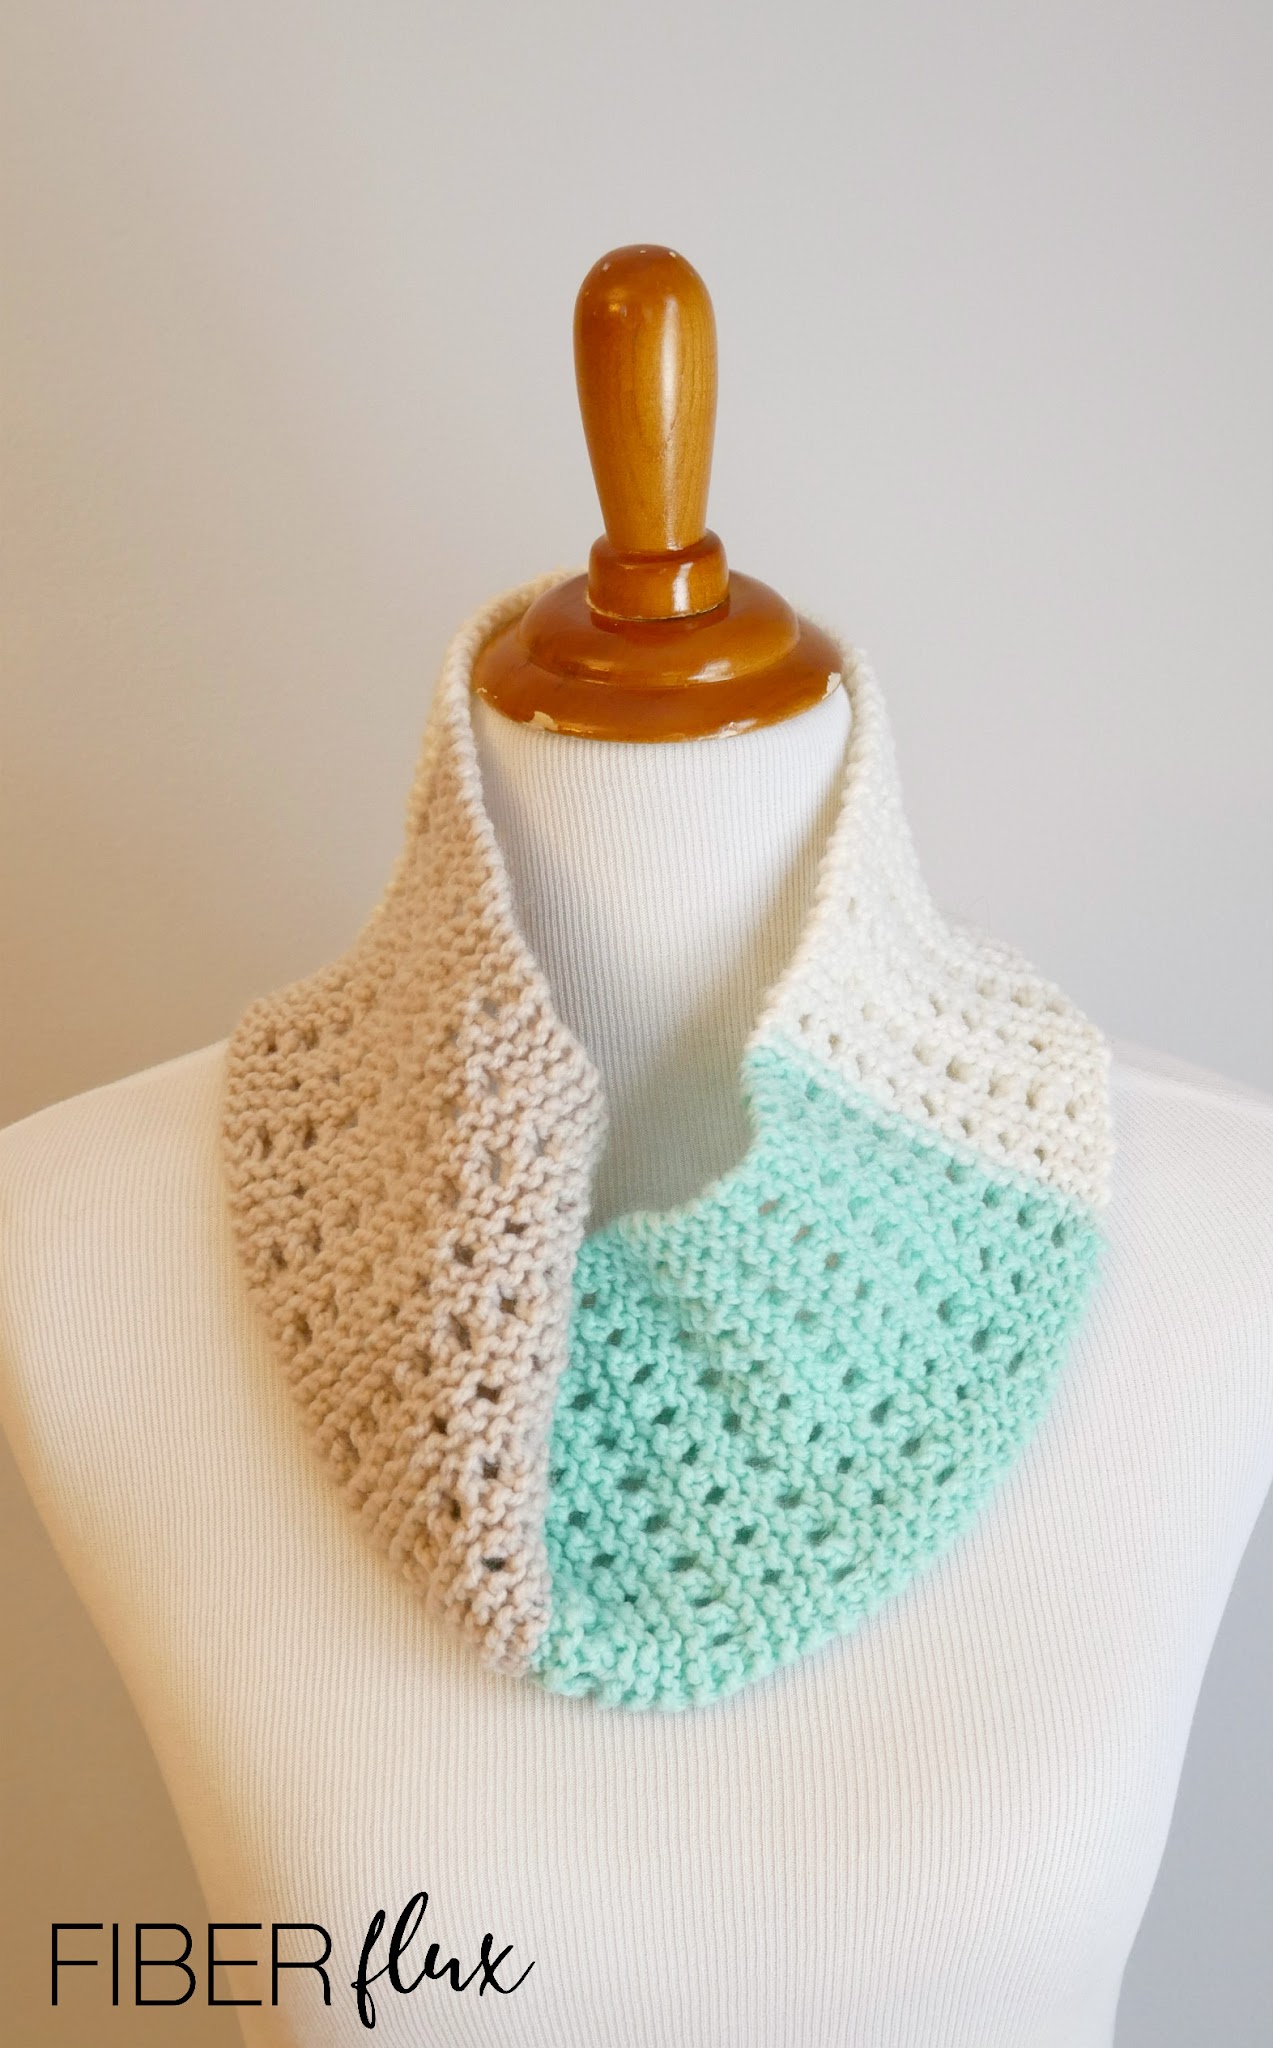
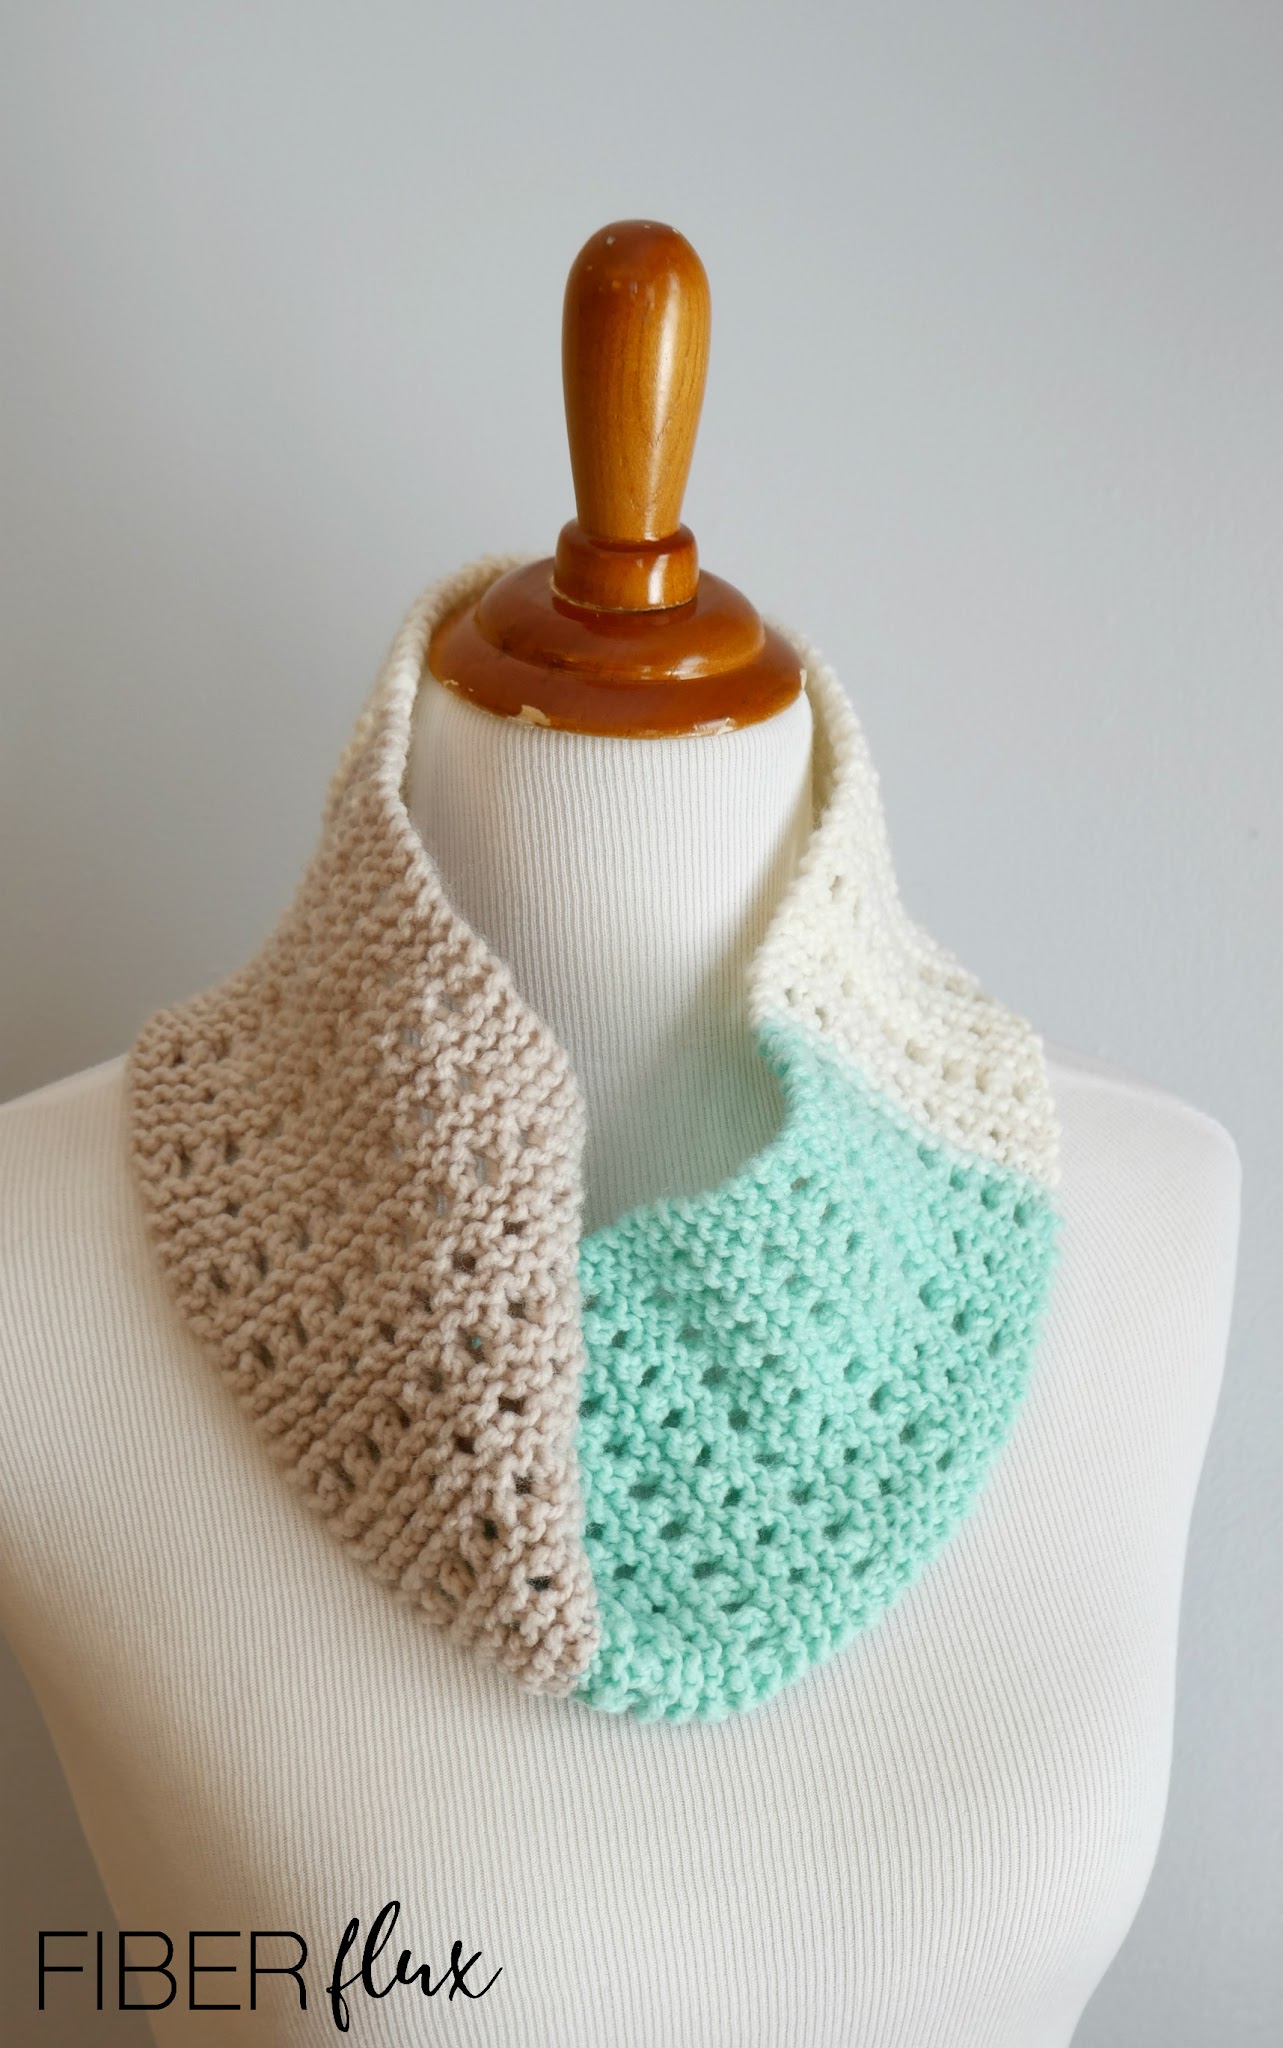
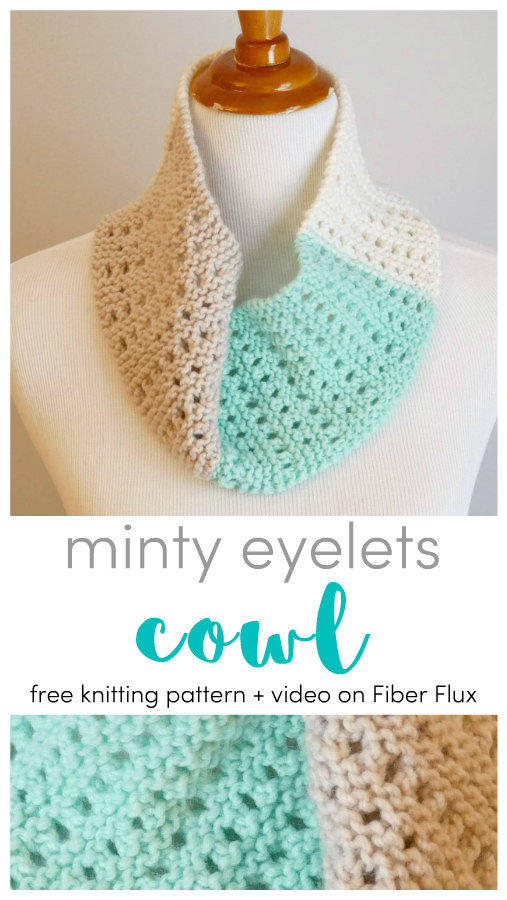
The Minty Eyelets Cowl is a luxurious knitted cowl worked up in super soft baby yarn, which feels amazing against the neck. This is a great project for beginner knitters, using just basic knit stitches and simple increases and decreases to create the decorative eyelets. Self striping yarn creates a lovely color block effect, doing all of the color work for you too!
Note: This pattern includes both a DK weight version and a worsted weight version.
Need a little help? There’s a full video tutorial below too!
Minty Eyelets Knit Cowl
By Jennifer Dickerson
I am super excited that this project is part of 2020 Knit Along with KAL Corner! There are some wonderful knit designers sharing some fantastic knitting projects all year long! Made something from this KAL? Use the hashtag #KALCornerKnitting to share your work. Also to get involved with the community of makers for this special event, check out their Facebook group too!
Click below to watch a full video tutorial on how to make this project:
Queue up on Ravelry by clicking the button below:
 Love video tutorials? Click here to subscribe to the Fiber Flux YouTube channel for more stitchy fun!
Materials:
- Needles for DK/3 Version: US 6 (4.25 mm) straight knitting needles
- Needles for Worsted/4 Version: US 8 (5 mm) straight knitting needles
- Yarn for DK/3 Version: 1 ball of Bernat Softee Baby, each ball is 310 for ombres and 363 for solids
- Yarn for Worsted/4 Version: 1 cake of Caron Baby Cakes, each cake is 231 yards (I used the “Dreamy Mint” colorway)
- Tapestry Needle
- Scissors
- Tape Measure
Sizing (both versions):
- 5 inches wide
- 30 inch circumference
Instructions:
DK/3 Version: CO 36 sts
Worsted/4 Version: CO 20 sts
Row 1: Knit all stitches.
Row 2: Knit all stitches.
Row 3: Knit all stitches.
Row 4: Knit all stitches.
Row 5: K2, *(yo, k2tog) across until 2 stitches remain, then K2.
Repeat rows 1-5, until piece is about 30 inches long (or desired length) from co edge, ending on row 4.
Finishing: Seam ends using the whip stitch. Weave in any ends that remain and you’re finished!

© Jennifer Dickerson 2020
For more fun projects and pretty patterns, be sure to follow Fiber Flux on Facebook, Instagram, Twitter, and Pinterest for the latest updates!

