
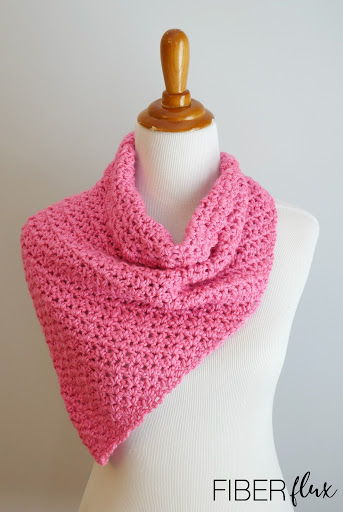
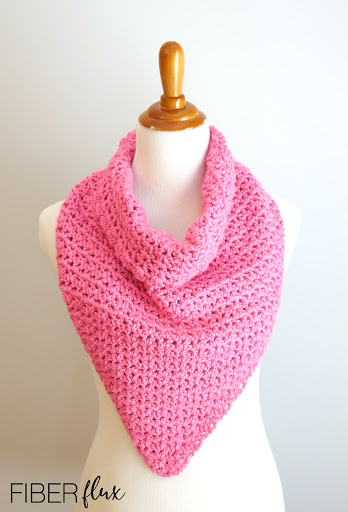
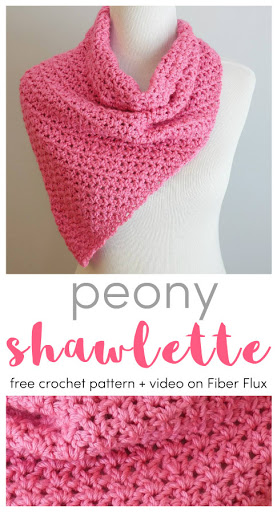
The Peony Shawlette is a beautiful springy wrap in the easy to crochet v-stitch. Worked from the bottom point up, you can customize the wrap by simply working more rows to make it taller and wider. Buttery soft baby yarn makes the wrap feel amazing against the neck too!
👉Get the ad-free crochet pattern PDF from my shop here!👈
Add this project to your Ravelry queue:

Watch a full video tutorial on how to make this project:
Love video tutorials? Click here to subscribe to the Fiber Flux YouTube channel for more stitchy fun!
 |
| Photo courtesy I Like Crochet Magazine/Prime Publishing |
My Peony Shawlette design originally appeared in I Like Crochet Magazine in a lighter weight version. I am so excited that the pattern now has a permanent place on Fiber Flux as well!
Materials:
- I (5.5 mm) crochet hook
- 1 ball of Soft Baby Steps from Red Heart (I used the “Strawberry” colorway, each ball is 256 yards)
- Tapestry needle
- Scissors
- Tape measure
- 1 large button or two small buttons
Sizing:
- 24 inches up the side of the triangle
- 34 inches across the top of the triangle
- 19 inches from the bottom point straight up to the top
Instructions:
Chain 7
Row 1: In the fourth ch from the hook work (dc, ch 1, dc). Skip 2 ch, then in the last ch work (dc, ch 1, dc)
Row 2: Ch 3 and turn. In the first ch 1 space (center of the v), work (dc, ch 1, dc). Work a (dc, ch 1, dc) in each ch 1 space across (center of the v). Work a (dc, ch 1, dc) in the turning chain space.
Repeat row 2 until wrap is as long and wide as you like, leaving a few yards for the scallop edging.
Scallop edging row (optional): Ch 3 and turn (counts as a dc). In the first V, work 2 dc. *In the space in between the V you just worked into and the next V, work a sc. Work 3 dc into the next V (ch 1 space). Repeat from * across to the last V os the row. Work a slip stitch into the turning chain space.
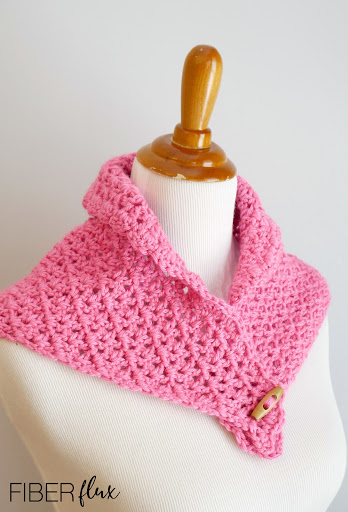
Fasten off and weave any ends that remain. Sew a button to the upper right corner of the triangle with a matching piece of yarn. When wearing, use any of the v-stitch openings as buttonholes.

© Jennifer Dickerson 2020
For more fun projects and pretty patterns, be sure to follow Fiber Flux on Facebook, Instagram, Twitter, and Pinterest for the latest updates!


This comment has been removed by a blog administrator.