

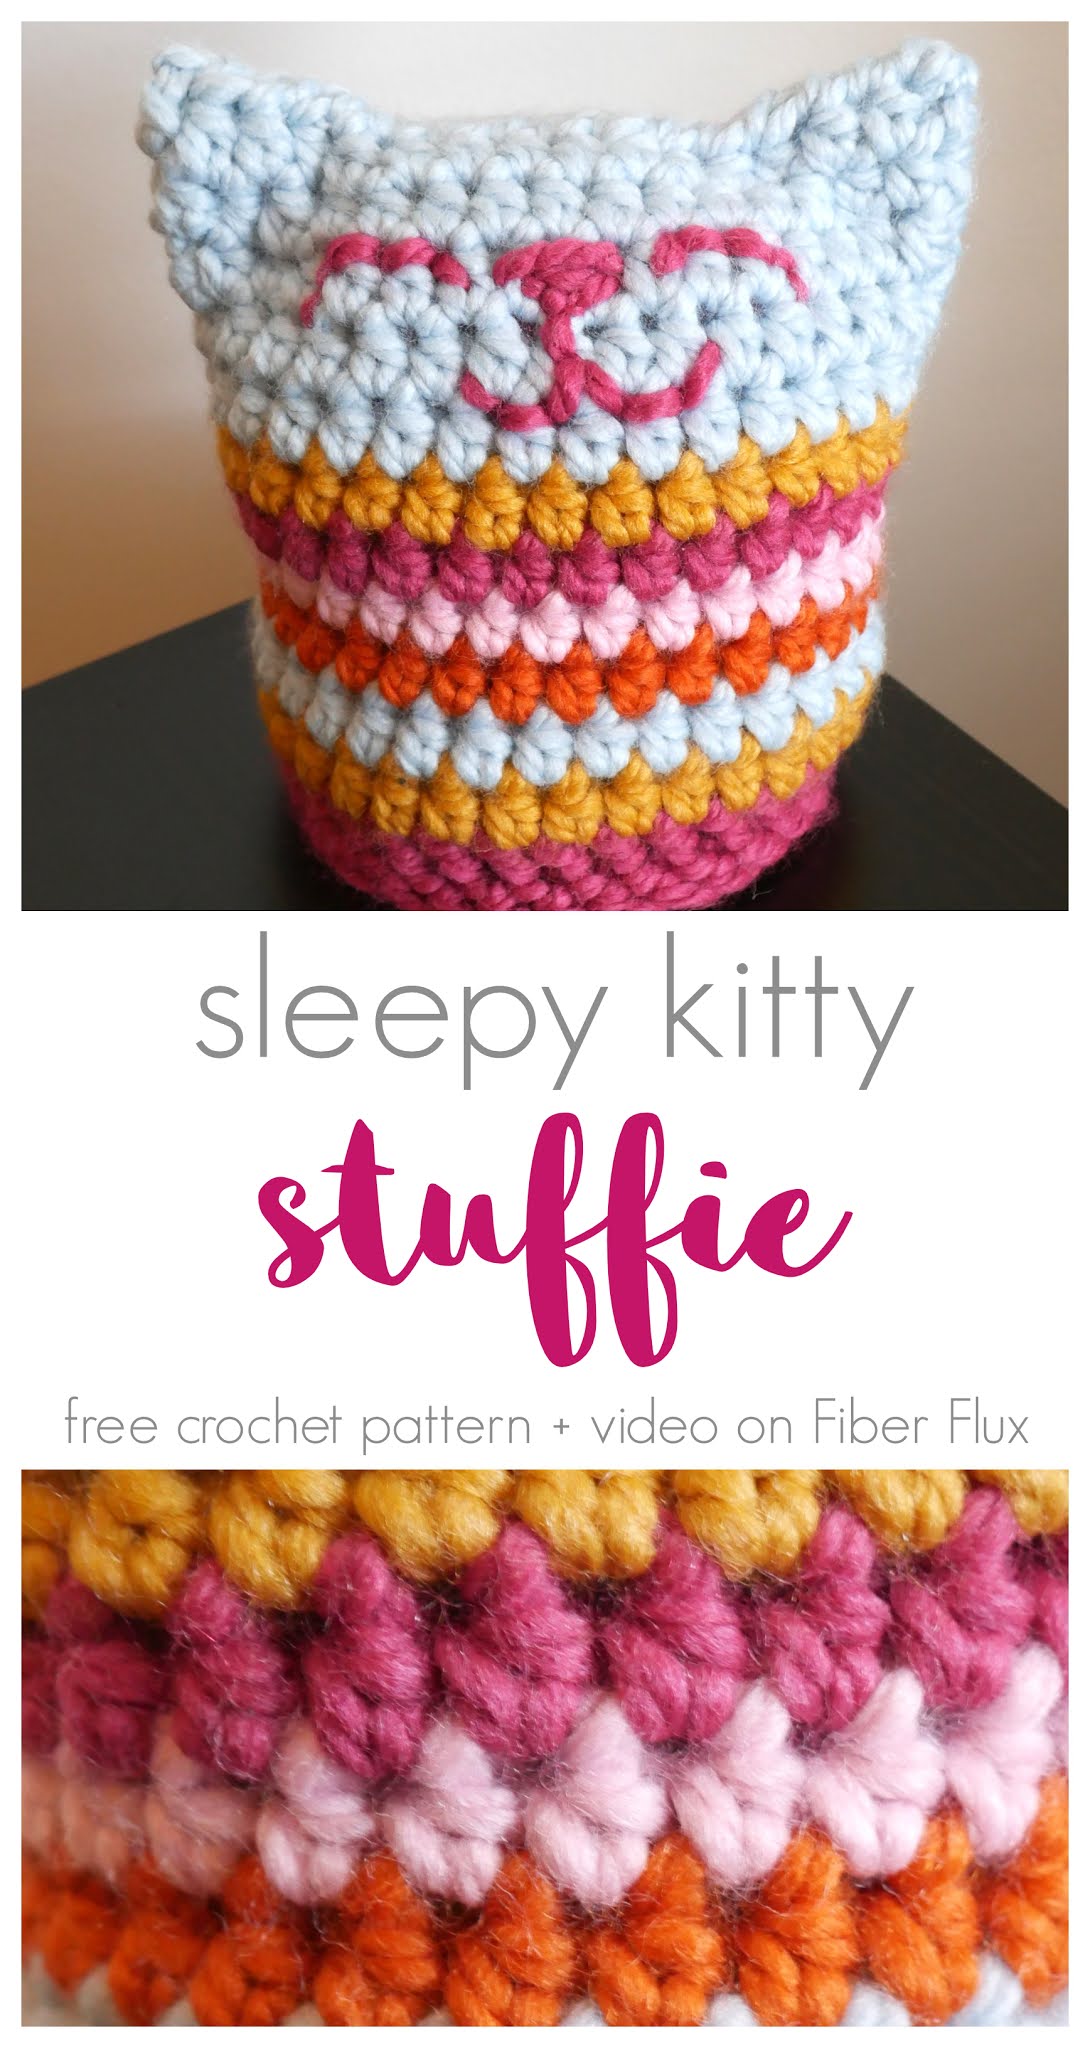
The Sleepy Kitty Stuffie is a fun and easy crochet project that whips up in no time! Use super bulky scraps and a large hook to create a cuddly stuffie that makes a super sweet gift too!
Want a little help? There’s a full video tutorial below too!
Sleepy Kitty Stuffie
By Jennifer Dickerson
Click the button below to add this to your Ravelry queue:

Click below to watch a full video tutorial on how to make this project:
Love video tutorials? Click here to subscribe to the Fiber Flux YouTube channel for more stitchy fun!
Materials:
- 9.0 mm N crochet hook
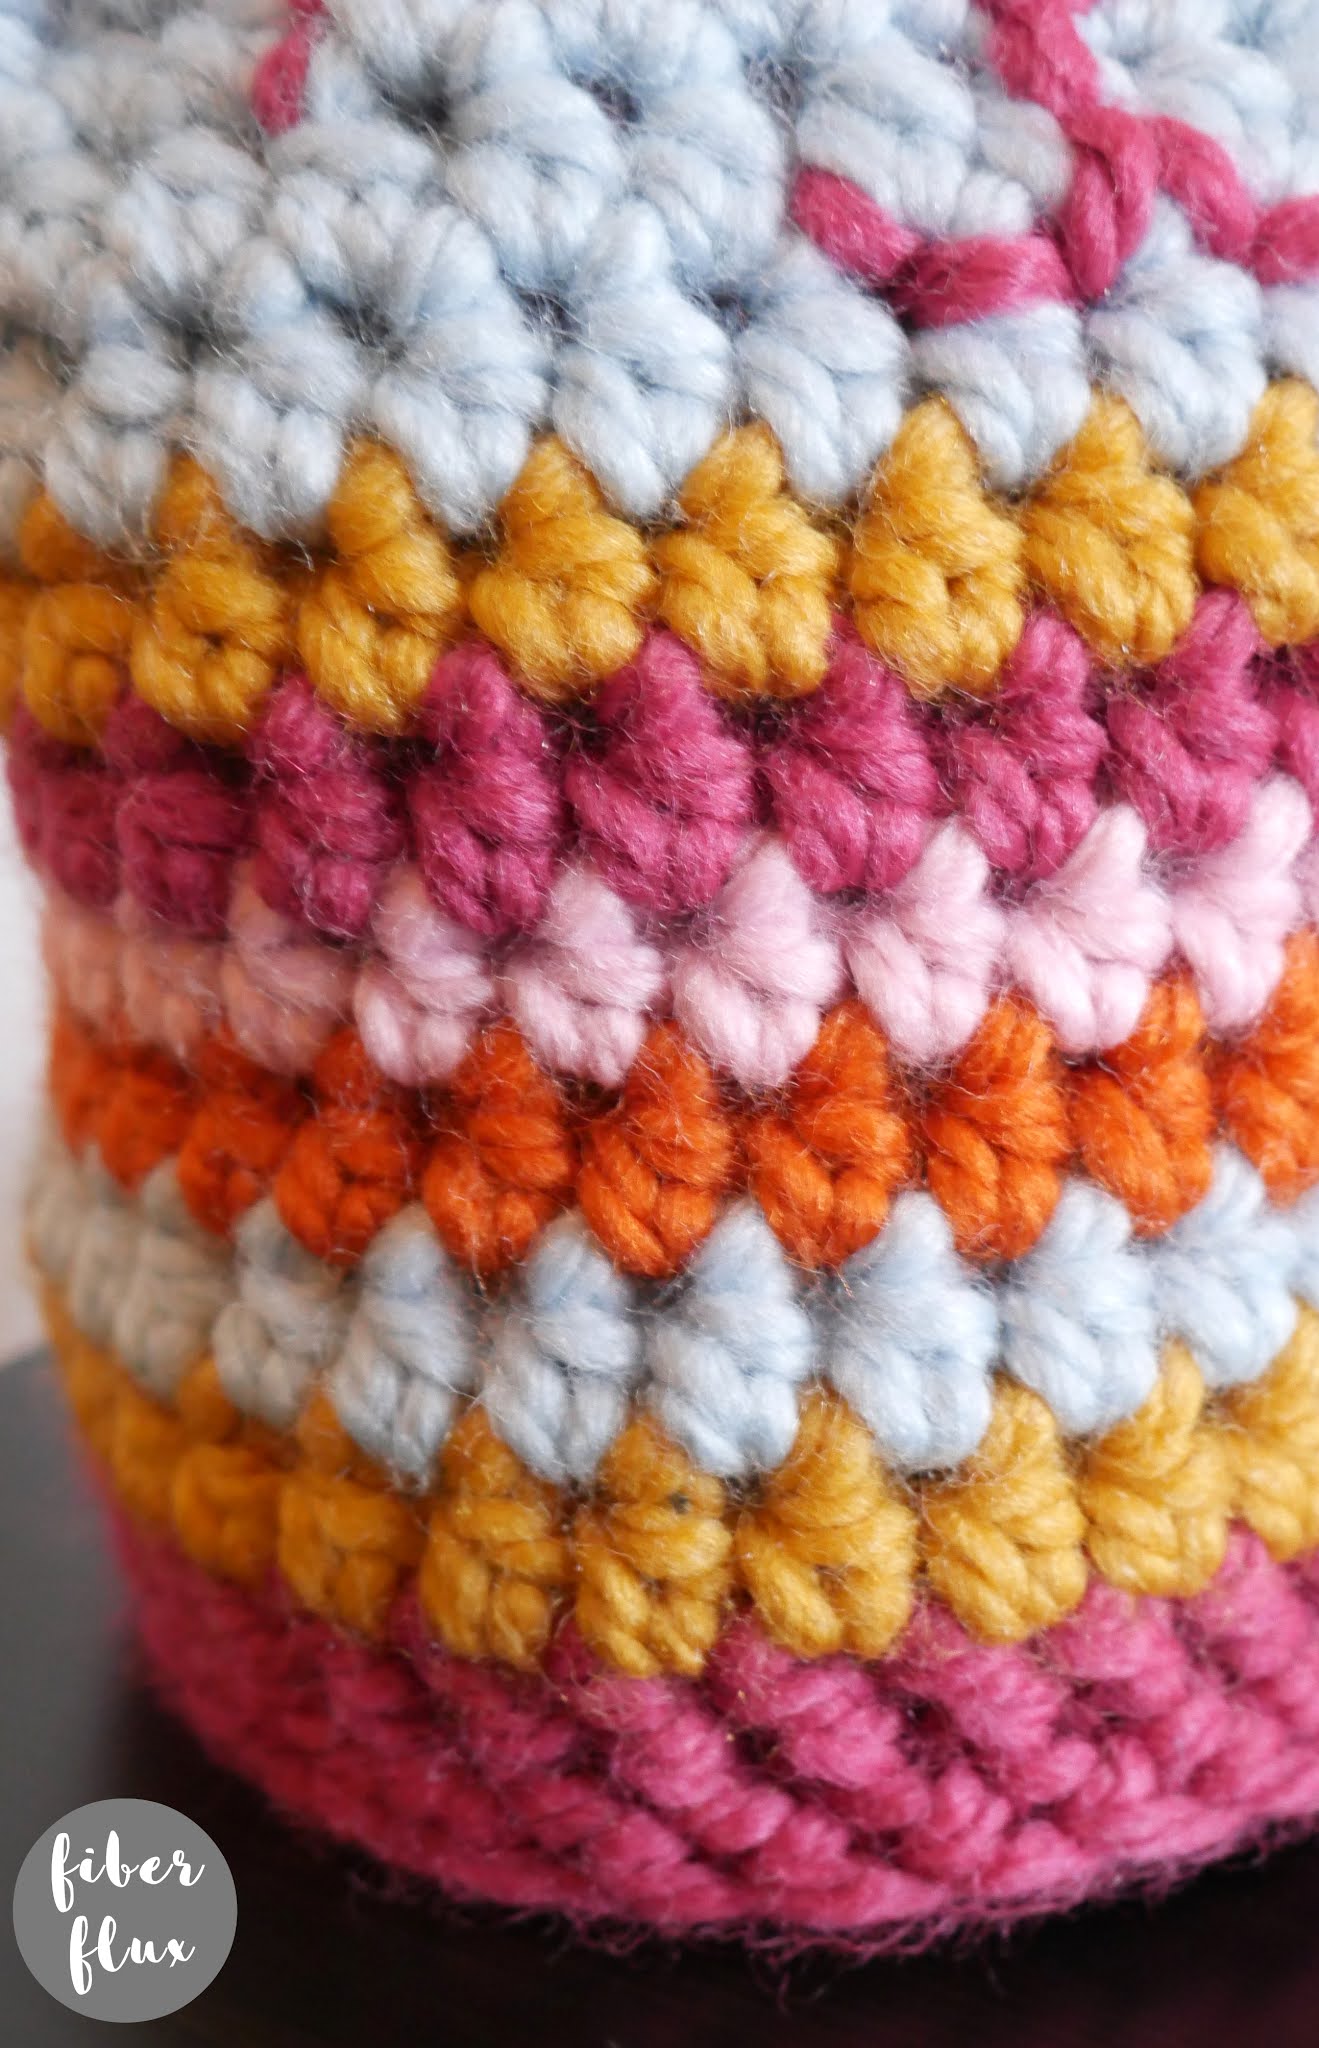
- Scraps of any super bulky yarn you like (I used Wool Ease Thick and Quick from Lion Brand Yarn. Color used: Glacier, Raspberry, Blossom, Butterscotch, and Pumpkin (see below for order of colors as pictured)
- Tapestry needle
- Scissors
Finished Sizing:
- 6.5 inches tall
- 16 inch circumference
Note: Stuffie is worked from the bottom up with the top seamed.
To replicate colors like the one shown:
- Rounds 1-4: Raspberry
- Round 5: Butterscotch
- Round 6: Glacier
- Round 7: Pumpkin
- Round 8: Blossom
- Round 9: Raspberry
- Round 10: Butterscotch
- Rounds 11-15 Glacier
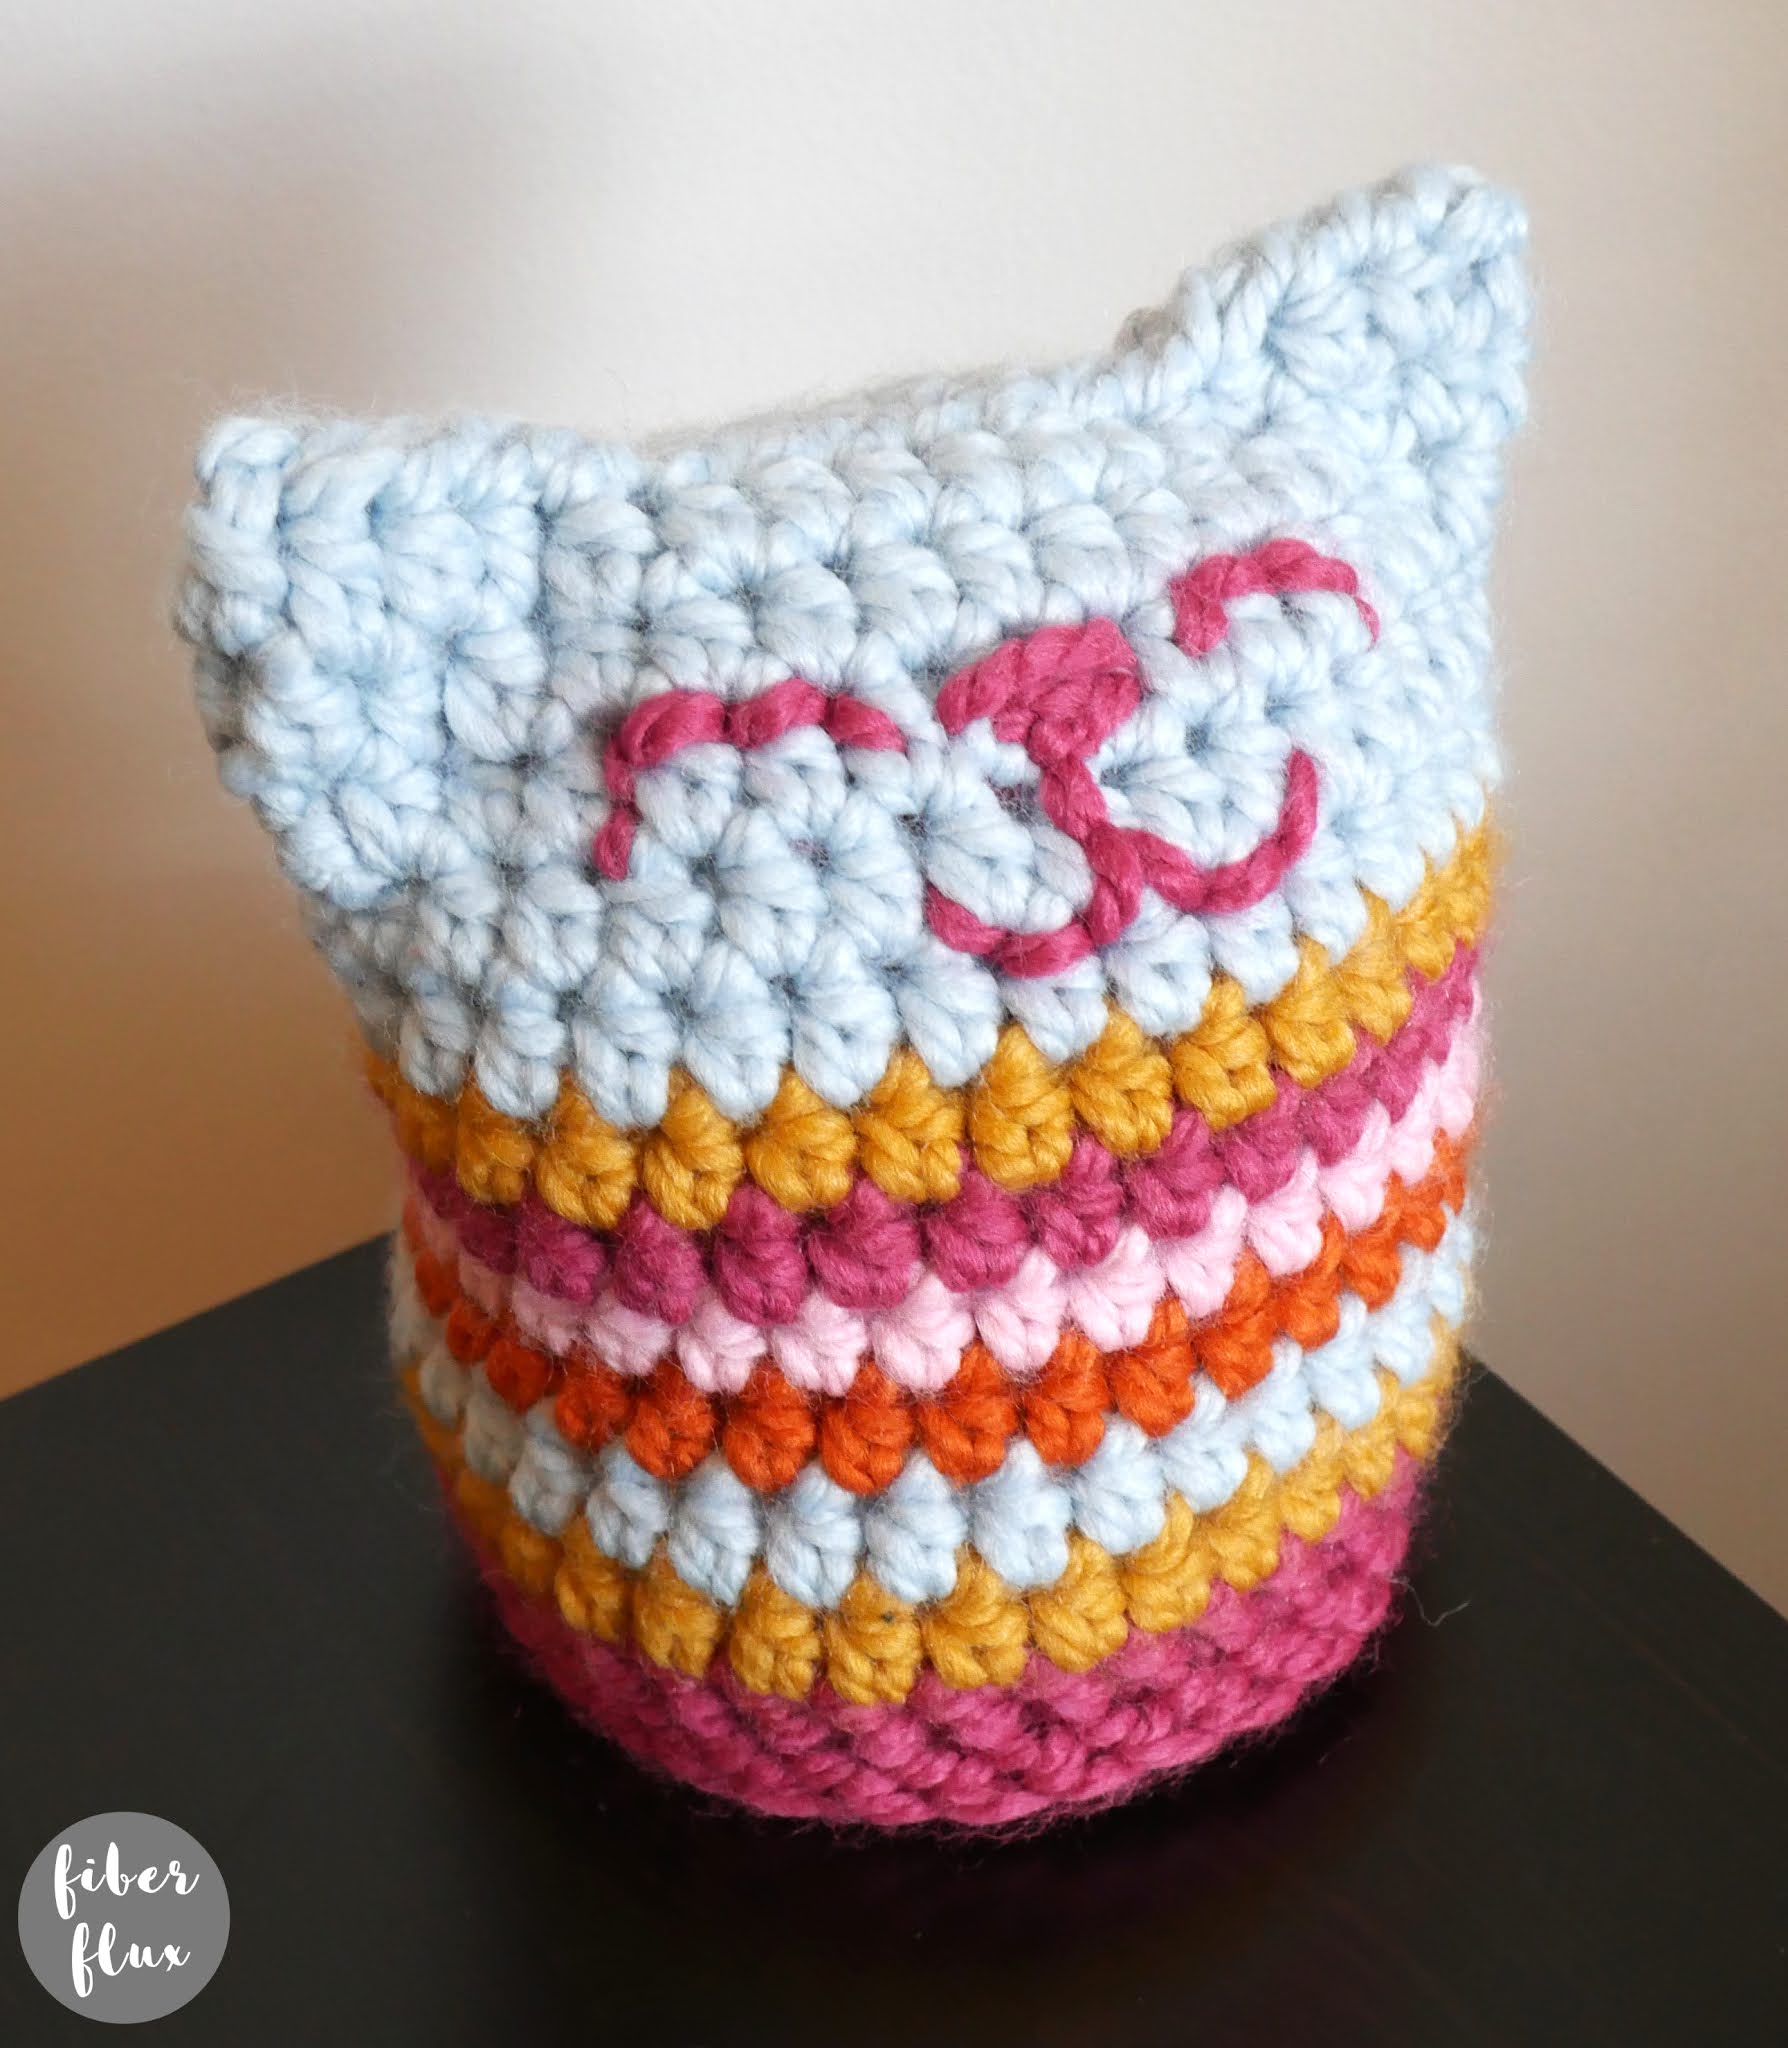
- Face embroidered with Raspberry
Instructions:
Ch 4, then join in the ch furthest from the hook to create a ring.
Round 1: Ch 3, then work 11 dc in to the center of the ring. Join with a slip stitch to close round.
Round 2: Ch 3, then work a dc into the first st. *2 dc into the next st. Repeat from * around. Join with a slip stitch to close round.
Round 3: Ch 3, *work a dc in the first st, then 2 dc into the next st. Repeat from * around. Join with a slip stitch to close round.
Round 4: Ch 3, then work a bpdc in each st around. Join with a slip stitch to close round.
Rounds 5-15: (see above for the colors I used for each round): Ch 2, then work a hdc into each stitch around. Join with a slip stitch to close round.
Assembly & Finishing:
- Embroider face with coordinating yarn. I used Raspberry from one of the stripes on the bottom part. For eyes, two half circles, nose is a simple triangle, and mouth was two smaller half circles.
- Whip stitch top of opening with a matching piece of yarn, leaving a small opening for stuffing.
- Stuff so that it is full but not too much. Too little and it will be droopy, over filled and it will stretch your stitches.
- Finish seaming the top and fasten off. Weave in ends.
- Using a matching piece of yarn, sew and cinch the ears. To do this, sew a matching piece of yarn along where the base of the ear will be. Secure with a knot so it holds it shape, then weave in ends.

© Jennifer Dickerson 2021
For more fun projects and pretty patterns, be sure to follow Fiber Flux on Facebook, Instagram, Twitter, and Pinterest for the latest updates!

