
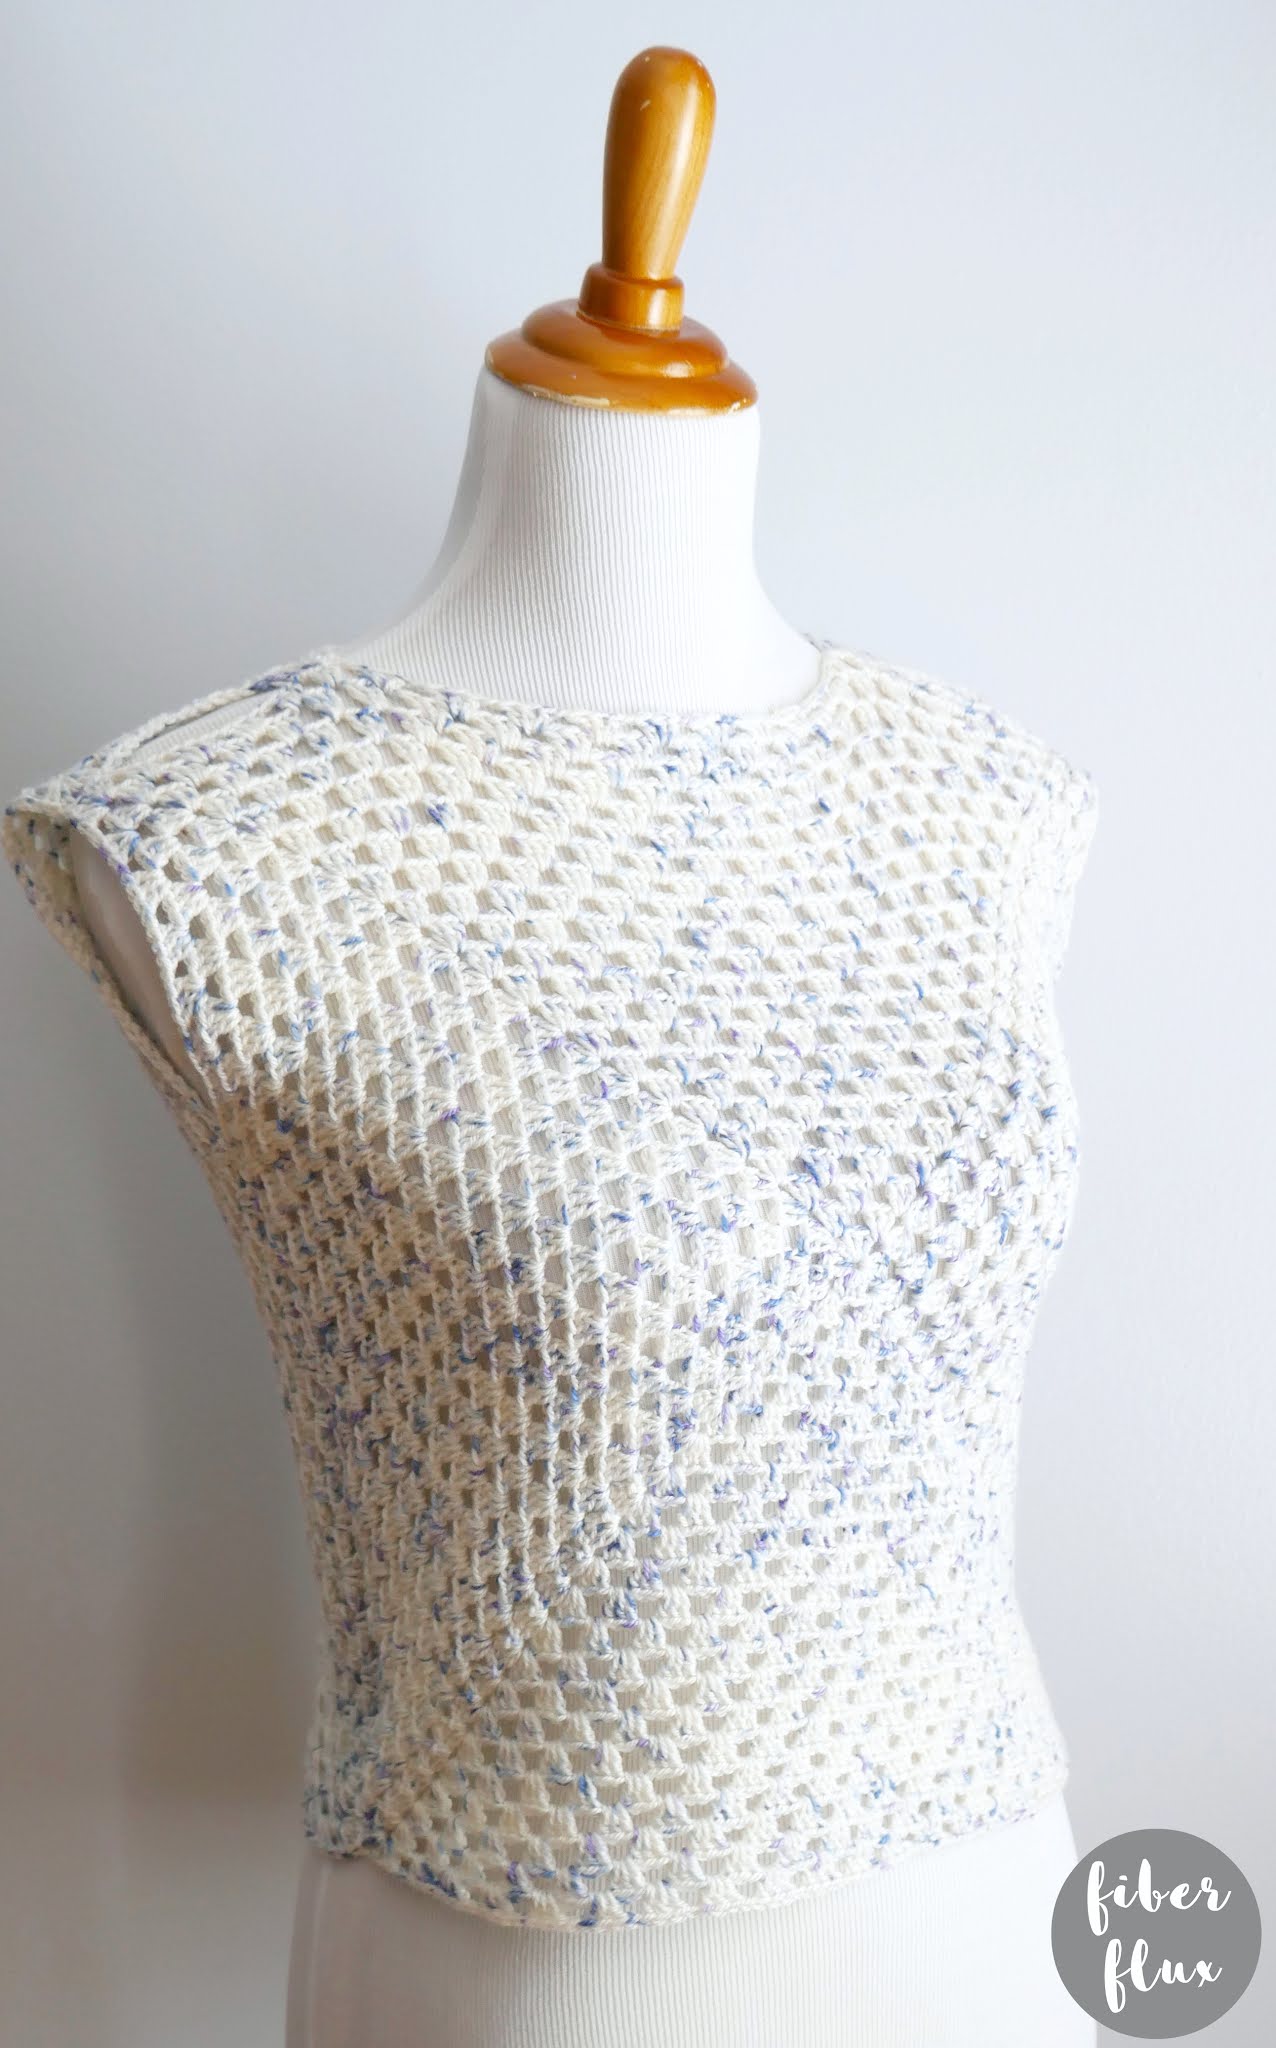
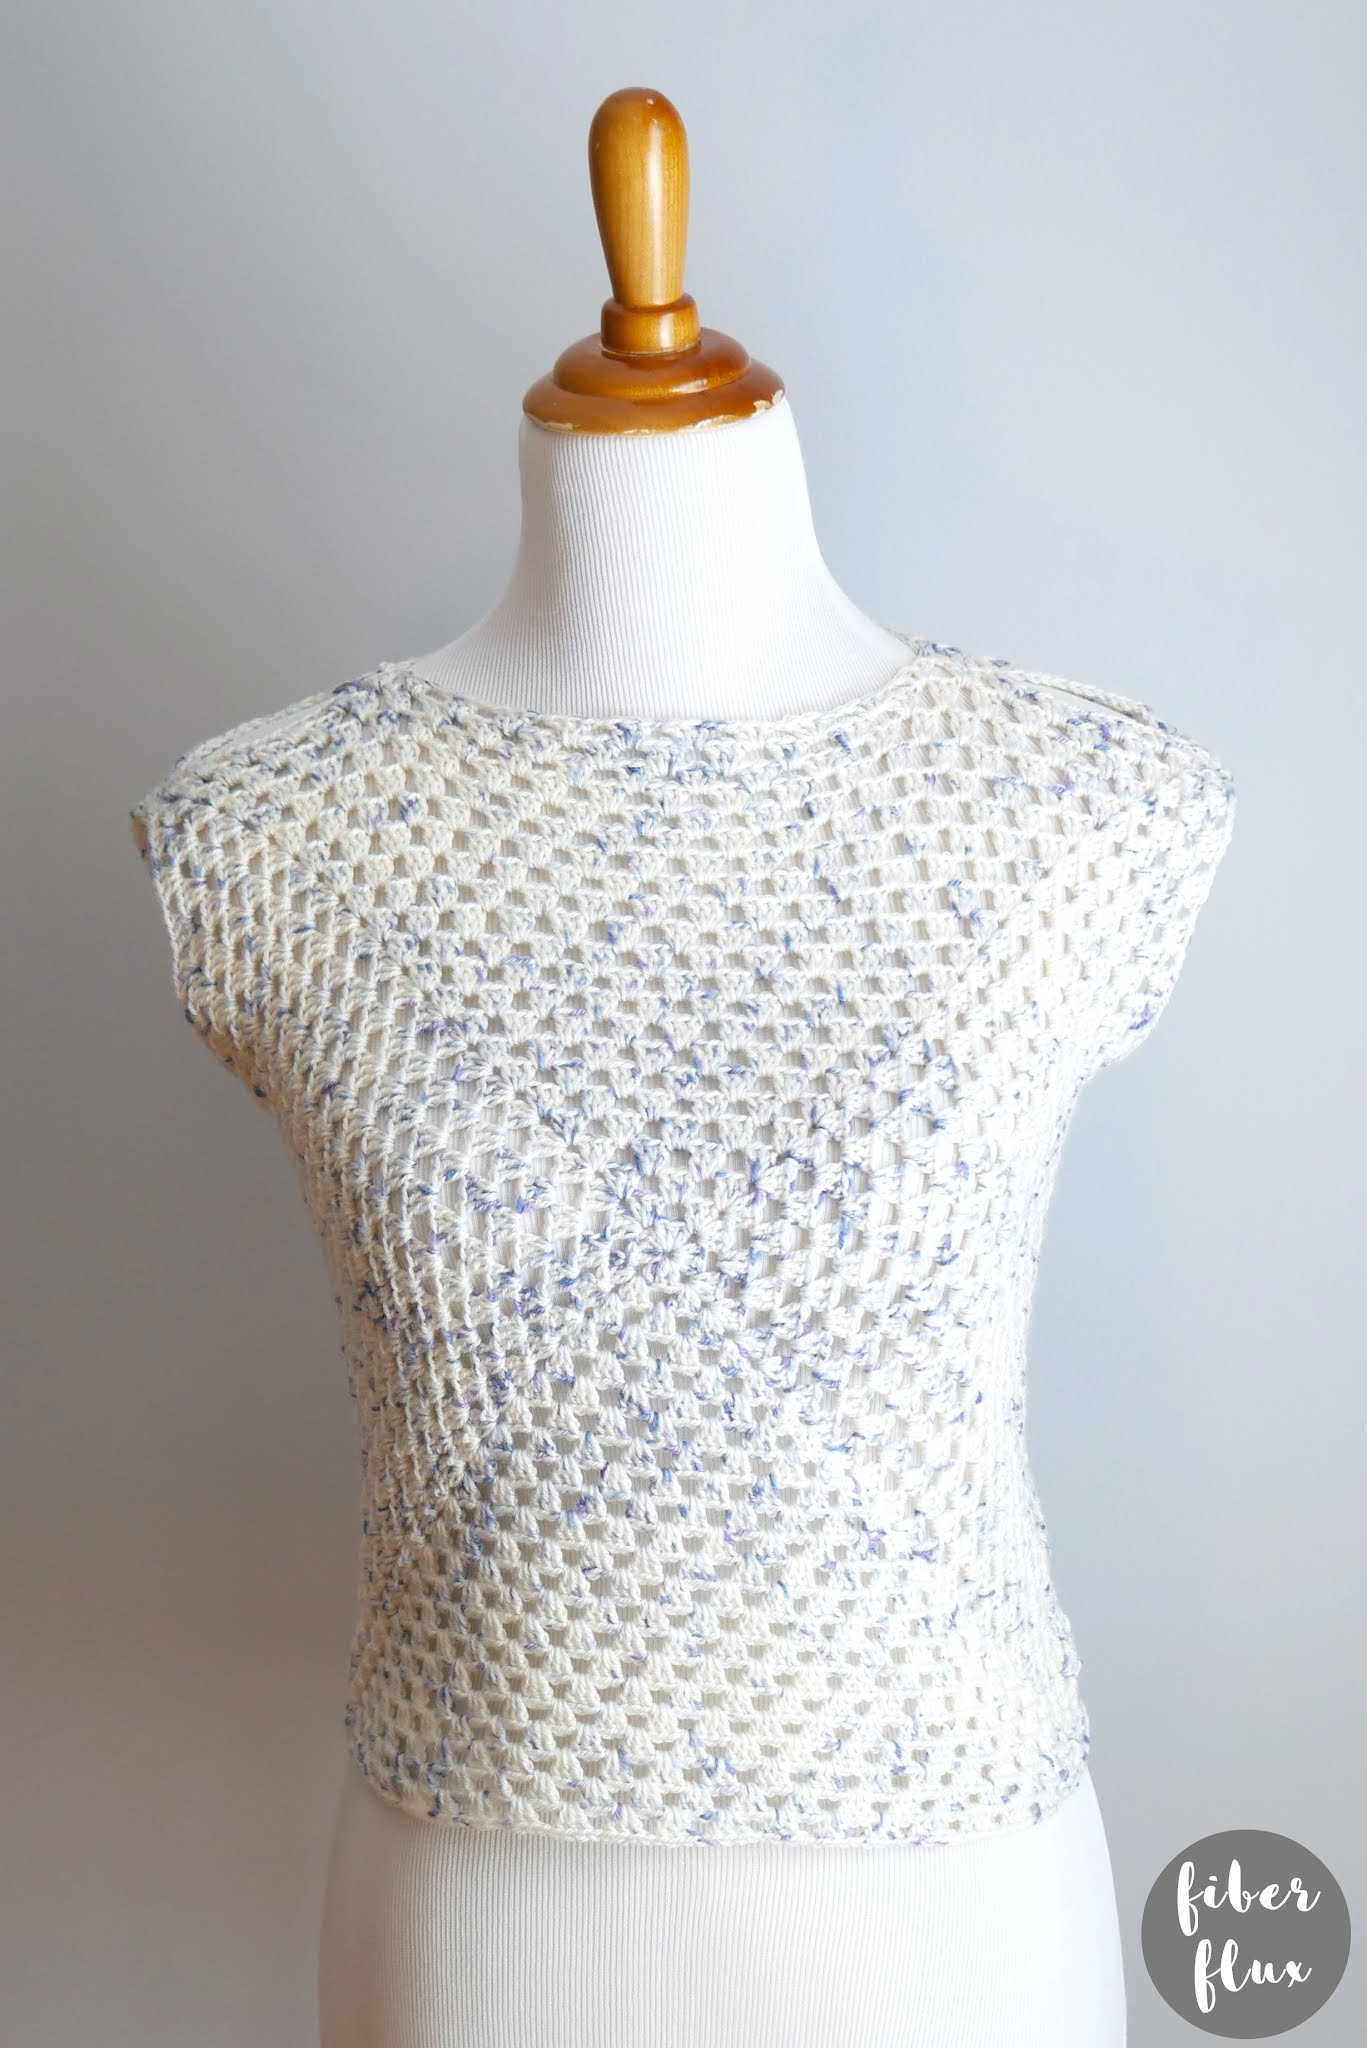
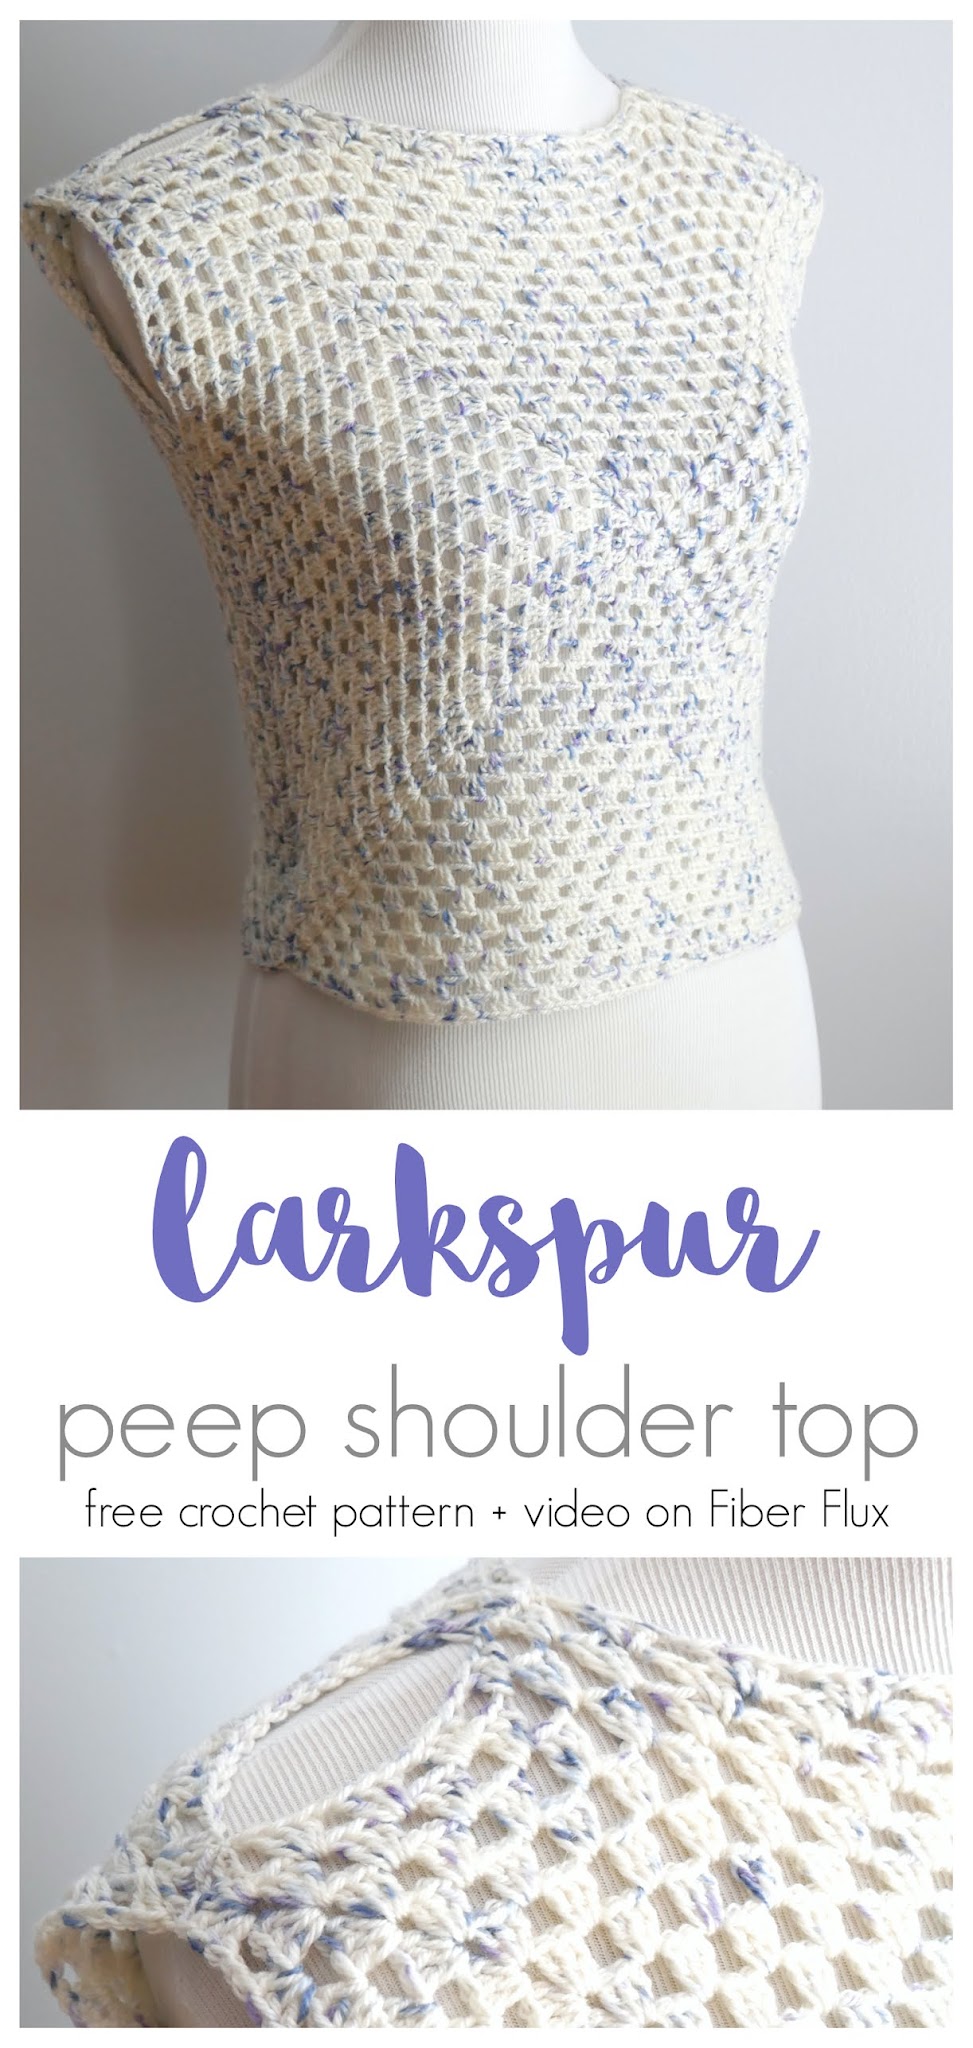
The Larkspur Peep Shoulder Top is a super cute top that is very easy to crochet! Clever seaming on the shoulders adds a lovely peep shoulder detail that is optional but fabulous! Two granny squares are all you need to stitch up to make this top and it can be sized for anyone by the size of the square you make.
👉Get the ad-free crochet pattern PDF from my shop here!👈
Watch a full video tutorial on how to make this project:
Can’t see the video? Click here!
Love video tutorials? Click here to subscribe to the Fiber Flux YouTube channel for more stitchy fun!
Materials:
- 4.0 mm G crochet hook
- 700 yards of sport weight yarn (I used 2 skeins of Audine Wools Shine Sport in “Sky” by KnitCrate) *Note: if you are changing sizing, yarn amounts will change too.
- Tapestry needle
- Scissors
- Tape measure
- Stitch markers to help mark your spot for seaming
Sizing:
- 17 inches tall
- 34 inch circumference

Granny Square Instructions (Make 2 of the same size and number of rounds):
Note: At the beginning of each round if you are sticking with the same color as I did, you will need to slip stitch over to the corner space to begin the round. If you are switching colors for a new round, finish the round, then cut the yarn and fasten off. Tie new yarn into any corner space and begin the new round.
Chain 4, join into a ring with a slip stitch.
Round 1: Chain 4, work (3 dc into center of ring, chain 1) 3 times, then 2 dc into center of ring. Join to close with a slip stitch.
Round 2: To work the corner of round 2, first chain 3, then 2 dc in same space, then chain 1, then 3 dc in the same space…first corner done! Then chain 1, then work the next corner by working 3 dc in next space, chain 1, then 3 dc in same space, chain 1, repeat two more times to complete the round.
Round 3: Work the corner in the same manner as the previous round: chain 3, 2 dc in same space, chain 1, 3 dc in same space, chain 1. To work the sides, simply work 3 dc in the next space then chain 1…repeat until you reach a corner again.
Round 4 and beyond: keep working in this manner, with two clusters in the corners and one cluster on the sides until you finish the round. Just be sure there is a ch 1 in between each grouping of 3 dc as you work each round. That is what gives you those pretty spaces in between each cluster and keeps it nice and flat.
Assembly & Finishing:
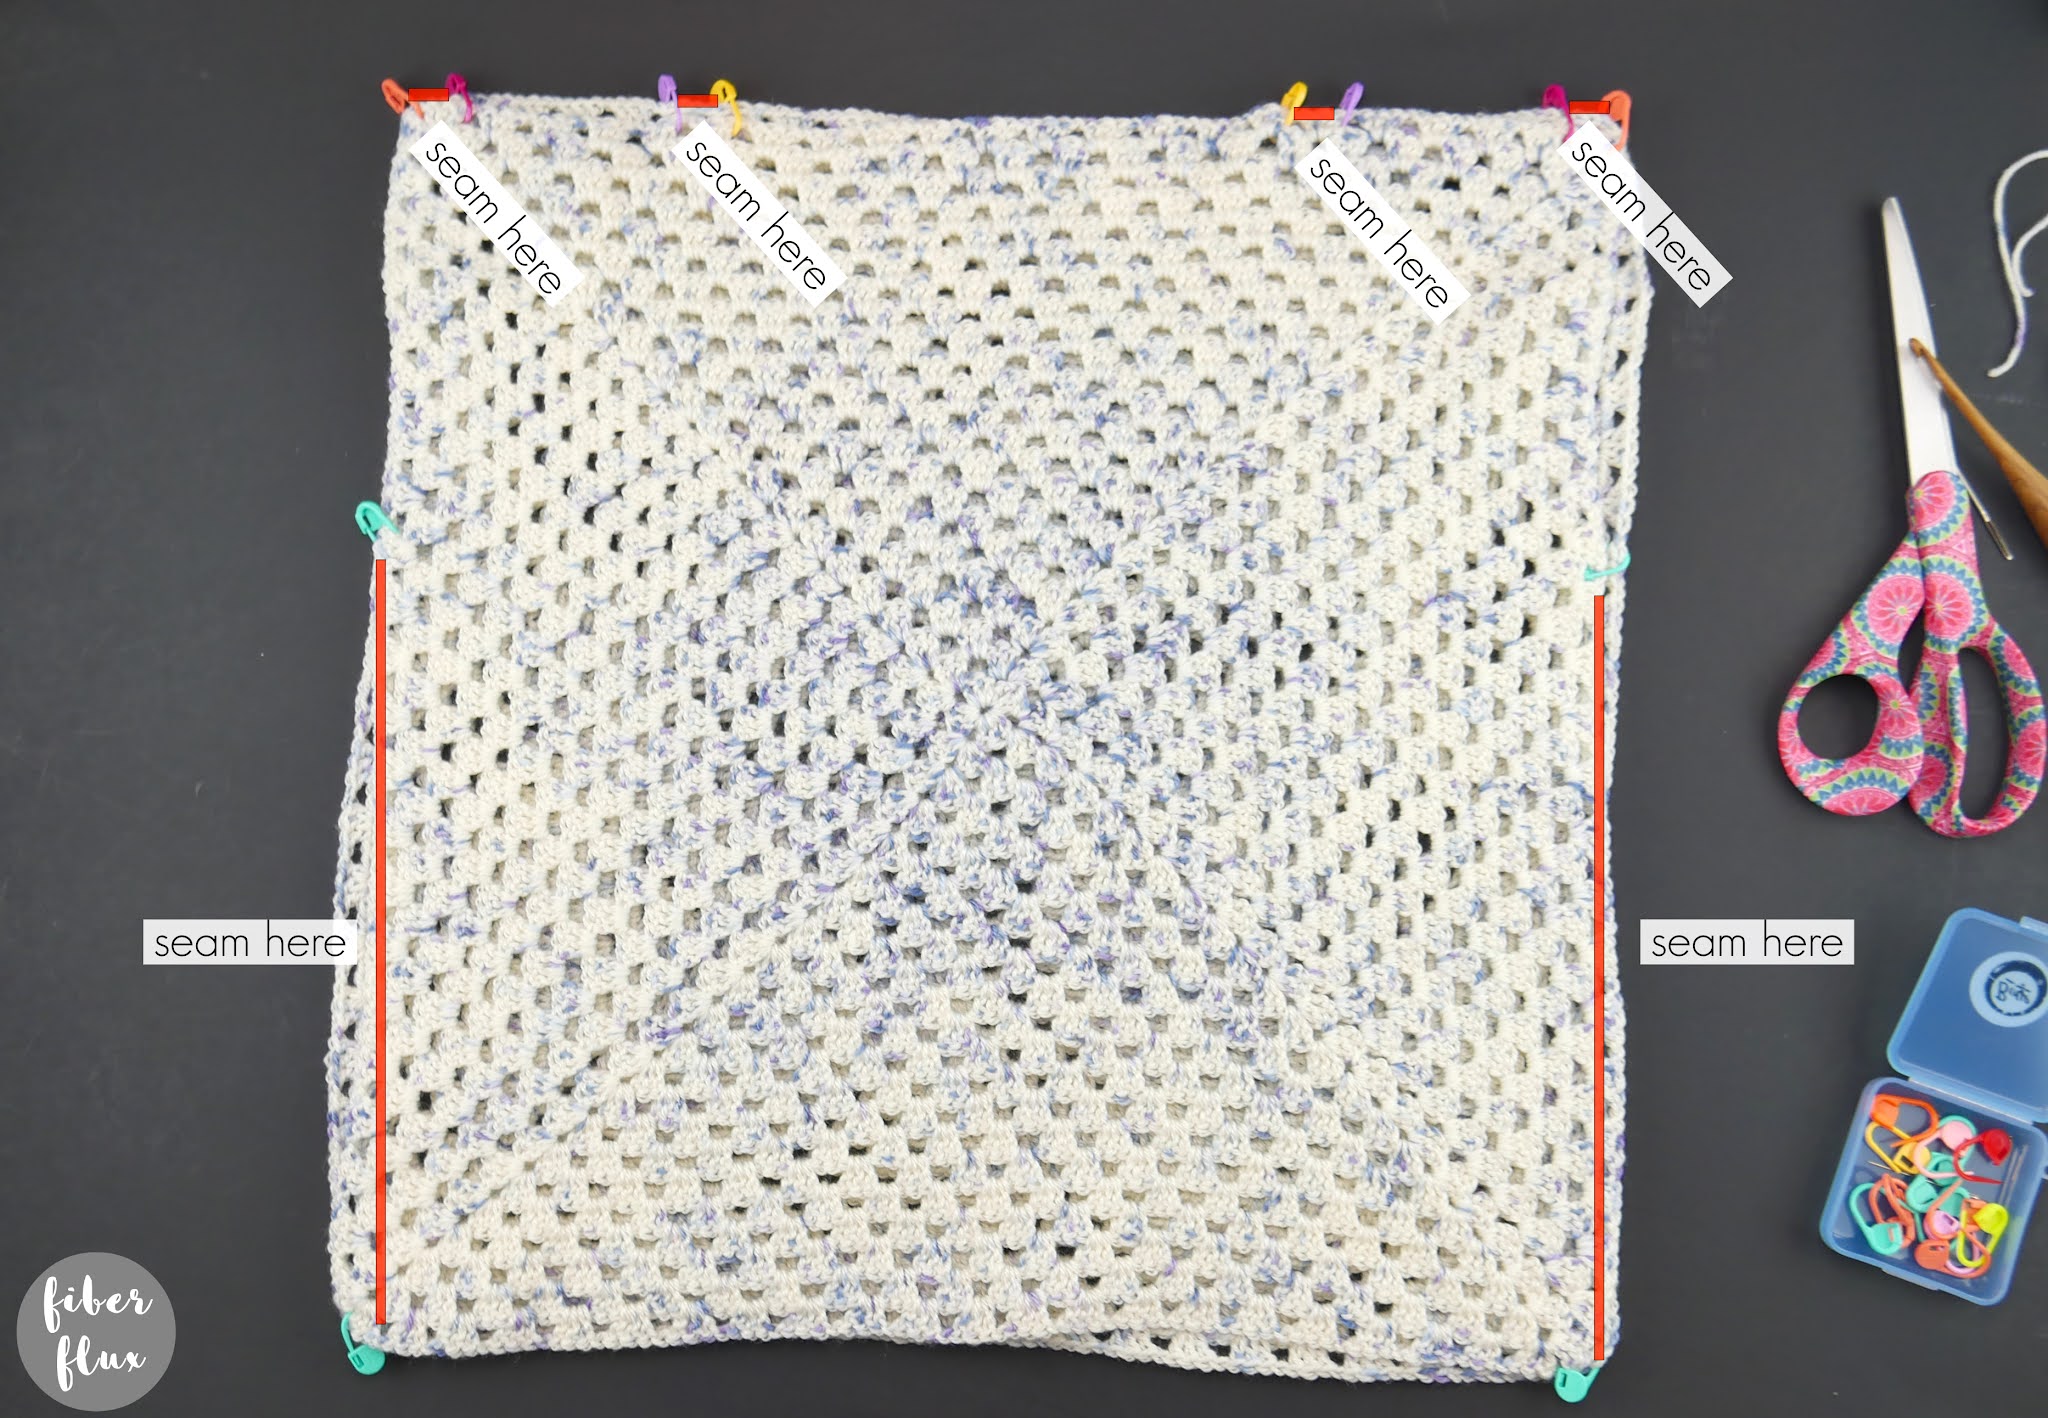
Using the diagram above as a guide, seam the tops of the shoulders as shown along the red lines with a matching piece of yarn, leaving the peep opening if you like. If you want a solid shoulder, simply seam across each shoulder, leaving the neck opening. Next, seam from the underarm down to the bottom of the shirt as shown. Weave in any ends that remain and it’s ready to wear! If you prefer, you can block the top as well. Top shown is not blocked.

© Jennifer Dickerson 2021
For more fun projects and pretty patterns, be sure to follow Fiber Flux on Facebook, Instagram, Twitter, and Pinterest for the latest updates!
Love PDF patterns? Join our Fiber Flux Gold Pattern Club on Patreon!

