
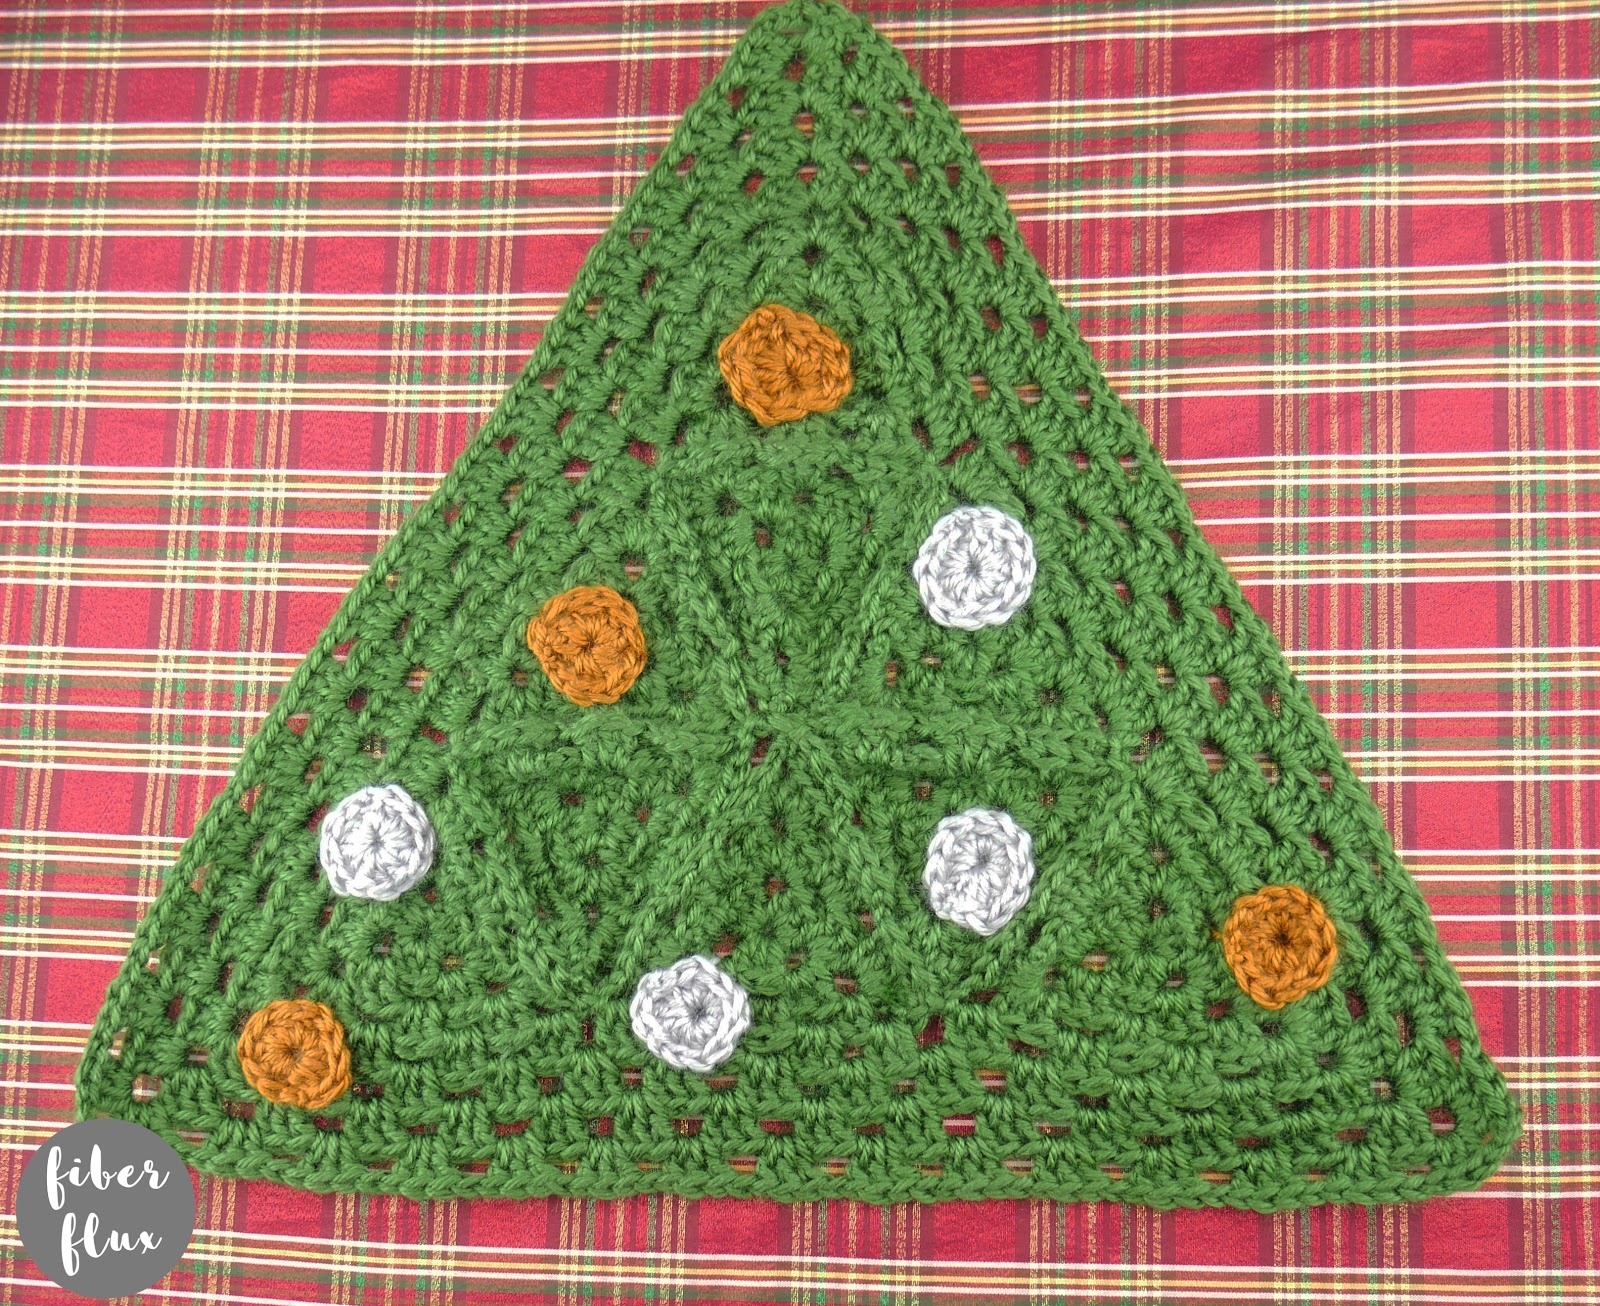
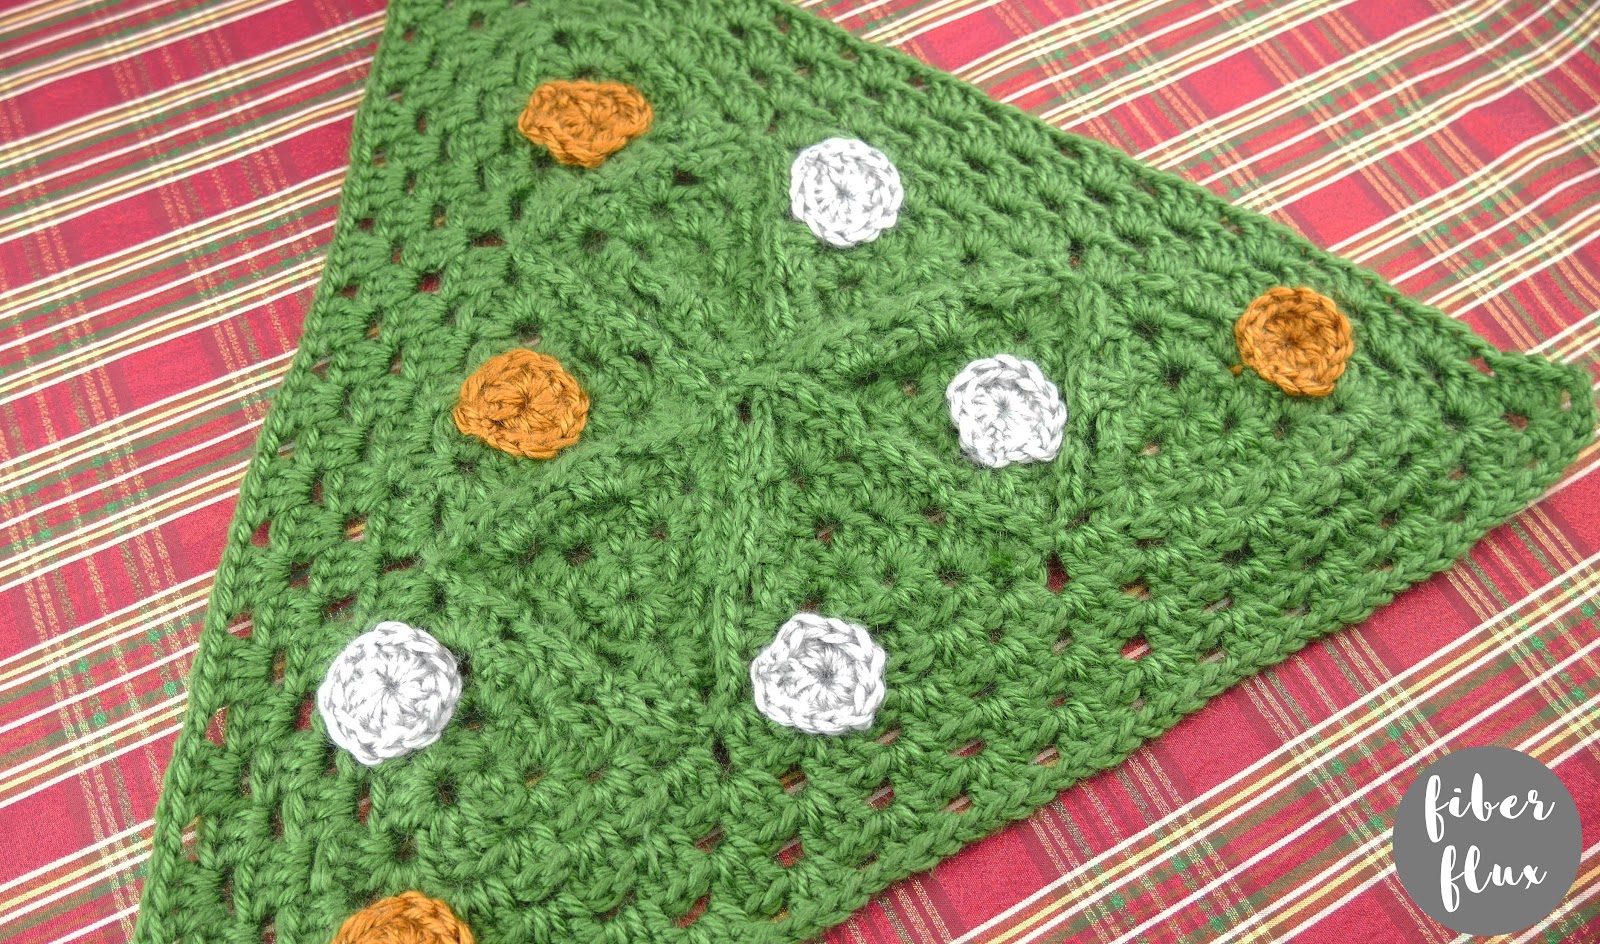
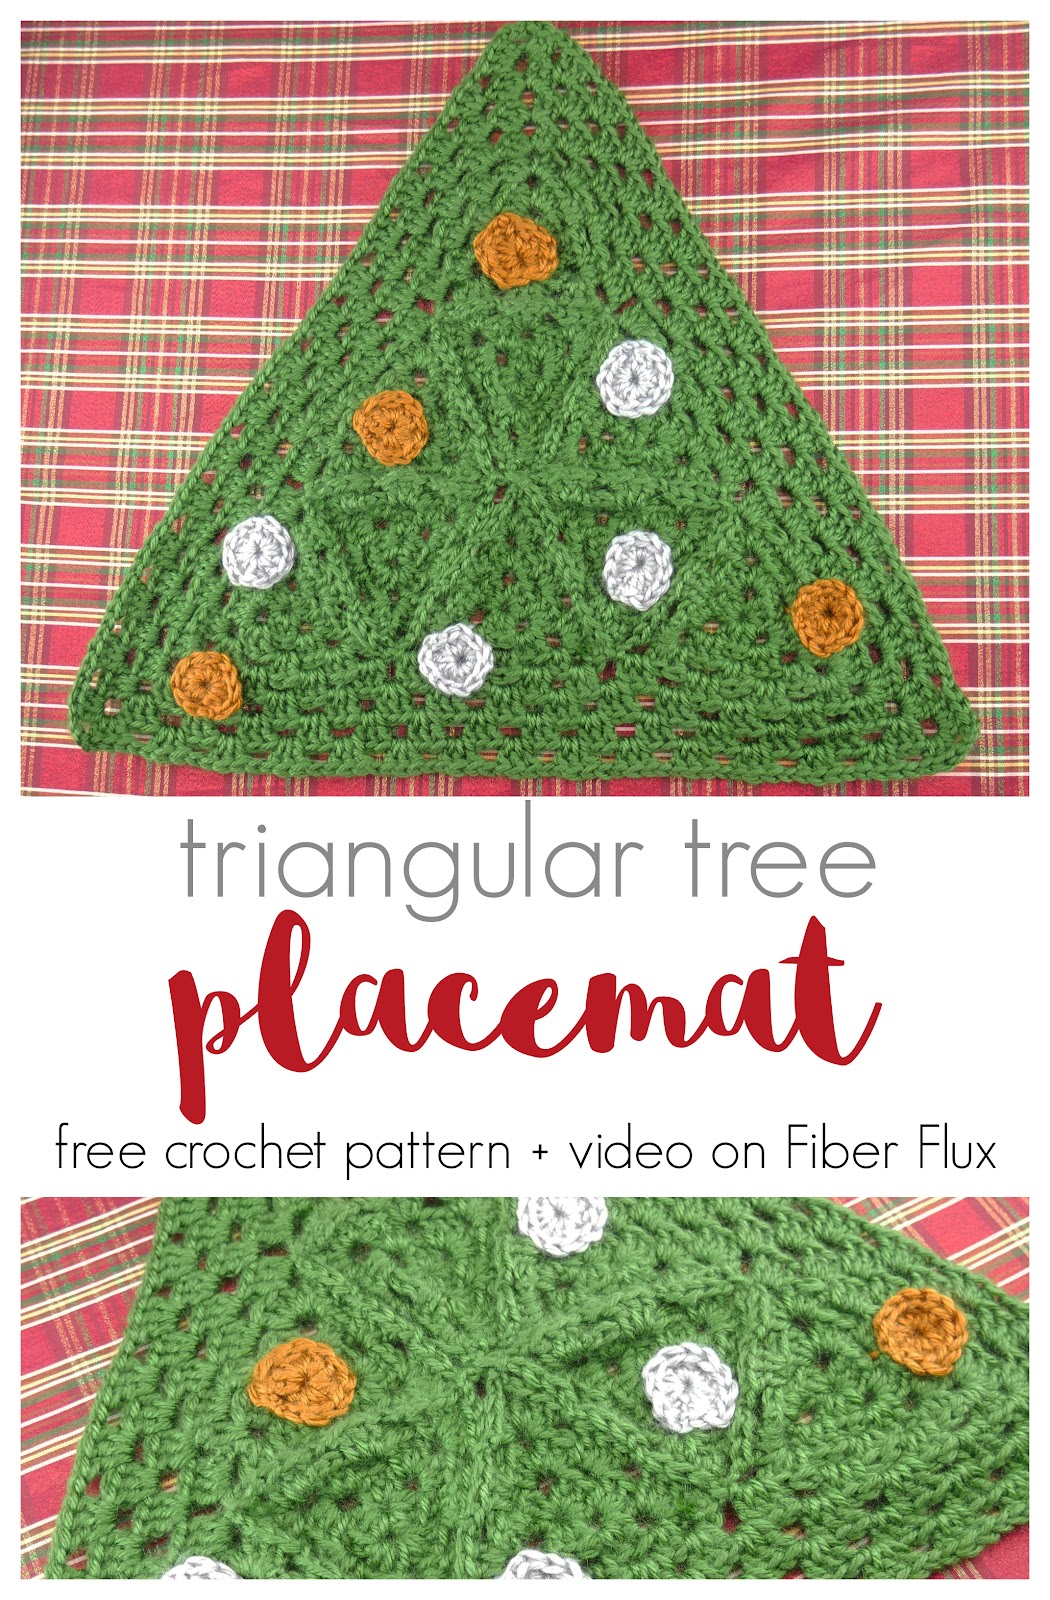
Need a sweet handmade accent for your holiday table? The Triangular Tree Placemat is a cute and super easy way to add a little holiday cheer to your table! Fun Granny triangles are connected using the join as you go technique, then a matching granny border is worked around the edges to give it a perfectly customized fit. Have a natural tree or decorate it with some lovely one round ornaments that are quick to make too!
Need a little help? There’s a full video tutorial below!
Triangular Tree Placemat
By Jennifer Dickerson
Click below to watch a full video tutorial on how to make this project:
Can’t see the video? Click here!
Love video tutorials? Click here to subscribe to the Fiber Flux YouTube channel for more stitchy fun!
Click here to add this to your Ravelry queue!
Materials:
- 6.0 mm J crochet hook
- 75 yards of worsted weight yarn for each place mat for the tree part (I used Wander from Furls in the Meadow colorway)
- Small amounts of worsted weight yarn for the ornaments (I used Wander yarn in the Thatch and Mist colorways)
- Tapestry needle
- Scissors
- Measuring Tape
Use the code “fiberflux15” to get 15% off at Furls!
Sizing:
- 18 inches from triangle point to point
- 16.5 inches from bottom middle of triangle straight up
- ornaments are each 1 inches tall
Instructions for Granny Triangles (Make 9):
Note: Make 9, two round triangles, then move to the JAYGO section to complete round 3 of each of the triangles.
Ch 4 and join in the chain furthest from the hook with a slip stitch to form a ring.
Round 1: Ch 6 then work 3 dc into the ring, then ch 3. Work 3 dc, ch 3 once more then work 2 dc into the center of the ring (where the ch 6 was made at the beginning of the round). Join to close round with a slip stitch in the third chain of the beginning chain of the round. Note: The 6 chains at the beginning of the round–3 count as a dc, the other 3 count as the ch-3 space.
Note: if you want to change colors, simply fasten off and tie a new color on into any corner space. To keep the same color, slip stitch over to the first corner space you come to.
Round 2: Chain 6 then in the first corner space, work 3 double crochet, then chain 1. In the next corner space, work (3 dc, ch 3, 3 dc). Then ch 1 and work (3 dc, ch 3, 3 dc) in the next corner space, then ch 1. In the last corner space (same space where you began) work 2 dc, then join with a slip stitch to close round.
Instructions to join the triangles using the join as you go technique (JAYGO):
Part 1: The Very First Triangle (worked independently, nothing is joined to this one yet)
For the first triangle, chain 6 then in the first corner space, work 3 double crochet, then chain 1. Next, (3 dc, ch 1) to work the side. In the next corner space, work (3 dc, ch 3, 3 dc), then ch 1. In the next space (side) work (3 dc, ch 1). In the next corner space work (3 dc, ch 3, 3 dc) then ch 1. Next, (3 dc, ch 1) to work the side. In the last corner space (same space where you began) work 2 dc, then join with a slip stitch to close round.
Part 2: Joining The Second Triangle
Make the second triangle and when you get to the very last round, work the first side as you normally would. When you get to the corner space, work 3 dc into the corner space as normal, then work a (chain 1, slip stitch, chain 1) into the other triangle you are joining this one onto. Then work 3 more dc into the same corner space. Work the side of the triangle by working 3 dc into each side space and instead of the ch 1 (as was done in previous rounds) instead work a (chain 1, slip stitch, chain 1) into the corner spaces to join the two triangles together. At the next corner space, work the first three dc, then (chain 1, slip stitch, chain 1) join onto the other triangle, then 3 dc into the corner space. Continue around the rest of the triangle as normal (see above pattern).
Part 3: Joining Subsequent Triangles
Repeat step 2 for the rest of the triangles, until you have a larger triangle. When joining a triangle into two or more, be sure to always work into the centermost spaces for each join.
*Important: If you have never tried the JAYGO technique, I highly recommend the video.
Instructions for the granny border:
Round 1: In the topmost corner space, ch 3 then work (2 dc, ch 1, 3 dc). Work (3 dc, ch 1) in each ch 1 spaces along the side of the triangle. Note: When you arrive at the areas where two triangles meet (the two corner spaces), work (3 dc, ch 1) in each corner space of the side by side triangles (not in between them). Be sure to check out the video if you want to see this in action. Continue working the side in this manner, then work (3 dc, ch 1, 3 dc) in the corner. Repeat for the remainder of the triangle, then join with a sl st to close round.
Round 2: In any corner space, ch 3 then work (2 dc, ch 1, 3 dc). Work (3 dc, ch 1) in each space along the side of the triangle, then work (3 dc, ch 1, 3 dc) in the corner. Repeat for the remainder of the blanket, then join with a sl st to close round.
Repeat round 2 for as many rounds as you like! You can really make your placemat as large or small as you like at this point.
Instructions for ornaments (make as many as you like, I made 4 silver and 4 gold):
Ch 4, join in the furthest ch from the hook with a slip stitch to create a ring. Ch 3, then work 11 dc into the center of the ring. Fasten off, leaving a long tail for seaming.
Finishing & Assembly:
Using the tail from each ornament, sew it onto the tree, spacing the colors out evenly/randomly. Weave in any ends that remain.
© Fiber Flux/Jennifer Dickerson 2021

For more fun projects and pretty patterns, be sure to follow Fiber Flux on Facebook, Instagram, Twitter, and Pinterest for the latest updates!

Love PDF patterns? Join our Fiber Flux Gold Pattern Club on Patreon!

Click here to see my stitchy favorites in the Fiber Flux Amazon store!

