
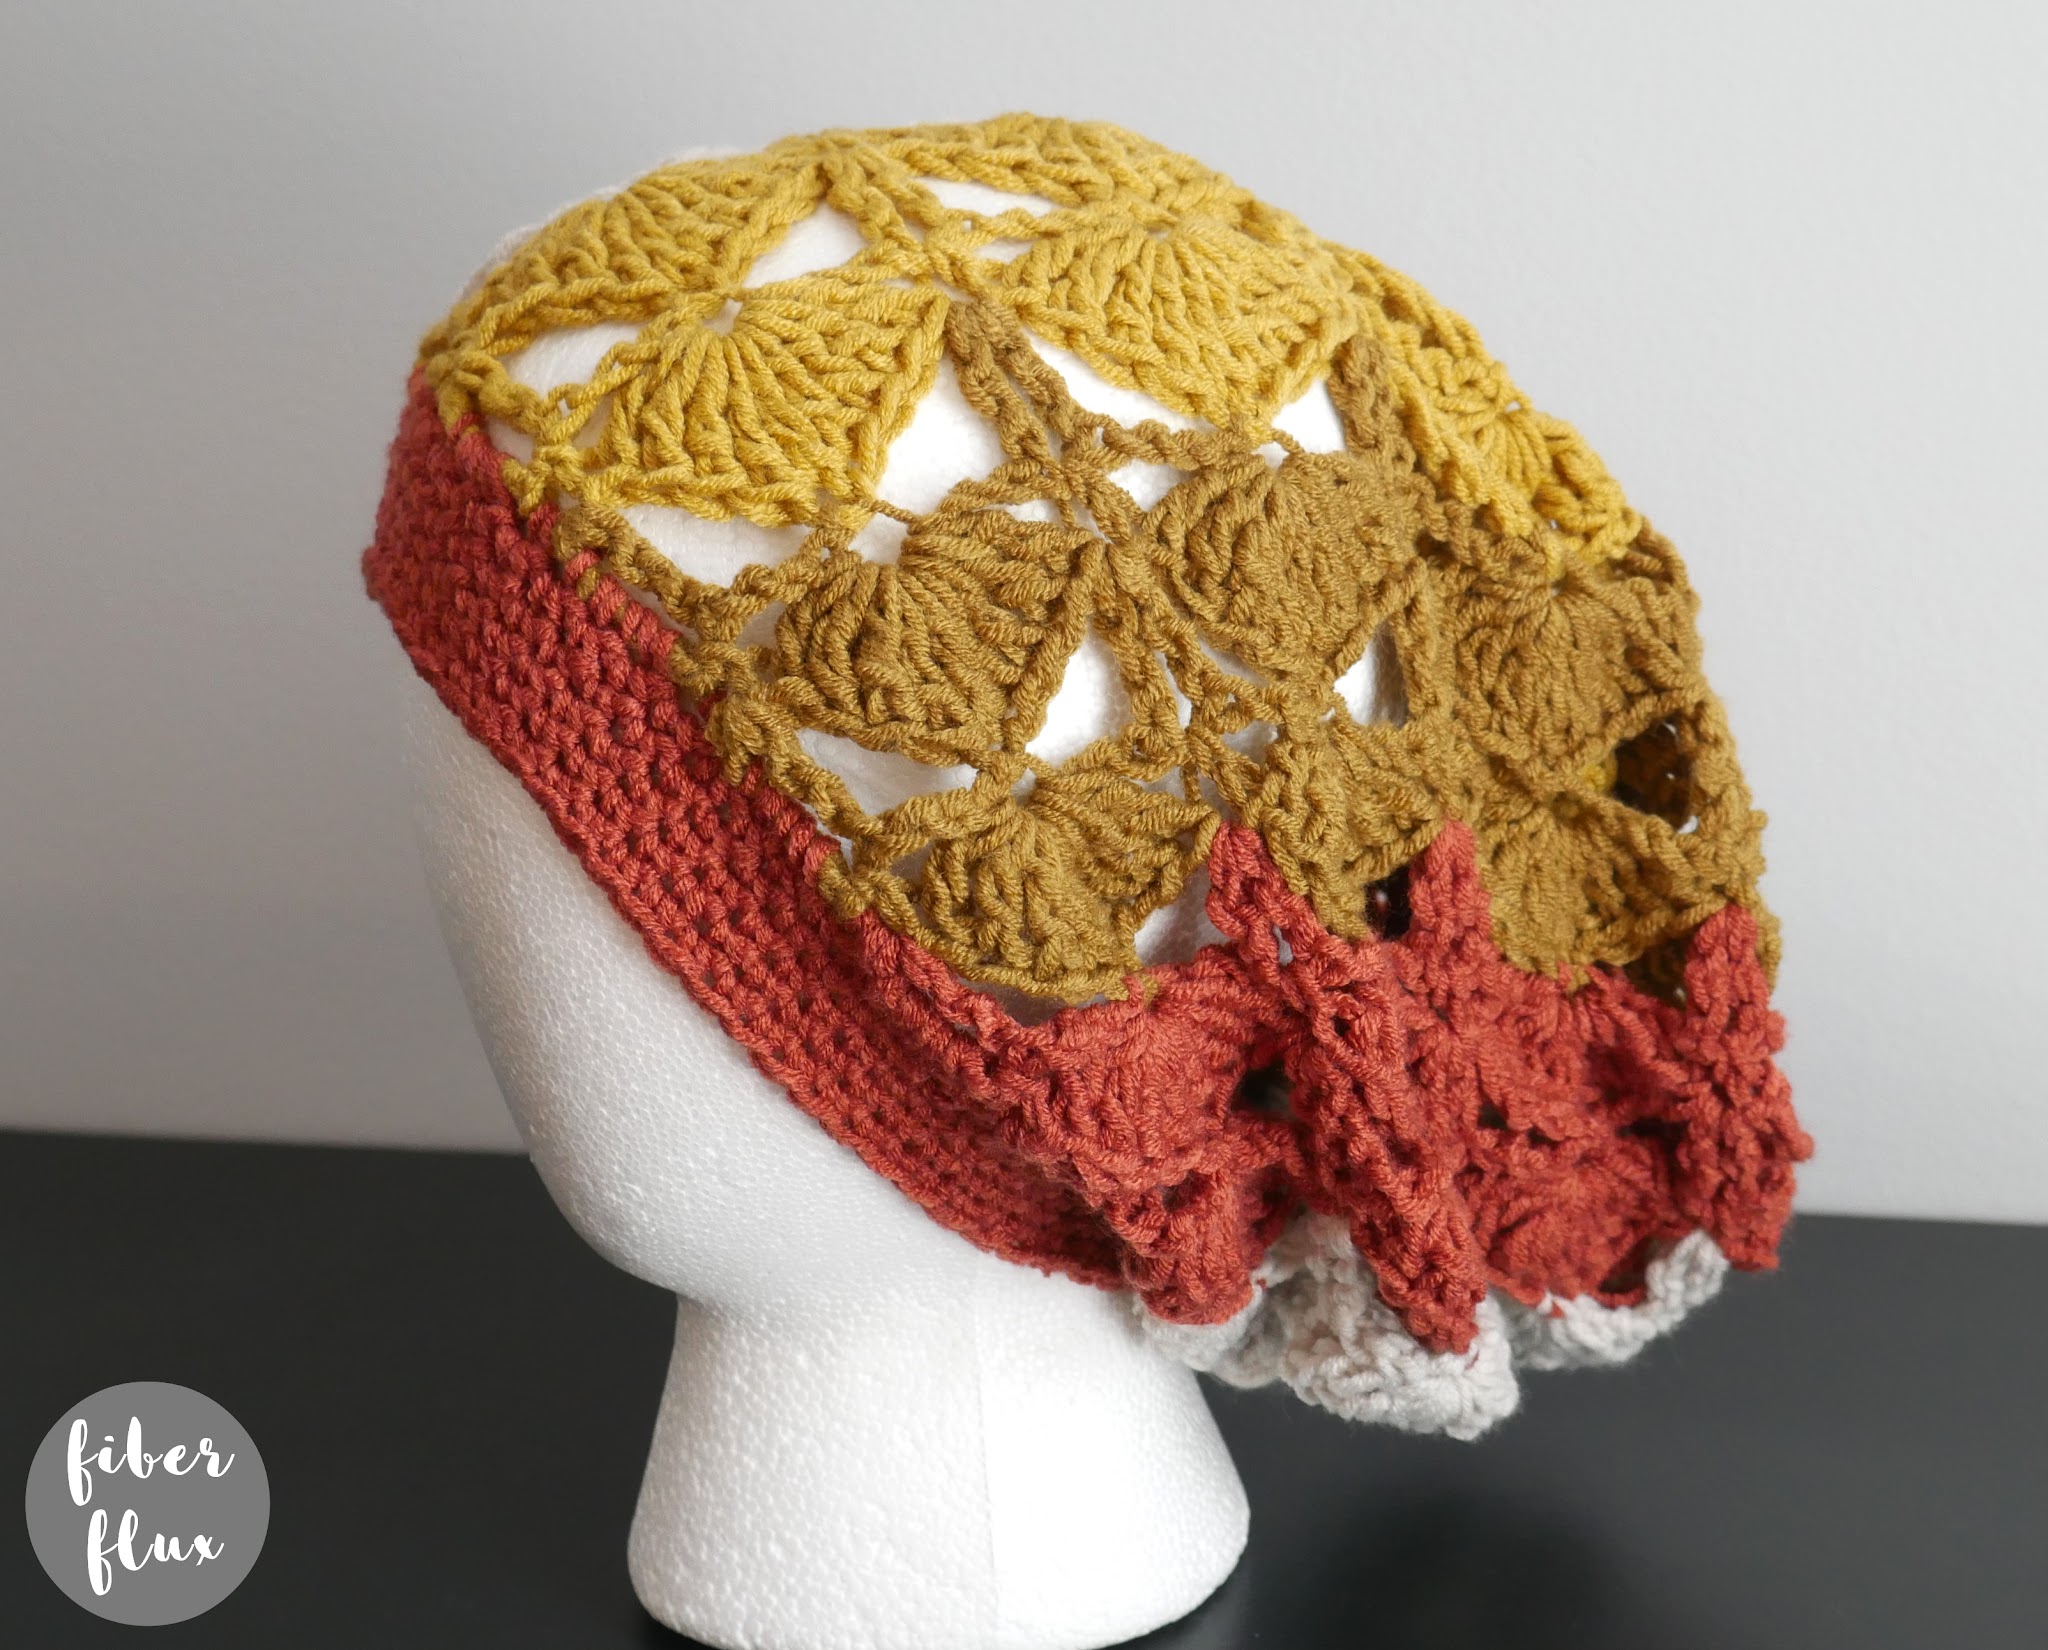
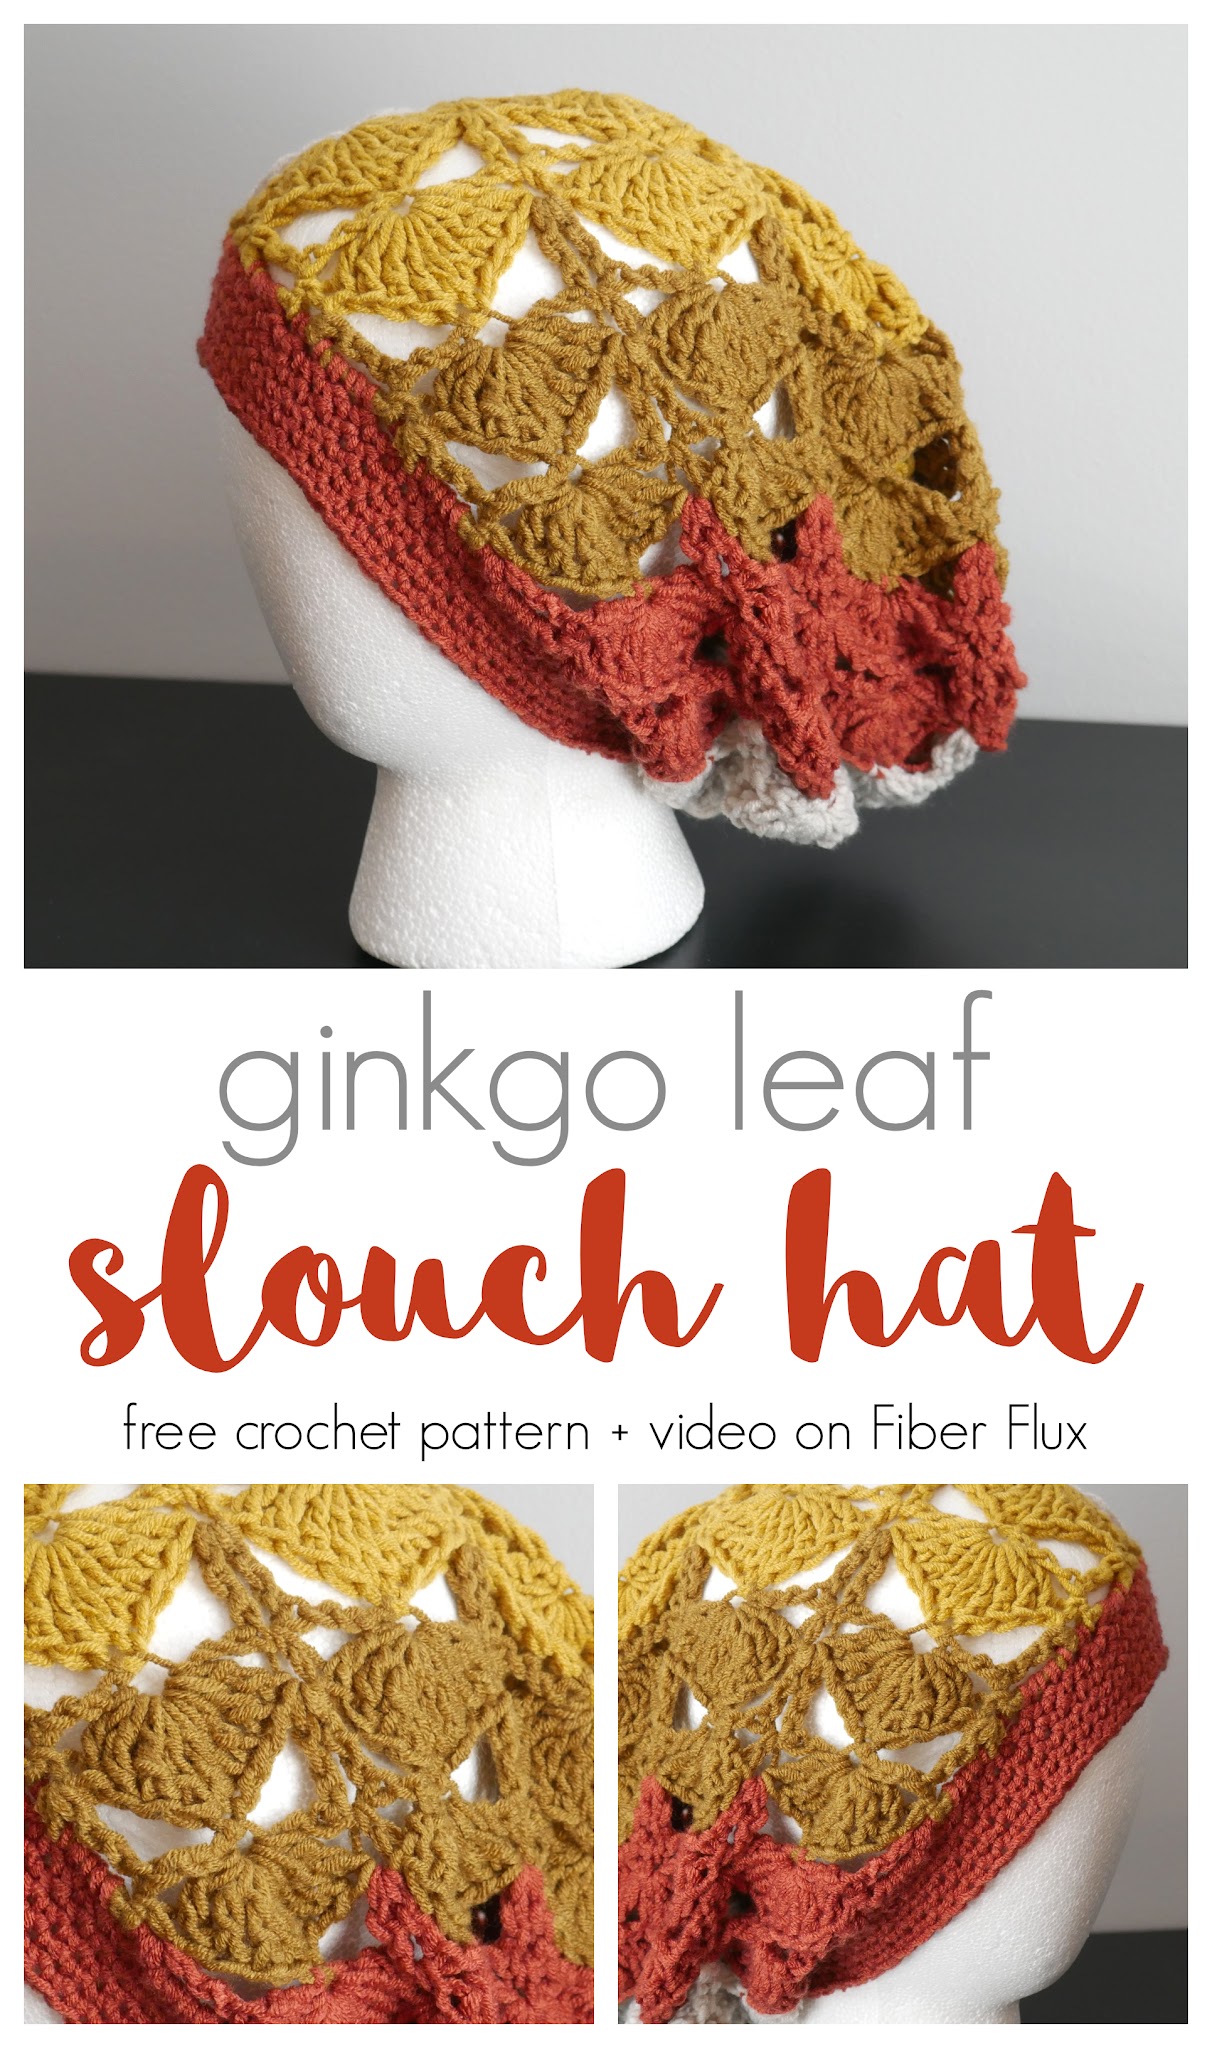
The Ginkgo Leaf Slouch Hat is a gorgeous hat that celebrates the gorgeous fan shape of the ginkgo leaf. Chunky lace is crocheted up in basic stitches-treble, single, and chain for a lovely effect!
👉Get the ad free pattern PDF from my shop here!👈
Click below to watch a full video tutorial on how to make this project:
(Can’t see the video? Click here!)
Love video tutorials? Click here to subscribe to the Fiber Flux YouTube channel for more stitchy fun!

I am so super excited that this pattern is part of the 2021 Scarf and Hat of the Month CAL with The Stitchin’ Mommy and Oombawka Design Crochet. Each month three hat patterns are released at once and you get can get the pattern PDFs all for free for a limited time!
Materials:
- 6.0 mm J crochet hook
- 200 yards of #4/worsted weight yarn (I used Color Theory by Two Of Wands/Lion Brand in “Moonbeam” “Bee Pollen” “Dijon” and “Canyon”)
- Scissors
- Tapestry Needle
- Tape measure
*Use the code “fiberflux15” to get 15% off yarn and hooks at Furls!
Sizing:
- 12.5 inches tall
- 20 inch circumference
Note: size can easily be adjusted by working more rows of the pattern for a larger circumference and height can be changed (to make it more or less slouchy) by adjusting the multiples. Hat has a loose slouchy fit.

Instructions:
Ch 42 (multiple of 10+2)
Note: I worked 4 rows of each color.
Row 1: Sc in the second ch from the hook. *Skip 4 ch, work 9 tr in the next ch, skip 4 ch, 1 sc, rpt from * across.
Row 2: Ch 4 and turn. Work a tr in the first sc, *ch 3, work a sc in the center tr of the 9 tr fan, ch 3, work 2 tr in sc, rpt from * across.
Row 3: Ch 1 and turn. Work 1 sc in the sp between 2 tr, * skip 3 ch, 9 tr in sc, skip 3 ch, 1 sc in space between 2 tr, repeat from * across.
Repeat rows 2 and 3–ending on row 2 until the hat rectangle measures approximately 20 inches or desired circumference (comfortably able to go around the head). Fasten off leaving a long tail, then seam the starting edge to the ending edge with a whip stitch to create a “tube”
Turn your hat inside out and with a tapestry needle, thread the tail along the top edge opening with a running stitch all the way around. Pull tail tight and fasten with a secure knot.
To create a brim band around the edge of the hat, tie any of the colors your used for the hat stripes into one of the side spaces. There will be alternating small spaces and large spaces all along the edge.
Round 1: Chain 1, then work a sc into the small space opening along the edge, then 3 sc into the side space opening, Alternate 1 sc into the small space, 3 sc into the large space and so forth all the way around. Join with a slip stitch to close the round.
Round 2: Ch 1, then work a sc into each stitch around. Join with a slip stitch to close the round.
Repeat round 2 four more times.
Weave in all ends with a tapestry needle and you’re finished!


![]()
![]()
![]()

![]()
![]()


© Fiber Flux LLC 2022

