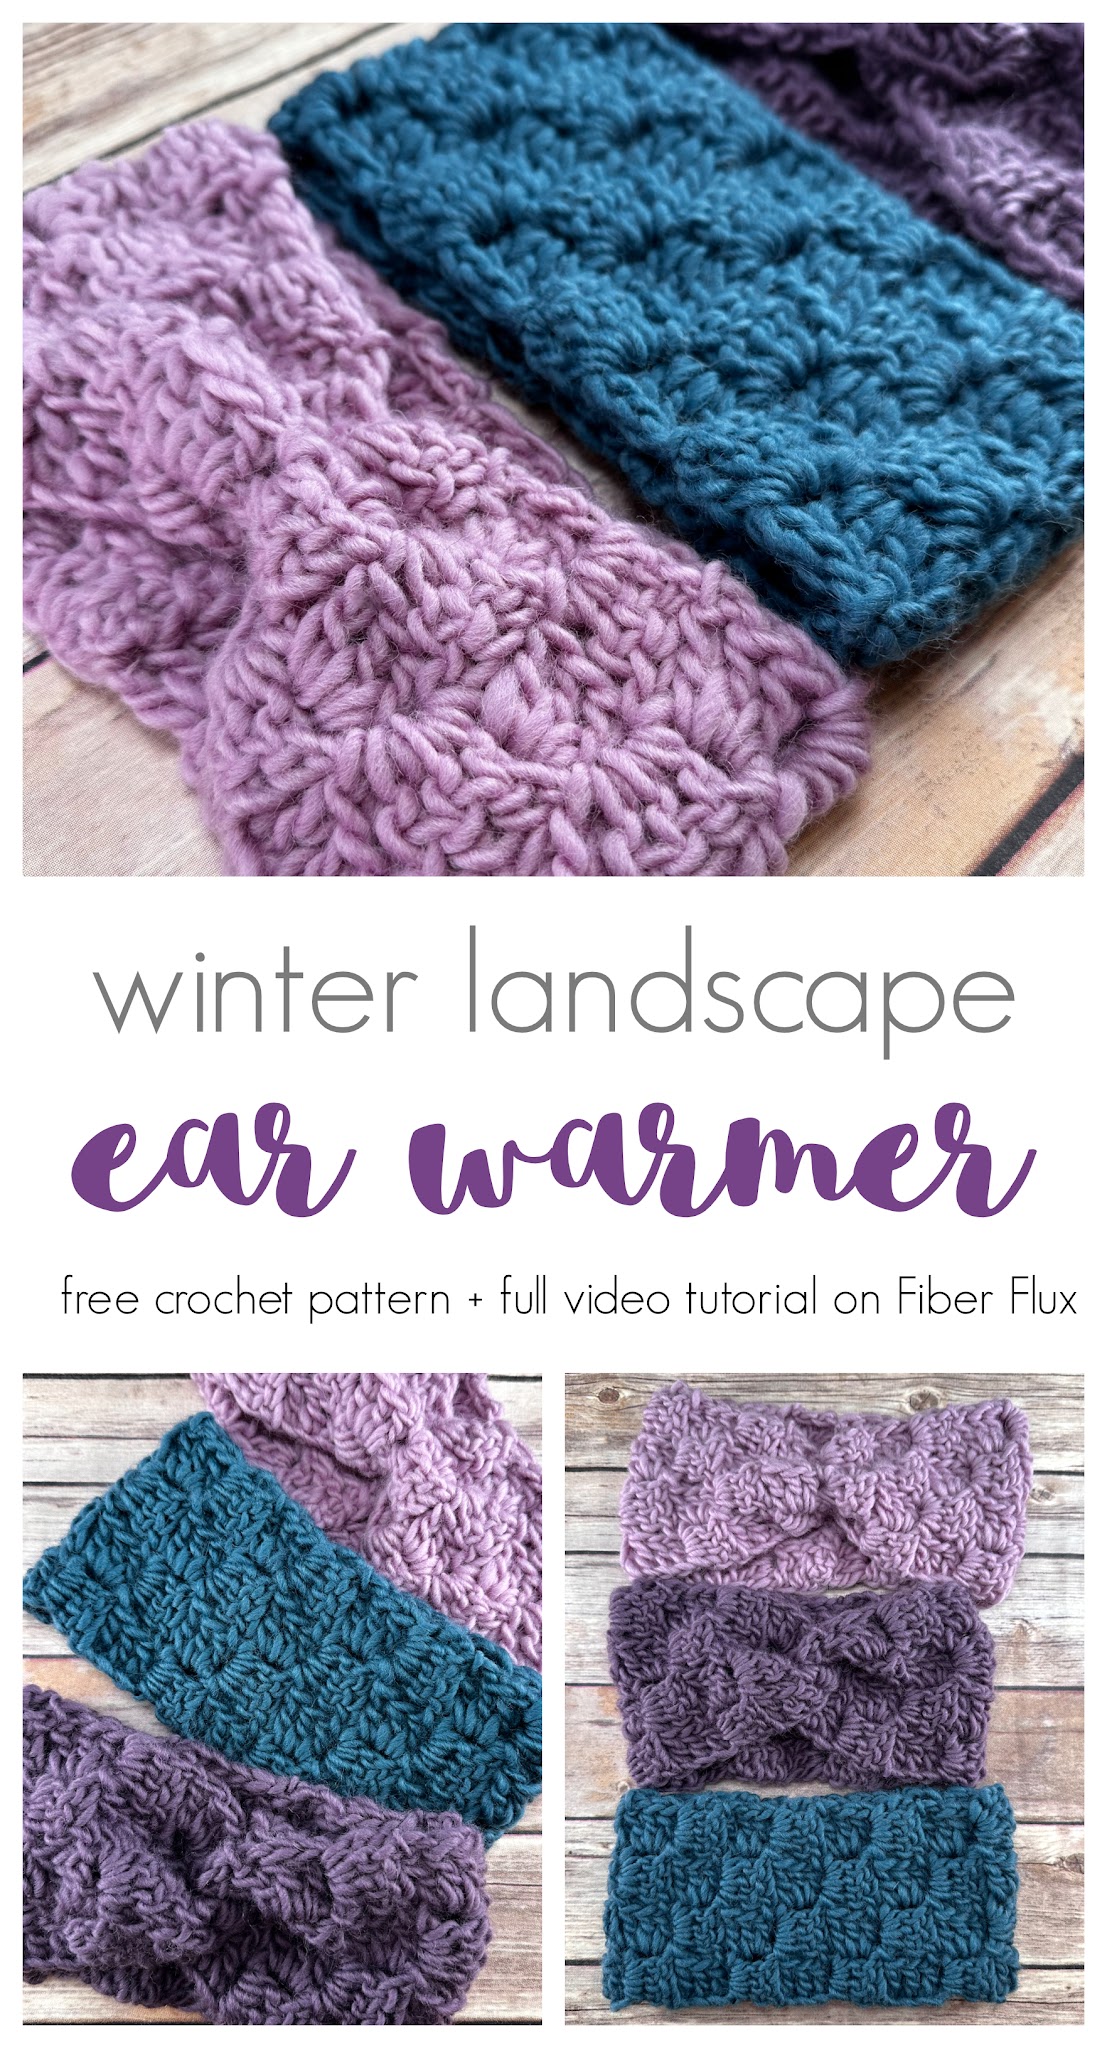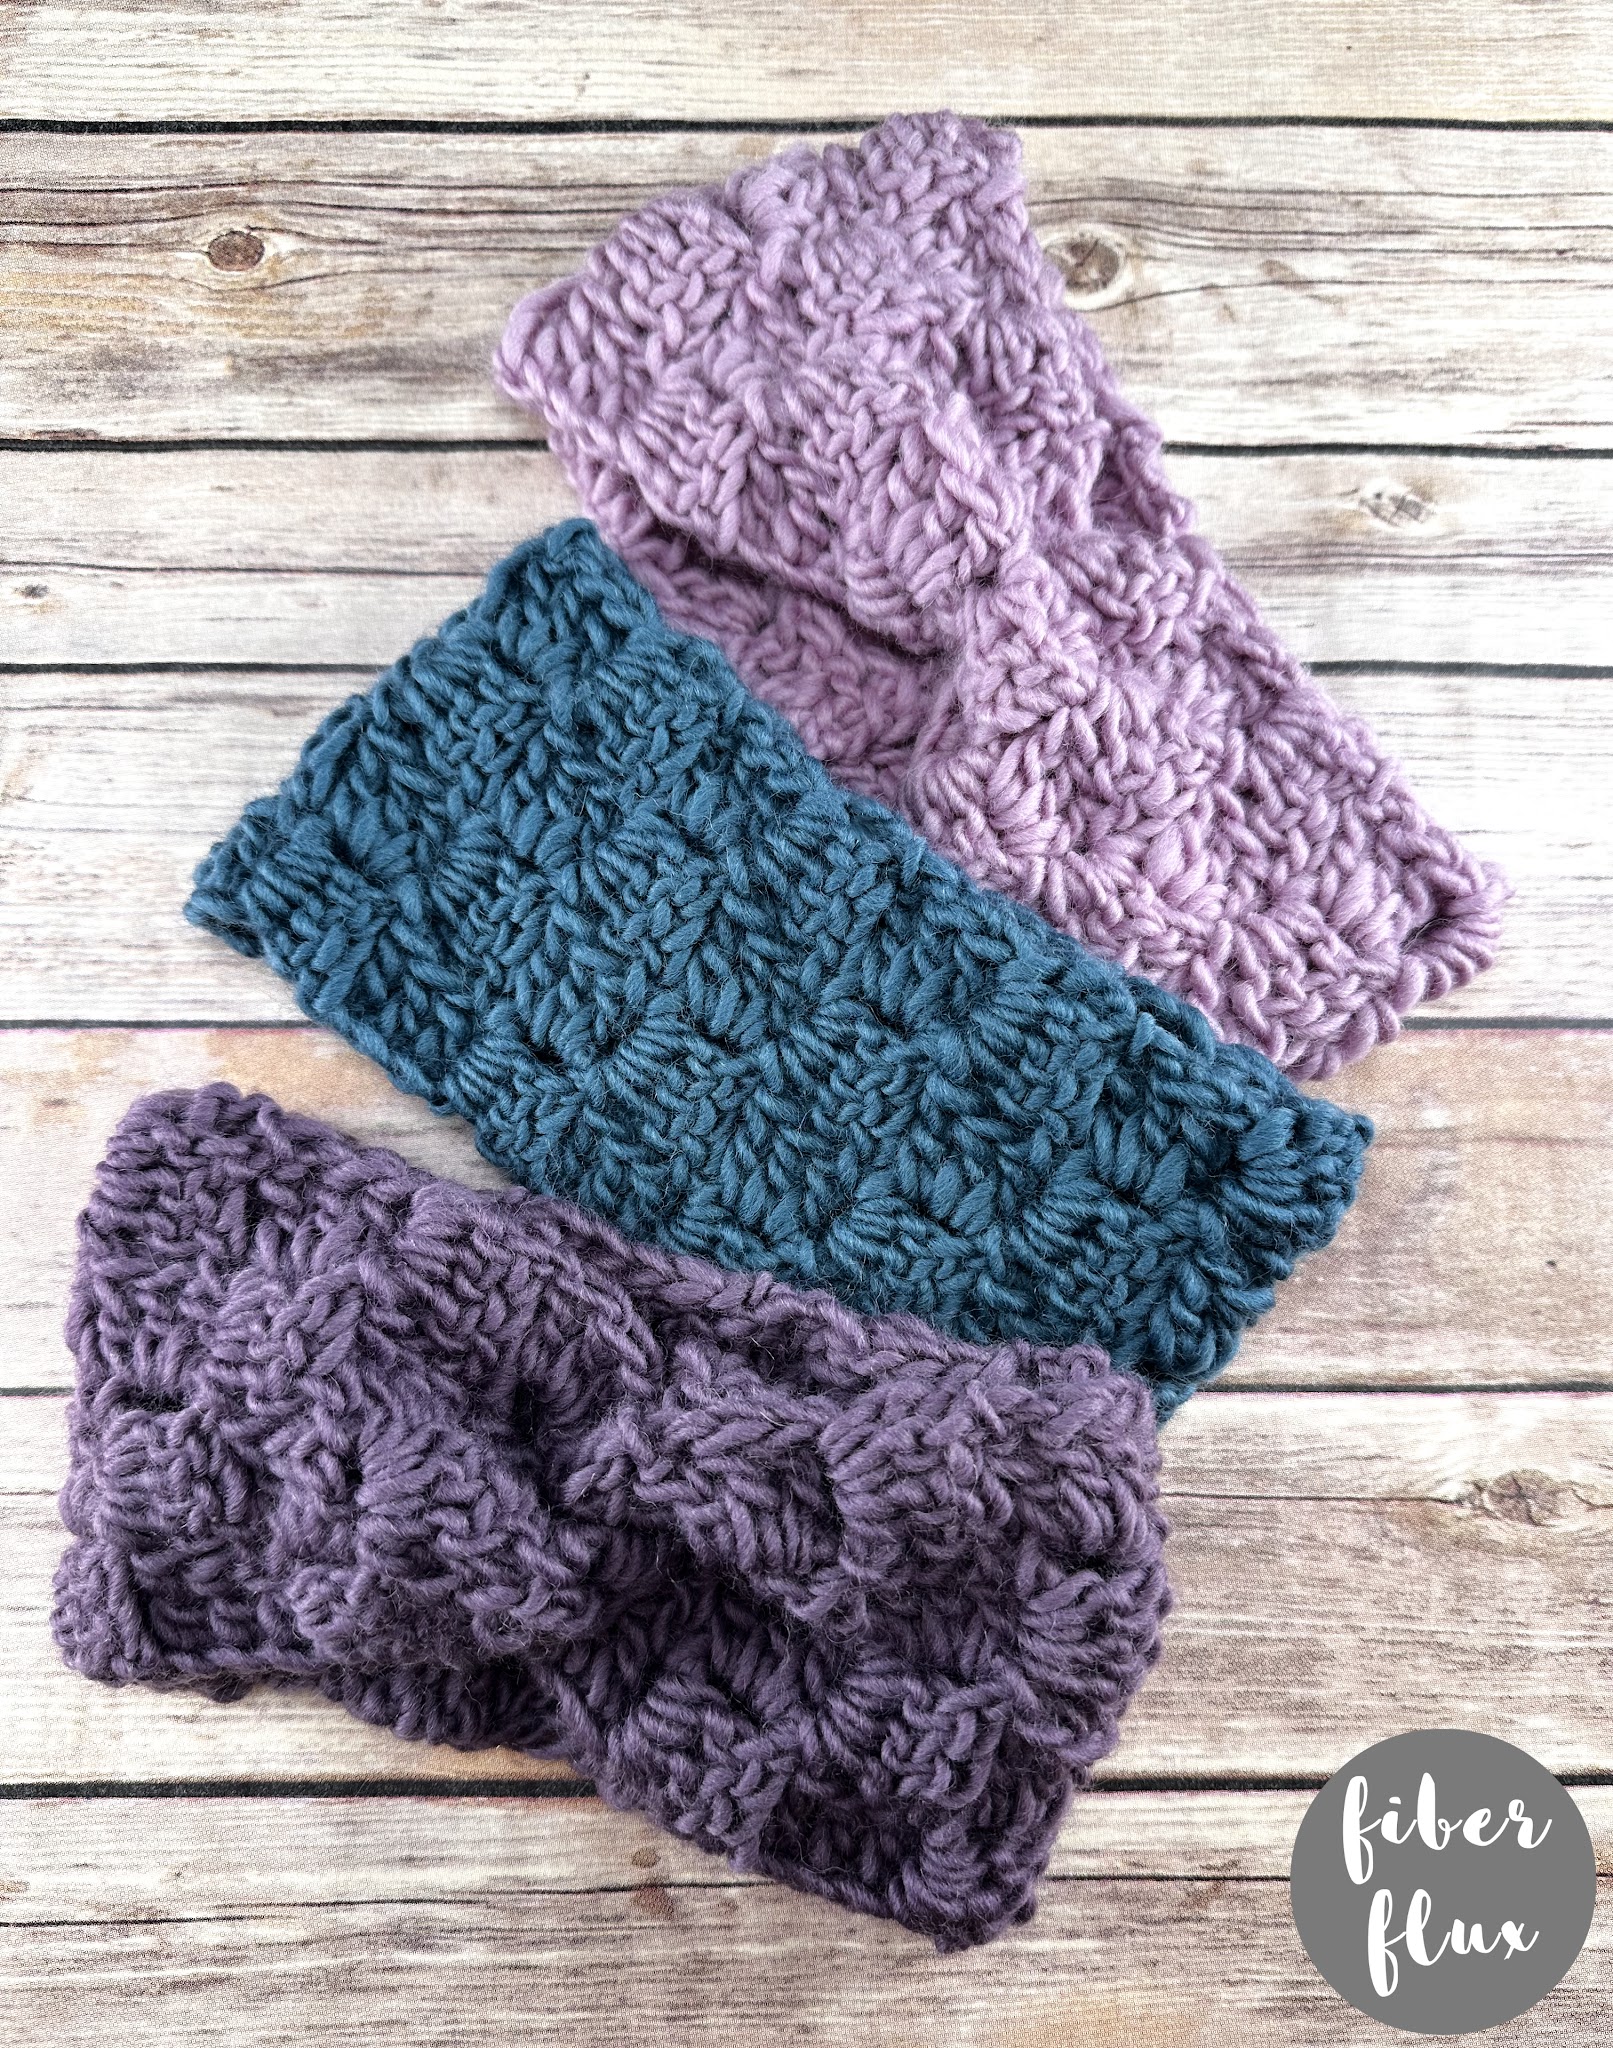
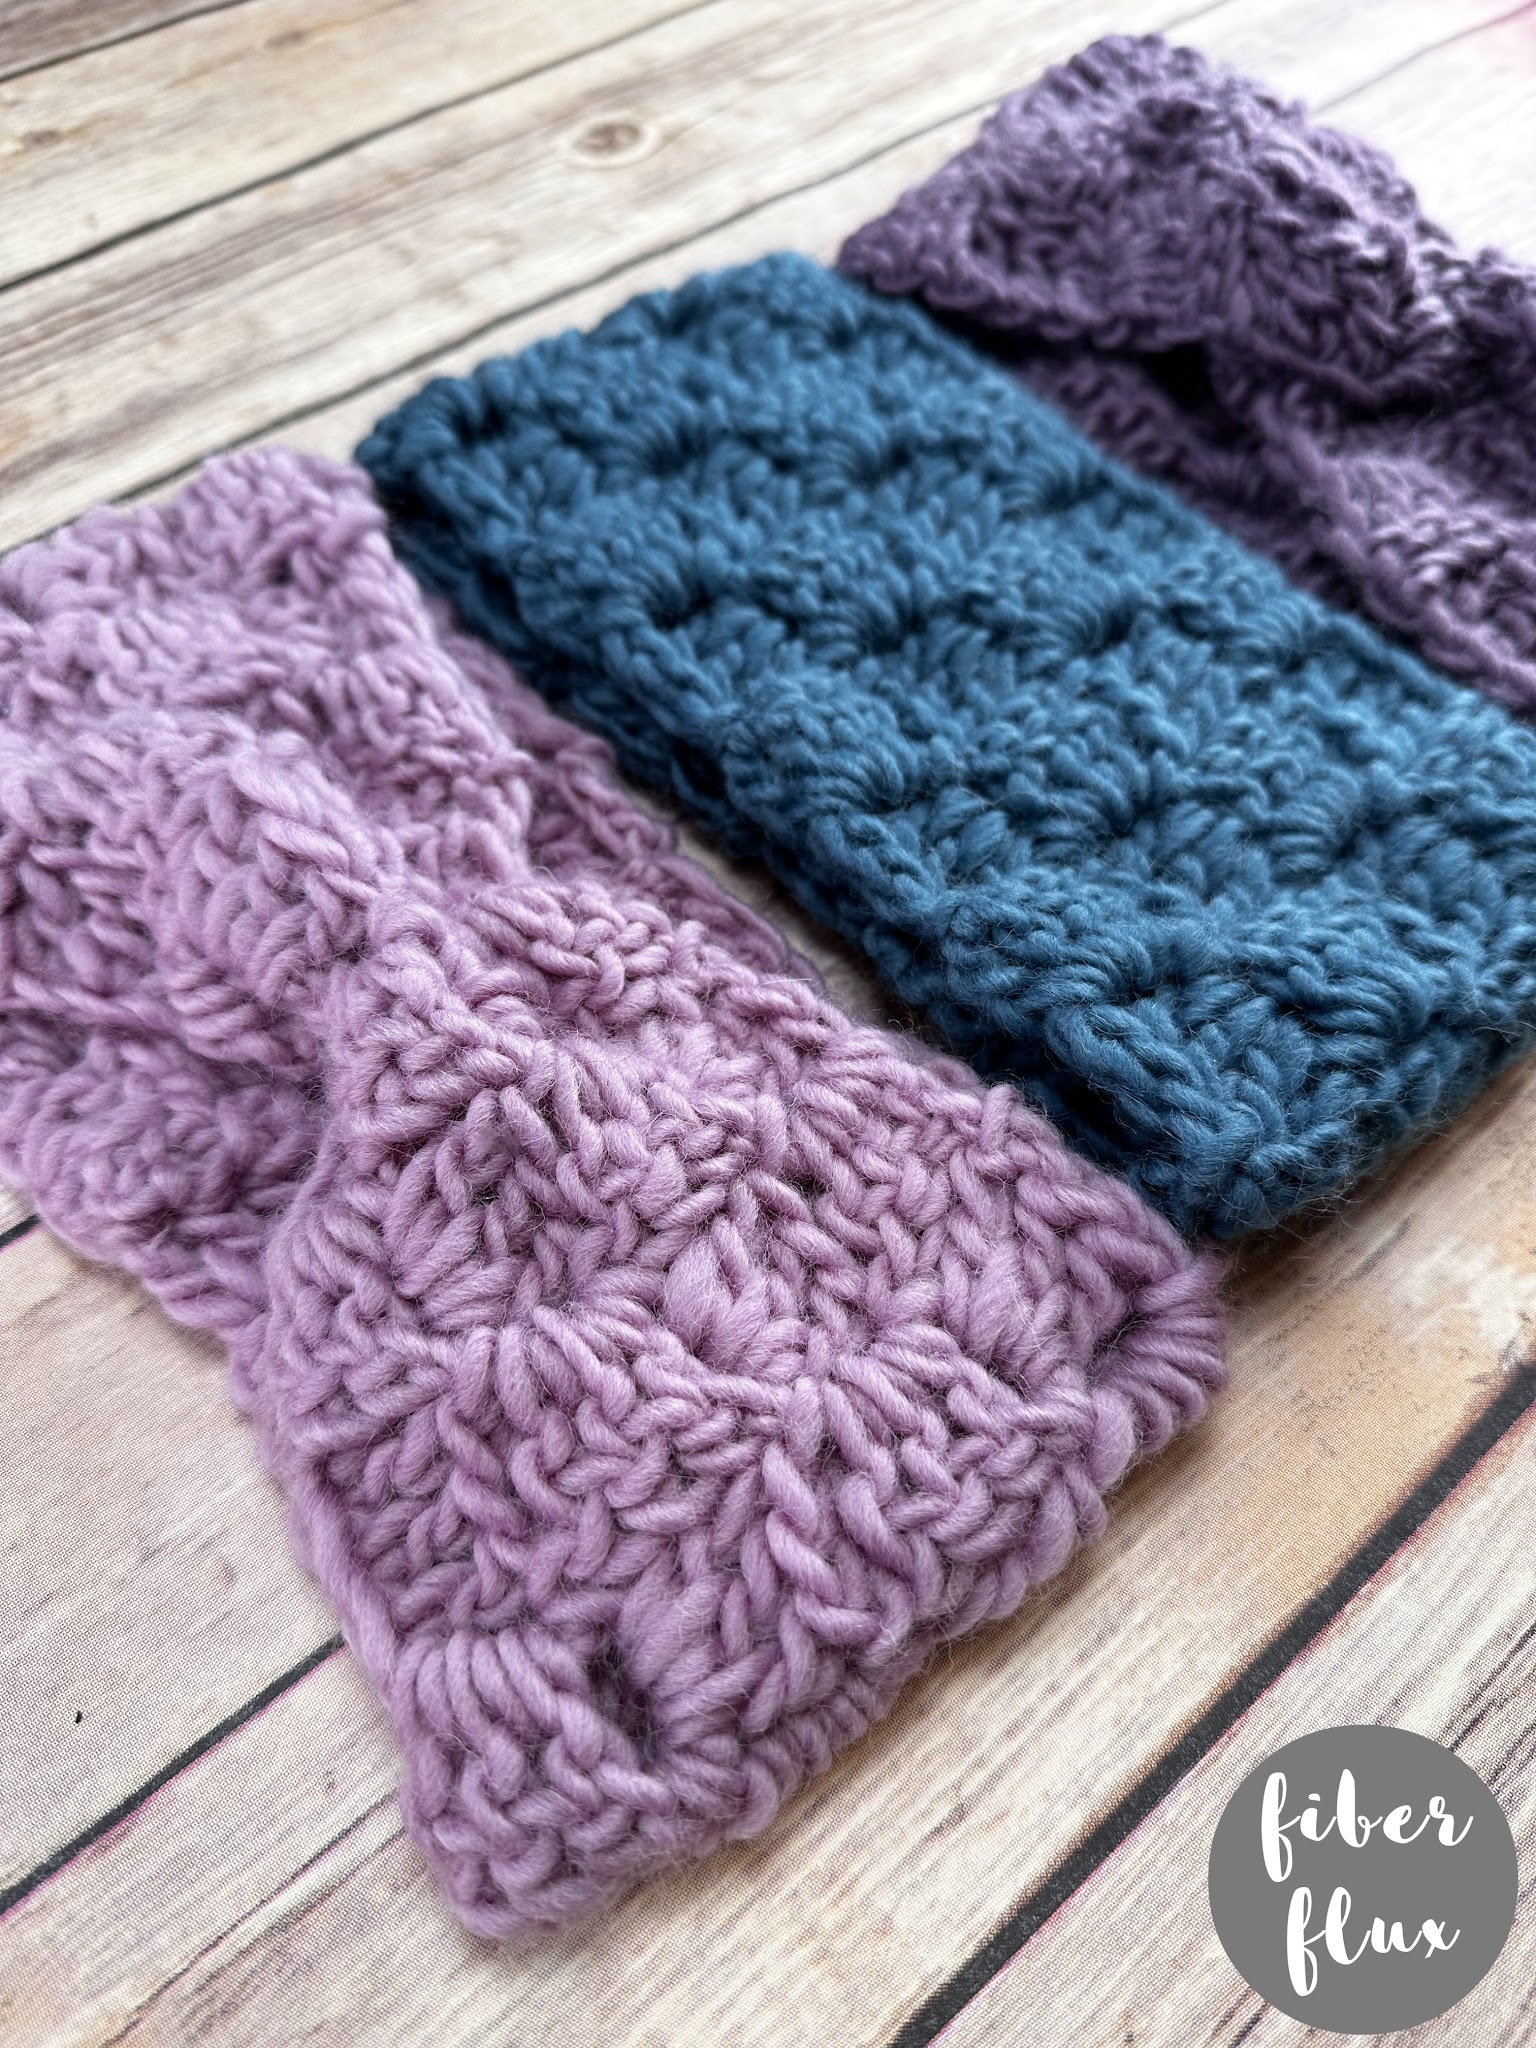
The Winter Landscape Crochet Earwarmers are a super cozy and a lovely little project to crochet up! Quick to make in squishy yarn, you can also choose between three looks too…a simple cinch, an elegant interlocked knot, or a classic tube style too! These make amazing little gifts and are great for fast charity projects too!
Watch a full video tutorial on how to make the Winter Landscape Crochet Earwarmers:
Love video tutorials? Click here to subscribe to the Fiber Flux YouTube channel for more stitchy fun!
Materials:
- 8 mm L crochet hook
- For each ear warmer, I used 54 yards of #5/bulky weight yarn (for each ear warmer, I used one ball of Snowstorm by Hobbii. The colors shown in the pictures are “Pastel Purple/#31” “Mauve/#13” “Teal Blue/#17”
- Scissors
- Tapestry Needle
- Tape measure
Looking for awesome yarn and hooks for this project? Get them all (and lots more) here!
Sizing:
- 18 inch circumference
- 4 inches wide
Instructions for the Winter Landscape Crochet Earwarmers:
Width Increase Portion:
- Row 1: Ch 6, then work a dc into the 4th ch from the hook. Work a dc into each of the next 2 ch.
- Row 2: Ch 6. Work a dc into the 4th ch from the hook and in each of the next 2 ch. Slip stitch into the 3rd dc stitch to join the two blocks together. You’ll need to flip the block a bit to get to the right spot. Just make sure your tail is pointing downward and you’ll be in the right position. Ch 3, then work 3 dc into the turning ch space.
- Row 3: Ch 6 (you may need to turn things a bit so that the tail is facing downward again). Work a dc into the 4th ch from the hook and in each of the next 2 ch. Slip stitch into the turning chain space of the next block to join the two blocks together. You’ll need to flip the block a bit to get to the right spot. Just make sure your tail is pointing downward and you’ll be in the right position. *Ch 3, then work 3 dc into the turning ch space and slip stitch into the turning chain space to join the two blocks together. Repeat from * across. When you work the last block, you won’t need to slip stitch it into anything, simply move onto the next row.
- Row 4: Repeat row 3 once more, then move to the next section.
Height Increase Portion:
- Note: To keep me from getting my sides mixed up, I placed a stitch marker on the side where I decreased.
- Row 1: Ch 6, then work a dc into the fourth ch from the hook. Work a dc in each of the next two chains, then join with a slip stitch to connect the two blocks together. Work (3 dc, ch 1) and join blocks with a slip stitch in each ch 1 space across until just before the last space (turning chain space). At the end of the row, join into the last block with a slip stitch. Turn and work a slip stitch in each stitch across the first block of the row. Continue across the row in this manner, working the increase at the beginning of the row and decreasing (where stitch marker is) at the end of the row.
- Repeat until the piece is as tall as you like (use that topmost block), I worked my height to about 18 inches tall.
Decrease Portion:
- Row 1: Turn the work and slip stitch in each stitch across the first block, and slip stitch into the turning chain space. *Ch 3, then work 3 dc into the turning ch space. Join into the next block with a slip stitch. Repeat from * to end of row.
- Repeat row 1 of the decrease until just a top point remains. Fasten off and weave in ends that remain. Note: if the top is challenging for you, be sure to check out the video for this part (or any other part) to see me walk through it step by step!
Finishing your Ear Warmers:
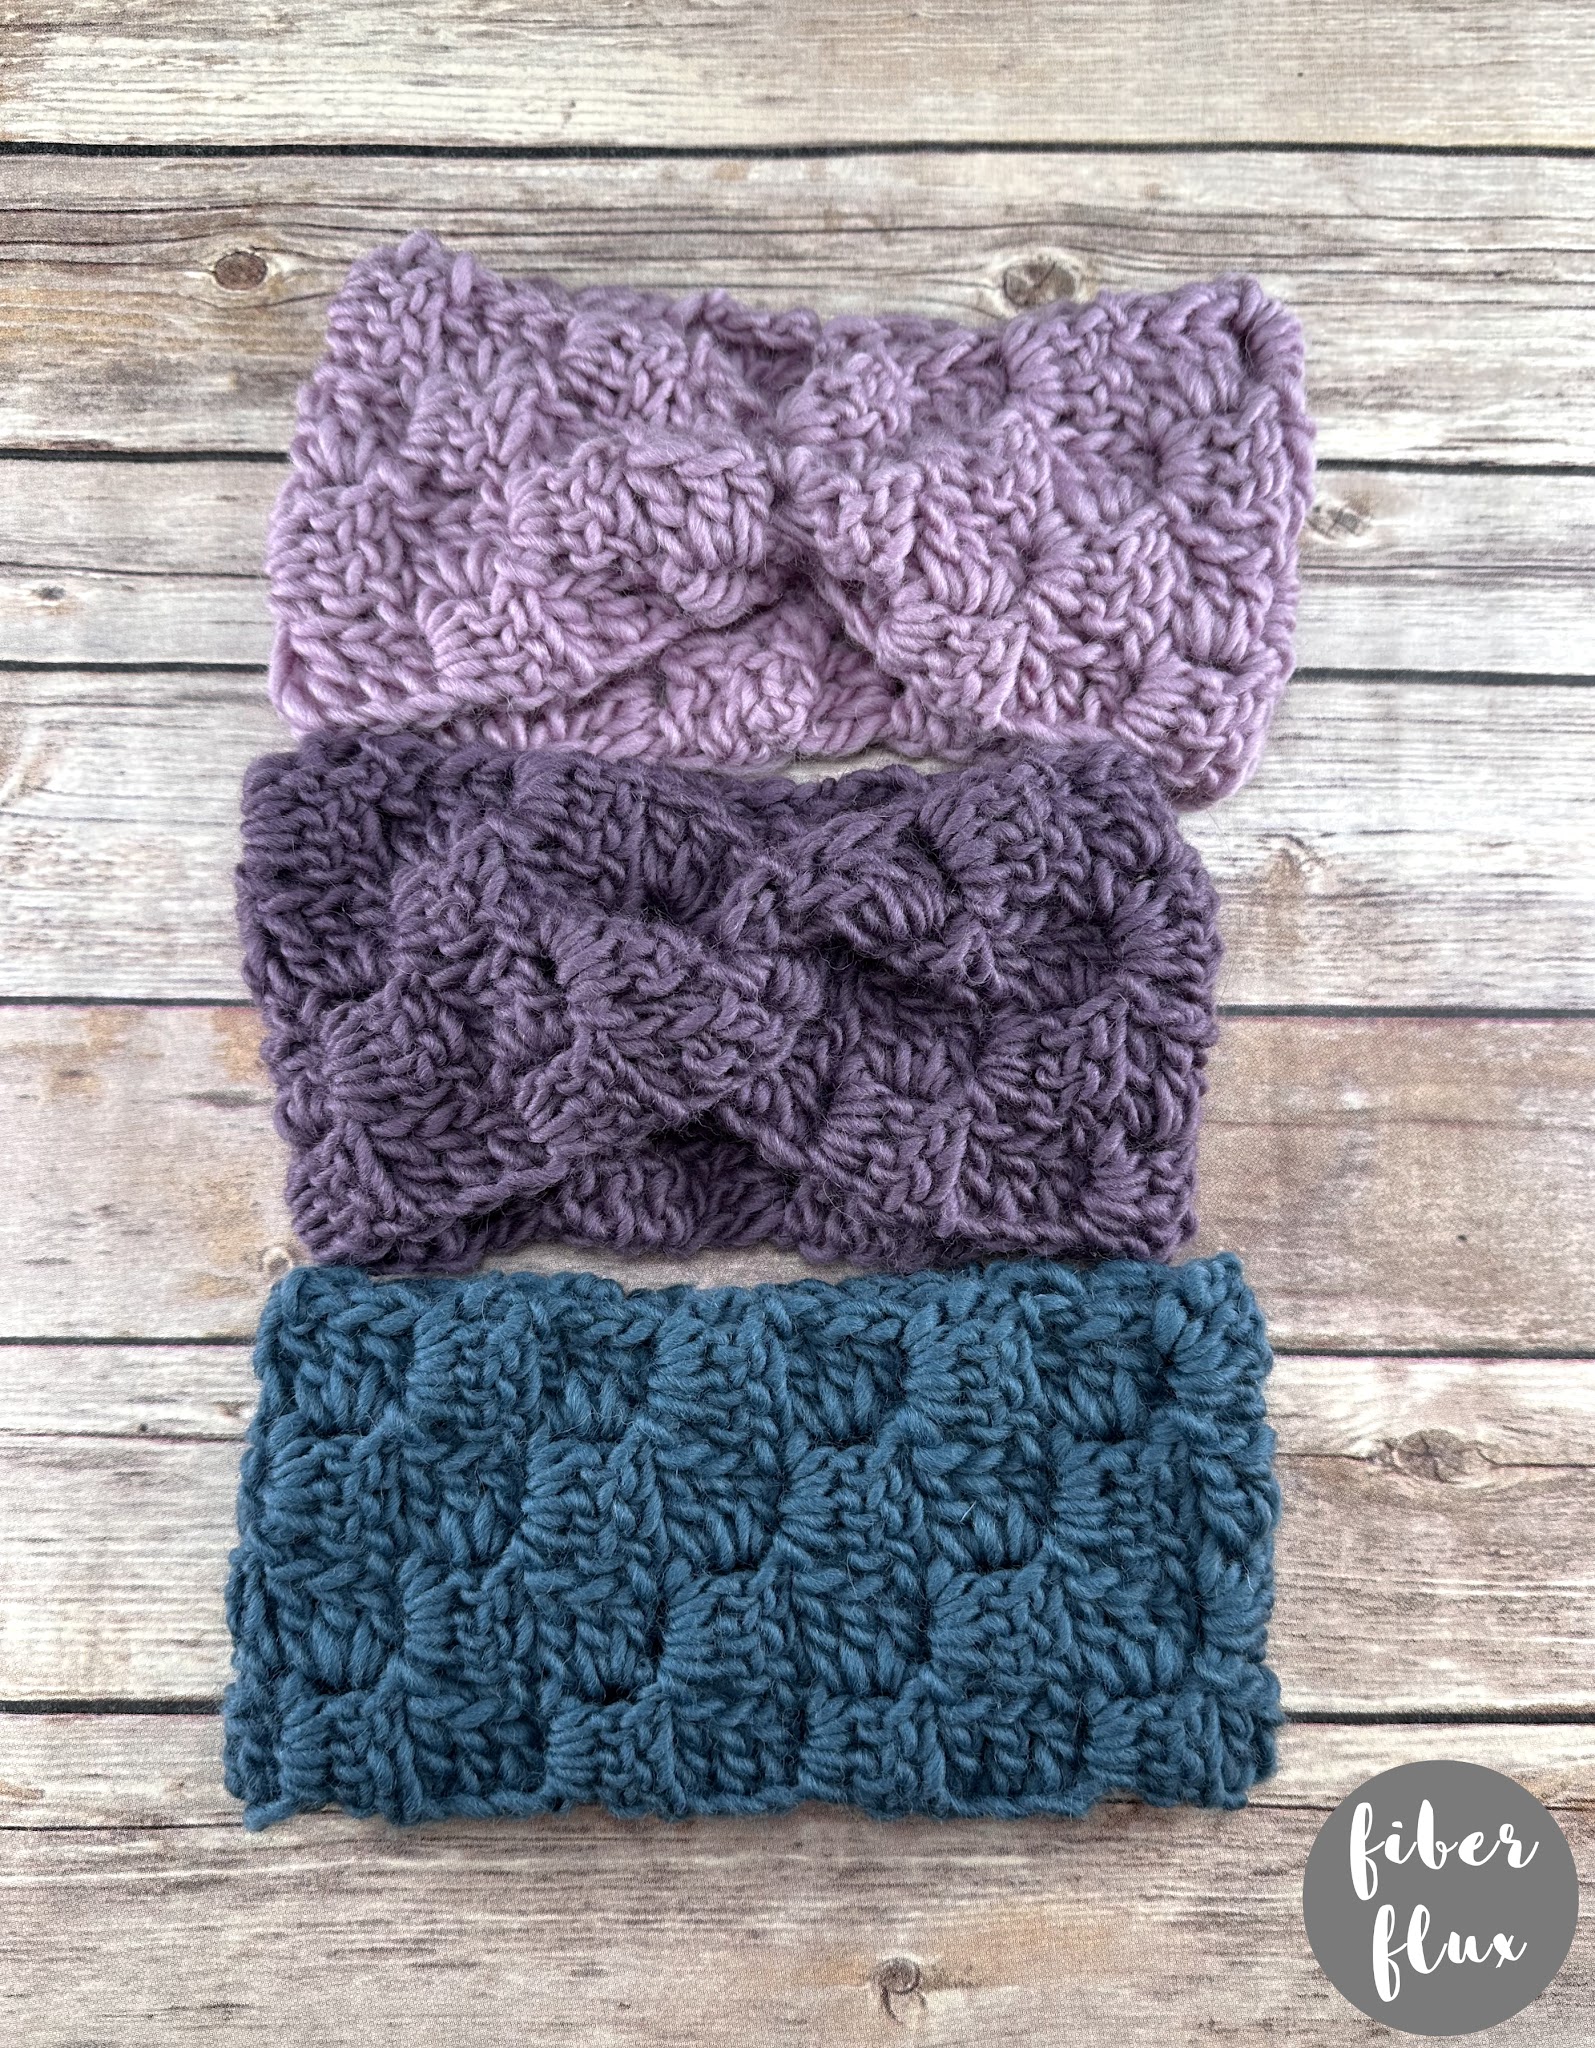
- You can finish your ear warmer in three different ways-a classic look, a twist look, or a cinched look.
- Classic look (pictured in teal): Using a long tail (or matching piece of yarn), whip stitch the two ends of your crochet strip together.
- Twist look (pictured in light purple): Bring the ends together and fold each end in half. Place them together like two interlocking “C” shapes. Seam through all four layers with a matching piece of yarn and fasten off. Turn headband right side out and it’s ready to wear!
- Cinched look (pictured in dark purple): Using a long tail (or matching piece of yarn), whip stitch the two ends of your crochet strip together. With a matching piece of yarn, sew a running stitch into the top of the ear warmer (opposite side of the seam) and pull tight to create the cinch. Fasten securely.
- Weave in any ends that remain and you’re finished!