
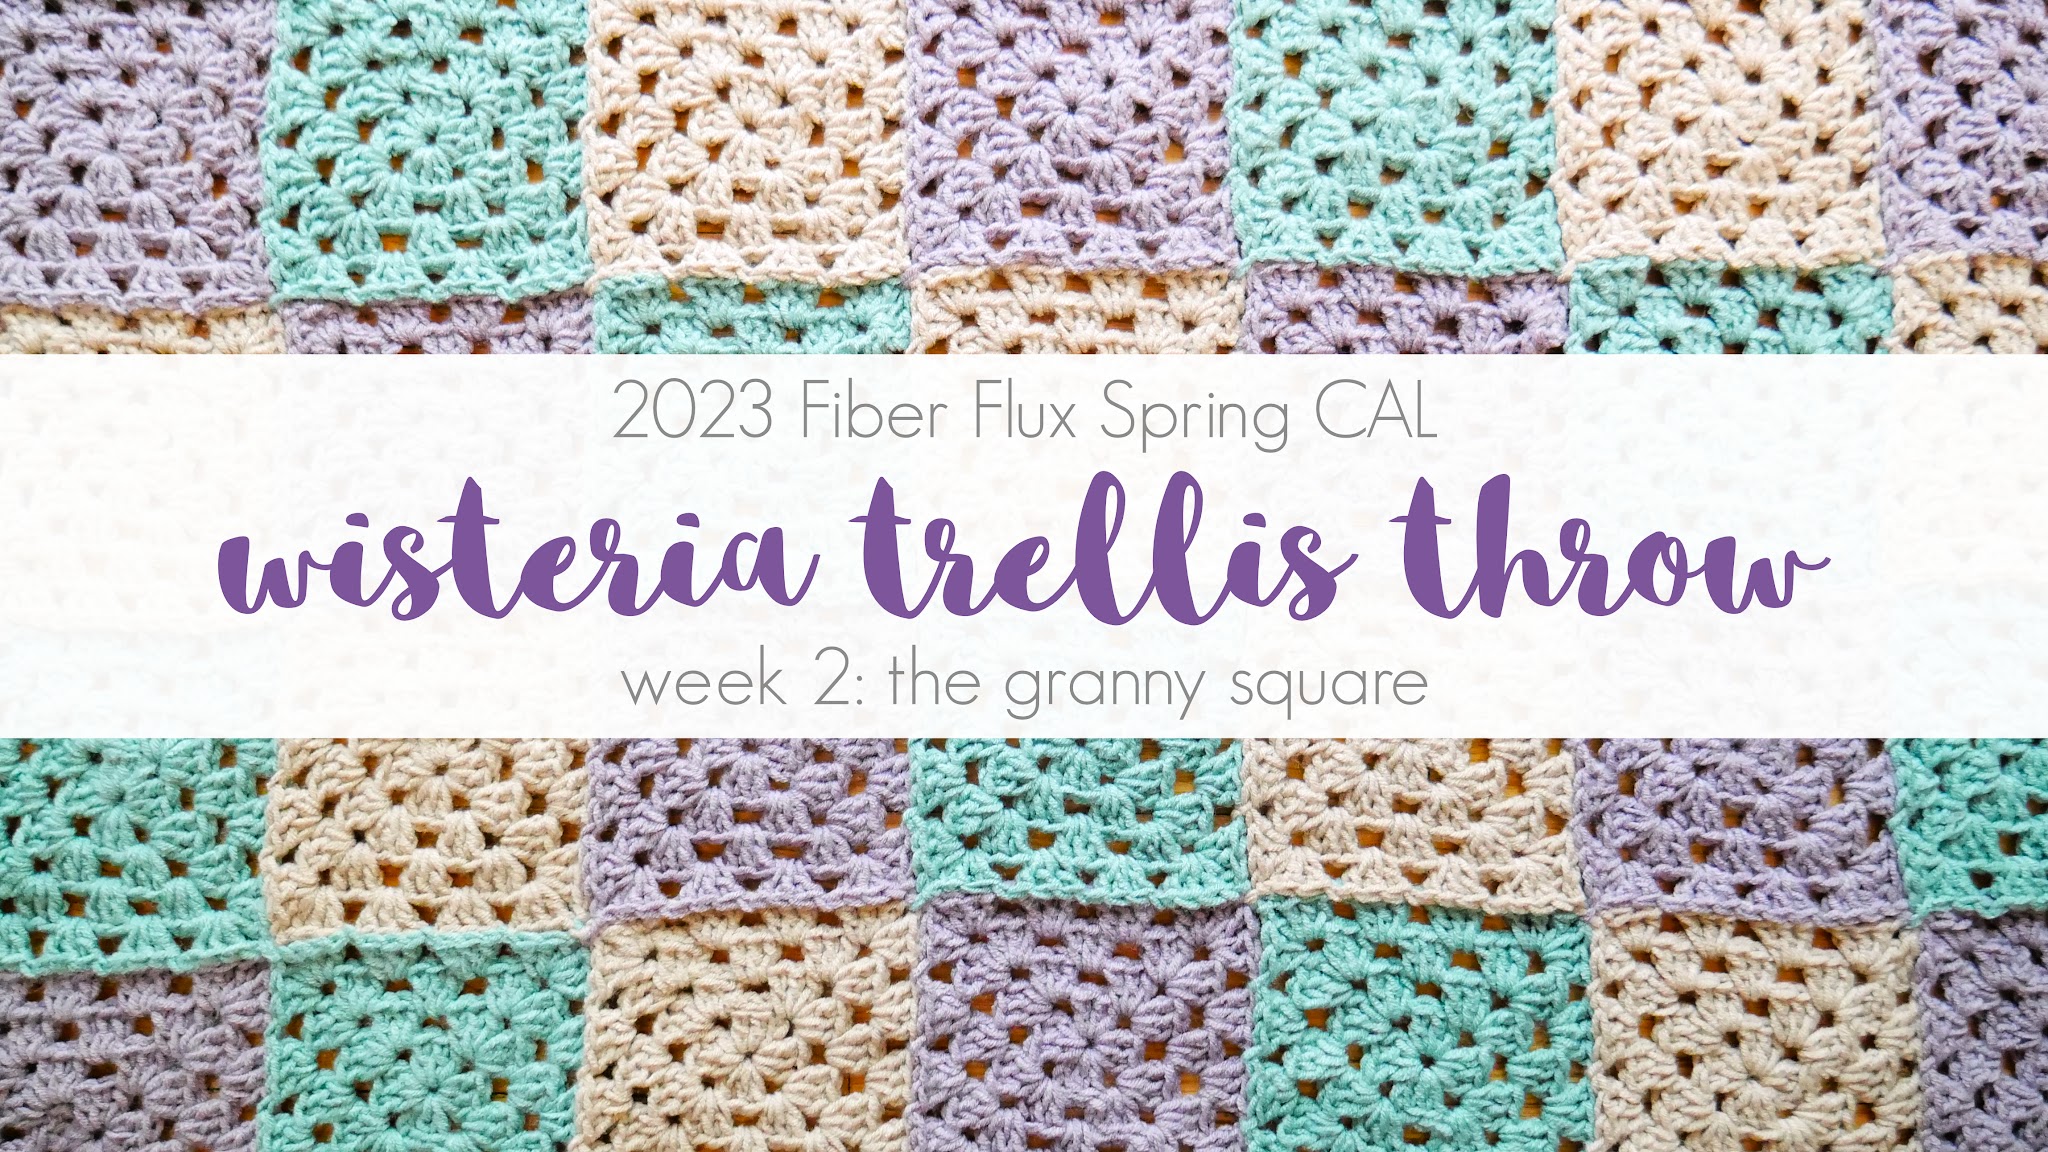
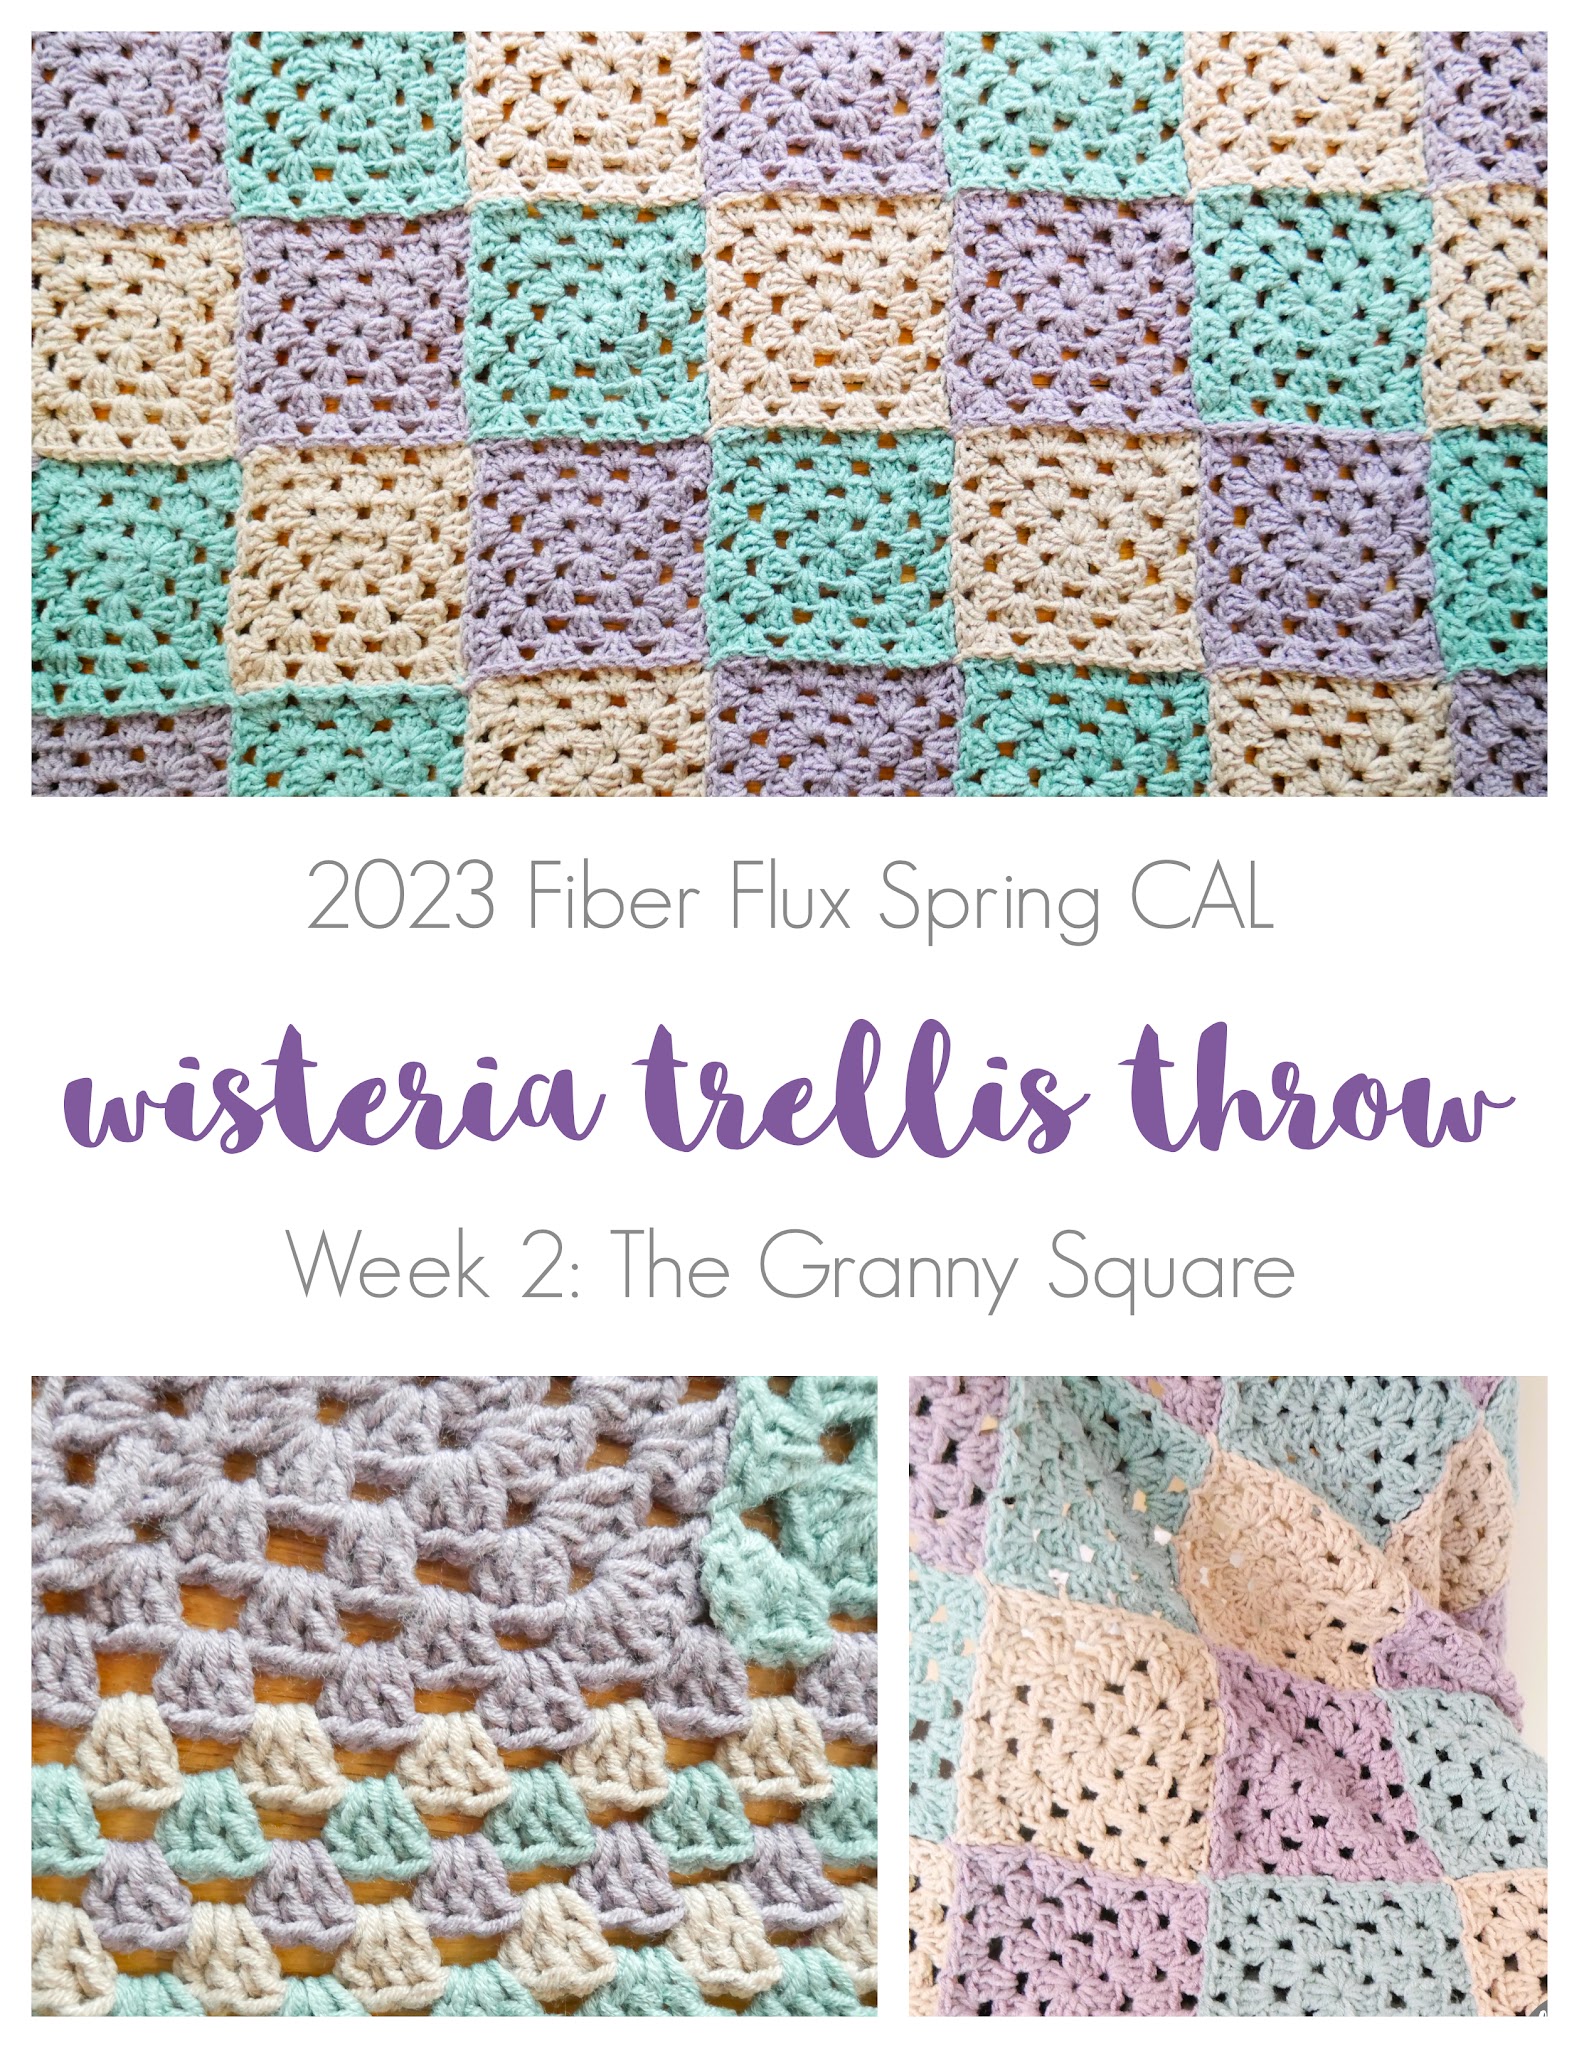
Welcome to the 2023 Fiber Flux Spring Crochet Along…yay! Today marks week two of the CAL and we’ll be jumping in today with the lovely project we’ll be making…the Wisteria Trellis Throw! This blanket is easy and a wonderfully relaxing crochet project!
We will be going over a few things today to begin:
- Crocheting the first full granny square
- Schedule of the CAL
- Where to connect with other makers
Be sure to scroll down for the schedule with actual dates and what we’ll be doing on each week.
*This is a self-paced project, so definitely go at the speed you feel most comfortable. The instructional videos and posts will be up forever and you will always be able to go back and watch again and again!
Add this to your Ravelry queue!
Missed the first week? Get the info on the project and here:
Can’t see the video? Get it here!
Check out this week’s video to learn more about the crocheting the granny squares:
Can’t see the video? Get it here!
Here’s our CAL schedule below for easy reference:

Here’s our CAL schedule below for easy reference:
- Thursday, May 4: Introduction & Supplies
- Thursday, May 11: The Granny Square
- Thursday, May 18: Join As You Go Squares
- Thursday, May 25: Border & Finishing
- Thursday, June 1: CAL Recap
Ok let’s make that first square! Next week we’ll learn how to make and join all of the other squares using the join as you go technique (jaygo).
Instructions for the first granny square (the rest of the squares are done a little differently, and we’ll tackle those next week):
Chain 4, join into a ring with a slip stitch.
Round 1: Chain 3, then work (3 dc into center of ring, chain 2) 3 times, then 2 dc into center of ring. Join to close with a slip stitch.
Round 2: Slip stitch over to the first corner space. To work the corner of round 2, first chain 3, then 2 dc in same space, then chain 2, then 3 dc in the same space…first corner done! Then chain 1, then work the next corner by working 3 dc in next space, chain 2, then 3 dc in same space, chain 1, repeat two more times to complete the round.
Round 3: Slip stitch over to the first corner space. *Work the corner in the same manner as the previous round: chain 3, 2 dc in same space, chain 2, 3 dc in same space, chain 1. To work the side, simply work 3 dc in the next space then chain 1. Repeat from * around.
Round 4 and beyond: Slip stitch over to the first corner space. *Work the corner in the same manner as the previous round: chain 3, 2 dc in same space, chain 2, 3 dc in same space, chain 1. To work the sides (there will be two side spaces this time) simply work 3 dc in the next space then chain 1, then repeat (3 dc, ch 1) for the next side space, repeat from * around.
Finishing: Weave in any ends and you’re finished and we will add more squares next week!
Last part…let’s connect! You can connect at any of the social media platforms below, and don’t forget to use the hashtag #fiberfluxcal


Also we have two special communities for our CAL makers! Each has a welcome area/thread, so please hop on and introduce yourself. You can get info, ask questions, help each other, see what everyone is doing, and show off your work too!
Click HERE to join the Facebook group!

Click HERE to visit and join the Ravelry group!
Also, don’t forget to tag me and use the hashtag, #fiberfluxcal to share your work on social media!
I can’t wait to see all of your gorgeous projects…please share those pictures and above enjoy, take some time to relax with your hook, and have fun! That’s all for today lovelies, see you next week for part three!!


![]()
![]()
![]()

![]()
![]()


© Fiber Flux LLC 2023

